


Choosing the right yarn is a crucial step. Opt for soft, hypoallergenic fibers like cotton or acrylic to ensure comfort against delicate skin. Avoid wool, as it can be itchy for some of us. A medium weight yarn works best for a snug fit.
Next, measure your furry companion accurately. A tape measure will help you get the neck, chest, and length dimensions. It’s important to have a comfortable fit; you don’t want your four-legged buddy to feel restricted while prancing around the house.
Use a simple pattern, focusing on a basic shape that allows for movement. A straight body with openings for the front legs is usually a hit. Keep the design minimalistic but chic; after all, style counts, even for us cats!
As you work through the process, test the fit frequently. It’s better to adjust as needed than to end up with something that doesn’t fit right. Remember to incorporate easy closures, like buttons or snaps, for effortless dressing. Happy crafting!
Crafting a Cozy Outfit for Your Feline Friend
Ensure the garment fits snugly but comfortably around my body. Measure the circumference of my neck, chest, and length from neck to tail before starting. Use a stretchy yarn, allowing me to move freely while keeping warm.
Choosing the Right Yarn
Select yarn that is soft and non-irritating. Avoid fibers that can cause allergies. Check labels for any harmful substances. If you’re unsure, look into whether aloe is toxic for cats to avoid any potential issues.
Fun Patterns and Colors
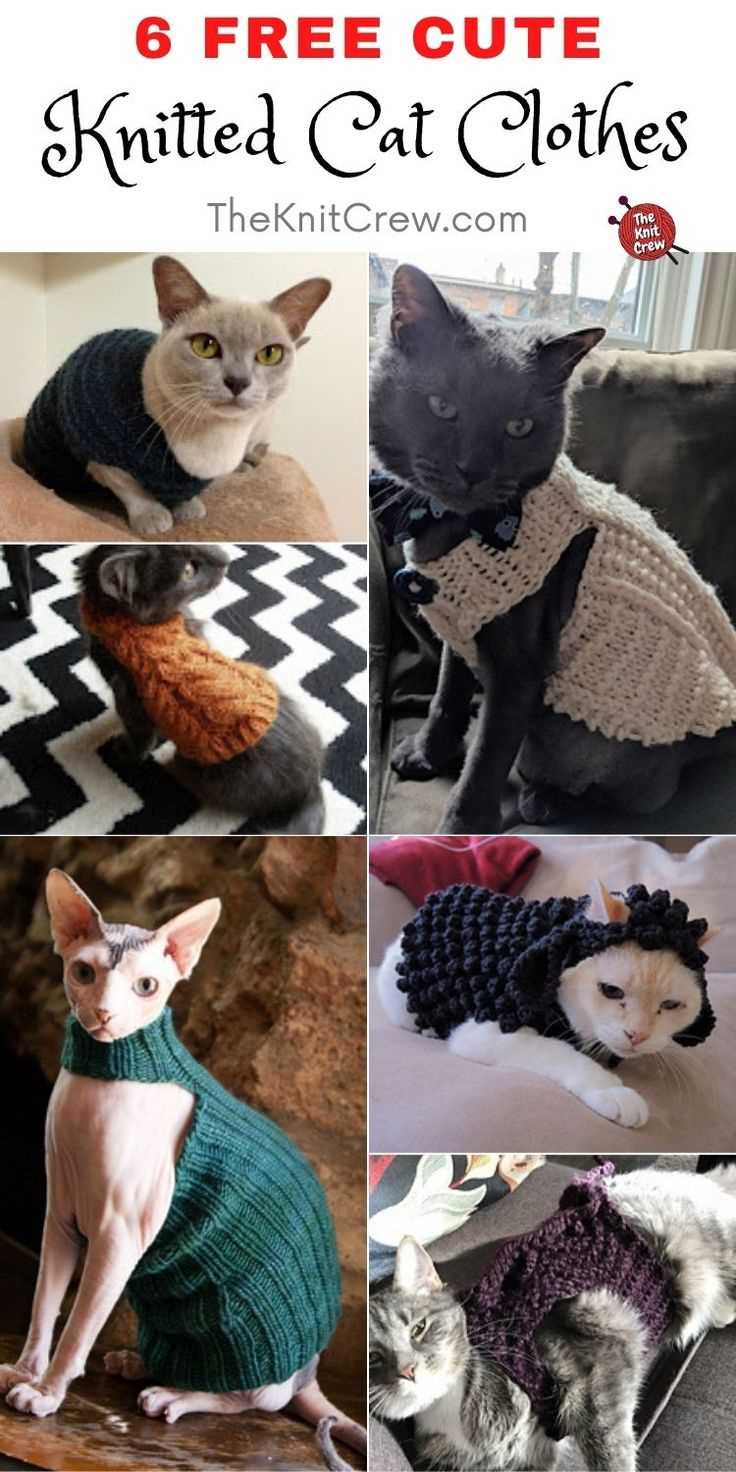
Get creative with patterns! Stripes, polka dots, or even personalized designs can add flair. Use colors that complement my fur, making me the stylish star of the neighborhood. Don’t forget to document my fashionable moments online!
Lastly, while crafting, keep in mind what I might find interesting or annoying. Some styles may be more comfortable than others. And if you’re curious about the culinary habits of others, check out whether do they eat cats in haiti to learn about different cultures.
Selecting the Right Yarn and Needles for Your Feline’s Sweater
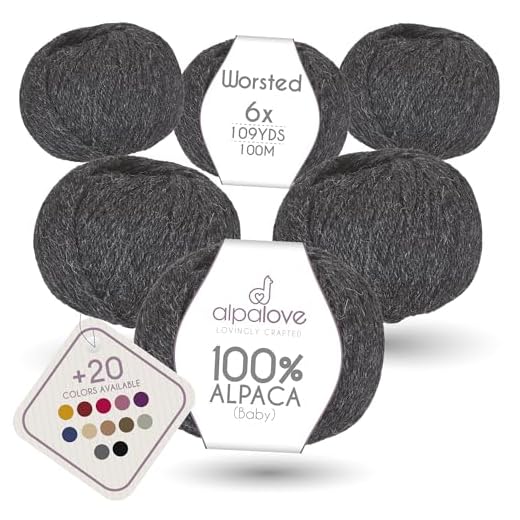
Opt for soft, hypoallergenic fibers like cotton or bamboo. These materials ensure comfort, preventing irritation on sensitive skin. Avoid wool, as it may cause allergies or itching.
Yarn Weight
Choose a lightweight yarn, such as DK (double knitting) or sport weight. This provides warmth without adding bulk, ensuring mobility and ease for your playful friend.
Needle Size
Use needles that correspond to your yarn choice; generally, 4mm to 5mm needles work well with DK yarn. Circular needles can be advantageous, allowing you to easily manage stitches while accommodating your tiny frame.
Always check the yarn label for gauge recommendations. A proper gauge ensures a snug fit, keeping me cozy during chilly days. Don’t forget to test a small swatch before beginning the full project!
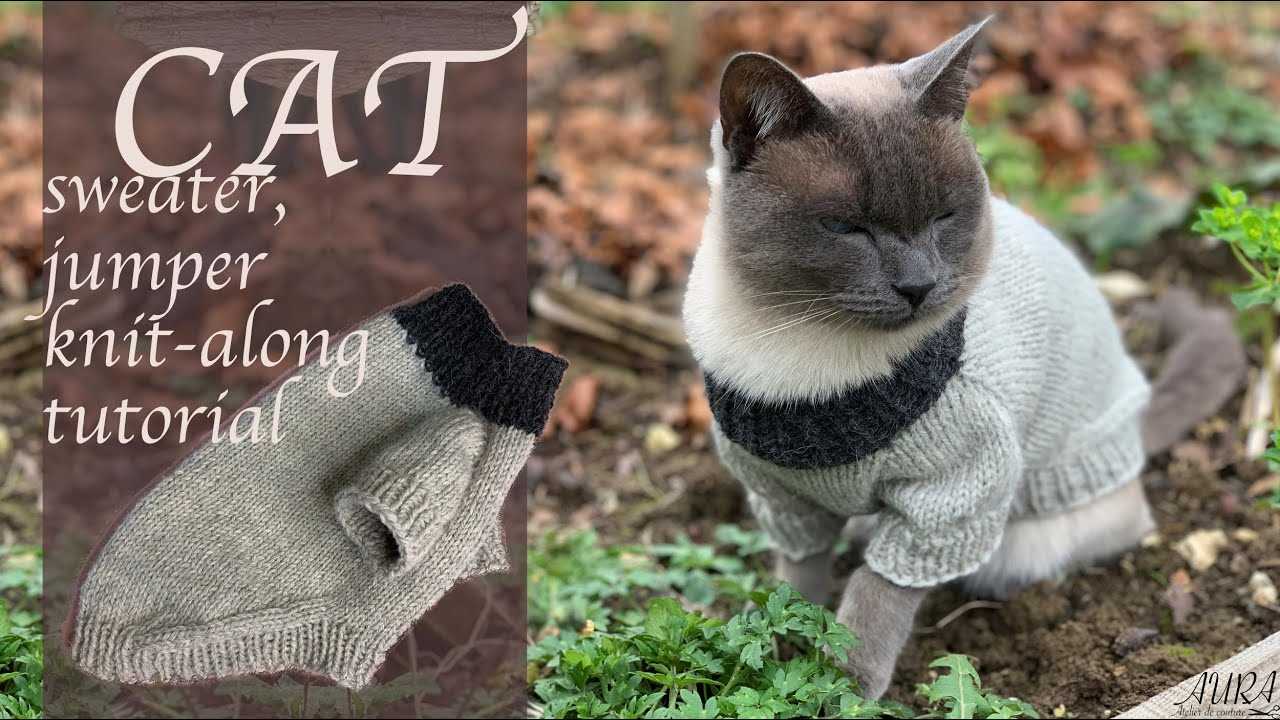
Step-by-Step Instructions for Crafting a Cozy Sweater
For a snug fit, take precise measurements of your body. Measure around the widest part of your chest and the length from your neck to the tail. Use a flexible tape measure for accuracy.
Using the chosen yarn, cast on the stitches based on your size. A common starting point is around 40-60 stitches, but adjust according to your dimensions. Make sure the foundation is neither too tight nor too loose.
Begin with a ribbing pattern for the hem. A simple knit-purl combination works well. Continue this for about 2-3 inches to ensure it sits comfortably without rolling up.
Next, switch to a stockinette stitch, alternating between knit and purl rows. This creates a smooth texture that feels nice against your fur. Keep going until the piece reaches the desired length, usually around 8-12 inches, depending on your size.
After reaching the specified length, it’s time to shape the armholes. Bind off a few stitches at the beginning of the next two rows to create openings for your front legs. Be sure to leave enough space for comfort.
Continue working the body until you reach the neckline. For this, bind off a few stitches at the center and finish each side separately. This creates a gentle scoop for your head.
To finish, sew the sides together, ensuring a smooth seam. Weave in any loose ends with a tapestry needle to keep everything tidy.
Finally, test the fit! Slip it on and check for comfort and ease of movement. Make any adjustments if necessary. If it fits perfectly, you’ve created a stylish addition to your wardrobe!
Choosing the right yarn is a crucial step. Opt for soft, hypoallergenic fibers like cotton or acrylic to ensure comfort against delicate skin. Avoid wool, as it can be itchy for some of us. A medium weight yarn works best for a snug fit.
Next, measure your furry companion accurately. A tape measure will help you get the neck, chest, and length dimensions. It’s important to have a comfortable fit; you don’t want your four-legged buddy to feel restricted while prancing around the house.
Use a simple pattern, focusing on a basic shape that allows for movement. A straight body with openings for the front legs is usually a hit. Keep the design minimalistic but chic; after all, style counts, even for us cats!
As you work through the process, test the fit frequently. It’s better to adjust as needed than to end up with something that doesn’t fit right. Remember to incorporate easy closures, like buttons or snaps, for effortless dressing. Happy crafting!
Crafting a Cozy Outfit for Your Feline Friend
Ensure the garment fits snugly but comfortably around my body. Measure the circumference of my neck, chest, and length from neck to tail before starting. Use a stretchy yarn, allowing me to move freely while keeping warm.
Choosing the Right Yarn
Select yarn that is soft and non-irritating. Avoid fibers that can cause allergies. Check labels for any harmful substances. If you’re unsure, look into whether aloe is toxic for cats to avoid any potential issues.
Fun Patterns and Colors
Get creative with patterns! Stripes, polka dots, or even personalized designs can add flair. Use colors that complement my fur, making me the stylish star of the neighborhood. Don’t forget to document my fashionable moments online!
Lastly, while crafting, keep in mind what I might find interesting or annoying. Some styles may be more comfortable than others. And if you’re curious about the culinary habits of others, check out whether do they eat cats in haiti to learn about different cultures.
Selecting the Right Yarn and Needles for Your Feline’s Sweater
Opt for soft, hypoallergenic fibers like cotton or bamboo. These materials ensure comfort, preventing irritation on sensitive skin. Avoid wool, as it may cause allergies or itching.
Yarn Weight
Choose a lightweight yarn, such as DK (double knitting) or sport weight. This provides warmth without adding bulk, ensuring mobility and ease for your playful friend.
Needle Size
Use needles that correspond to your yarn choice; generally, 4mm to 5mm needles work well with DK yarn. Circular needles can be advantageous, allowing you to easily manage stitches while accommodating your tiny frame.
Always check the yarn label for gauge recommendations. A proper gauge ensures a snug fit, keeping me cozy during chilly days. Don’t forget to test a small swatch before beginning the full project!
Step-by-Step Instructions for Crafting a Cozy Sweater
For a snug fit, take precise measurements of your body. Measure around the widest part of your chest and the length from your neck to the tail. Use a flexible tape measure for accuracy.
Using the chosen yarn, cast on the stitches based on your size. A common starting point is around 40-60 stitches, but adjust according to your dimensions. Make sure the foundation is neither too tight nor too loose.
Begin with a ribbing pattern for the hem. A simple knit-purl combination works well. Continue this for about 2-3 inches to ensure it sits comfortably without rolling up.
Next, switch to a stockinette stitch, alternating between knit and purl rows. This creates a smooth texture that feels nice against your fur. Keep going until the piece reaches the desired length, usually around 8-12 inches, depending on your size.
After reaching the specified length, it’s time to shape the armholes. Bind off a few stitches at the beginning of the next two rows to create openings for your front legs. Be sure to leave enough space for comfort.
Continue working the body until you reach the neckline. For this, bind off a few stitches at the center and finish each side separately. This creates a gentle scoop for your head.
To finish, sew the sides together, ensuring a smooth seam. Weave in any loose ends with a tapestry needle to keep everything tidy.
Finally, test the fit! Slip it on and check for comfort and ease of movement. Make any adjustments if necessary. If it fits perfectly, you’ve created a stylish addition to your wardrobe!
Choosing the right yarn is a crucial step. Opt for soft, hypoallergenic fibers like cotton or acrylic to ensure comfort against delicate skin. Avoid wool, as it can be itchy for some of us. A medium weight yarn works best for a snug fit.
Next, measure your furry companion accurately. A tape measure will help you get the neck, chest, and length dimensions. It’s important to have a comfortable fit; you don’t want your four-legged buddy to feel restricted while prancing around the house.
Use a simple pattern, focusing on a basic shape that allows for movement. A straight body with openings for the front legs is usually a hit. Keep the design minimalistic but chic; after all, style counts, even for us cats!
As you work through the process, test the fit frequently. It’s better to adjust as needed than to end up with something that doesn’t fit right. Remember to incorporate easy closures, like buttons or snaps, for effortless dressing. Happy crafting!
Crafting a Cozy Outfit for Your Feline Friend
Ensure the garment fits snugly but comfortably around my body. Measure the circumference of my neck, chest, and length from neck to tail before starting. Use a stretchy yarn, allowing me to move freely while keeping warm.
Choosing the Right Yarn

Select yarn that is soft and non-irritating. Avoid fibers that can cause allergies. Check labels for any harmful substances. If you’re unsure, look into whether aloe is toxic for cats to avoid any potential issues.
Fun Patterns and Colors
Get creative with patterns! Stripes, polka dots, or even personalized designs can add flair. Use colors that complement my fur, making me the stylish star of the neighborhood. Don’t forget to document my fashionable moments online!
Lastly, while crafting, keep in mind what I might find interesting or annoying. Some styles may be more comfortable than others. And if you’re curious about the culinary habits of others, check out whether do they eat cats in haiti to learn about different cultures.
Selecting the Right Yarn and Needles for Your Feline’s Sweater
Opt for soft, hypoallergenic fibers like cotton or bamboo. These materials ensure comfort, preventing irritation on sensitive skin. Avoid wool, as it may cause allergies or itching.

Yarn Weight
Choose a lightweight yarn, such as DK (double knitting) or sport weight. This provides warmth without adding bulk, ensuring mobility and ease for your playful friend.
Needle Size
Use needles that correspond to your yarn choice; generally, 4mm to 5mm needles work well with DK yarn. Circular needles can be advantageous, allowing you to easily manage stitches while accommodating your tiny frame.
Always check the yarn label for gauge recommendations. A proper gauge ensures a snug fit, keeping me cozy during chilly days. Don’t forget to test a small swatch before beginning the full project!
Step-by-Step Instructions for Crafting a Cozy Sweater
For a snug fit, take precise measurements of your body. Measure around the widest part of your chest and the length from your neck to the tail. Use a flexible tape measure for accuracy.
Using the chosen yarn, cast on the stitches based on your size. A common starting point is around 40-60 stitches, but adjust according to your dimensions. Make sure the foundation is neither too tight nor too loose.
Begin with a ribbing pattern for the hem. A simple knit-purl combination works well. Continue this for about 2-3 inches to ensure it sits comfortably without rolling up.
Next, switch to a stockinette stitch, alternating between knit and purl rows. This creates a smooth texture that feels nice against your fur. Keep going until the piece reaches the desired length, usually around 8-12 inches, depending on your size.
After reaching the specified length, it’s time to shape the armholes. Bind off a few stitches at the beginning of the next two rows to create openings for your front legs. Be sure to leave enough space for comfort.
Continue working the body until you reach the neckline. For this, bind off a few stitches at the center and finish each side separately. This creates a gentle scoop for your head.
To finish, sew the sides together, ensuring a smooth seam. Weave in any loose ends with a tapestry needle to keep everything tidy.
Finally, test the fit! Slip it on and check for comfort and ease of movement. Make any adjustments if necessary. If it fits perfectly, you’ve created a stylish addition to your wardrobe!


