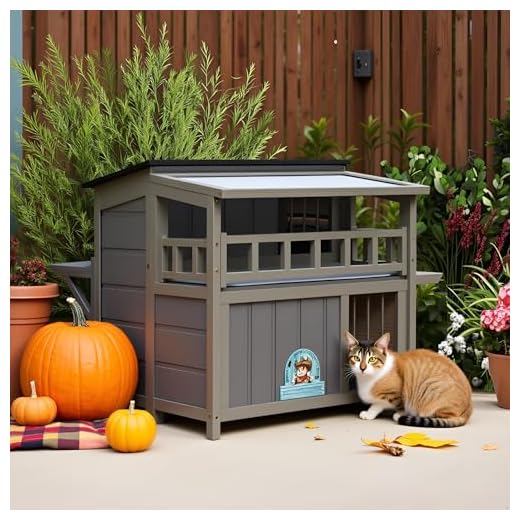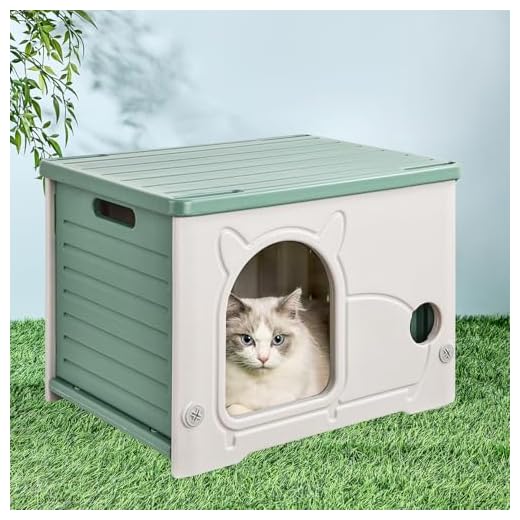


For a snug retreat, start with sturdy plywood, measuring at least 3/4 inch thick. This ensures durability against the elements. Cut panels for the base, walls, and roof, making sure to leave openings for entry and ventilation. An ideal size is around 24 inches wide, 30 inches long, and 24 inches high, providing ample space without being overwhelming.
Next, consider insulation. Use rigid foam boards or straw for warmth during chilly nights. Seal any gaps with weather-resistant caulk to prevent drafts. A slanted roof helps shed rain and snow, keeping the interior dry. Ensure the entrance is low enough for easy access but not so wide that it compromises safety.
Adding a removable roof or side panel allows for easy cleaning. I recommend a small overhang to shield the entrance from rain. Lastly, finish the exterior with non-toxic paint or stain to protect the materials and enhance aesthetics. Your furry companions will appreciate the comfort and security of their new shelter.
Choosing the Right Wood and Materials for Your Cat Shelter
For my cozy retreat, I recommend using untreated cedar or redwood. These types of timber are naturally resistant to rot and insects, making them long-lasting options. Avoid pressure-treated lumber, as the chemicals used can be harmful to us furry friends.
Insulation and Weatherproofing
Incorporate insulation materials like foam board or straw to keep the interior warm during chilly nights. A waterproof tarp can be added to the roof to prevent leaks. Ensure your structure has a sloped roof to allow rain to run off easily.
Interior Comfort
Inside, I suggest using soft bedding made from fleece or old blankets. This creates a warm and inviting environment. Also, consider adding a small scratching post or toys to keep me entertained. And don’t forget to think about my diet too! For ideas on alternatives to traditional kibble, check out what can i feed my cats instead of cat food.
Step-by-Step Instructions for Assembling the Cat Retreat
Gather your materials: ensure you have pre-cut panels, screws, and hinges ready. Start by laying out the base on a flat surface. Attach the side panels using screws, forming a sturdy frame.
Next, secure the back panel to the sides. This creates a solid structure. Make sure the screws are tight, as stability is key for a cozy retreat. Once the back is in place, attach the front panel, leaving an opening for entry.
After the walls are assembled, it’s time to focus on the roof. Use hinges to create a roof that can open for ventilation. Attach it at the top of the walls. Ensure it fits snugly to protect from the elements.
Don’t forget to add a floor! This step is crucial for comfort and insulation. Use a thick piece of material that fits within the walls. Secure it well to prevent any movement.
Lastly, consider adding insulation or blankets for warmth. This will help maintain a cozy environment during colder months. Check the dimensions to ensure your furry friend has enough space. For reference on size, you can check how much does an average male cat weigh.
Inspect the final product for any rough edges or sharp points. Safety is paramount. Once everything is secure and smooth, your new retreat is ready for use!


