


Installing a personal entrance can be a delightful project. First, gather materials: a sturdy piece of wood, a saw, a hinge set, and some weather stripping. Ensure the wood is thick enough to withstand daily use but not too heavy for easy operation.
Measure the height carefully–ideally, it should be around my shoulder level. Cut the wood to size, making sure the edges are smooth to avoid any scratches. Attach the hinges on one side, allowing the flap to swing open effortlessly.
To provide a snug fit and prevent drafts, add weather stripping along the edges. This little detail makes a big difference in comfort. Finally, test the flap to ensure it swings freely. A well-crafted entrance not only enhances my independence but adds a charming touch to the home.
Choosing the Right Materials for Your Cat Door Project
For a durable entrance, prioritize solid materials like plywood or MDF, which withstand wear and tear. Avoid flimsy options that could warp over time. For the frame, consider using a sturdy wood or PVC, as they provide stability and longevity.
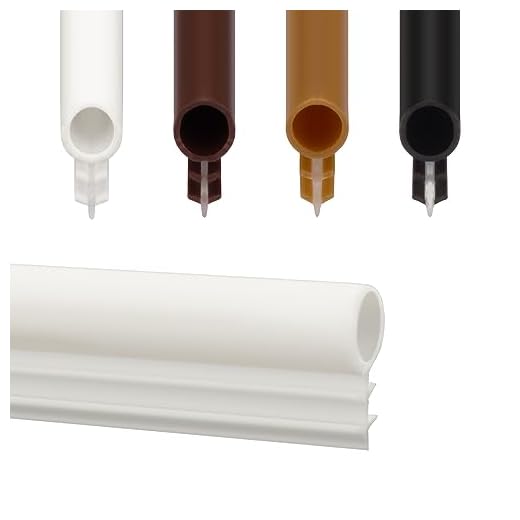
Insulation is key for thermal efficiency. Look for weather stripping or foam insulation to keep the heat in during colder months. This will ensure comfort throughout the seasons.
Transparency in the panel is vital. Opt for acrylic or polycarbonate instead of glass, as these materials are lightweight and shatter-resistant, making them safer for playful paws.
Secure closures are essential. Magnetic or spring-loaded latches can offer convenience and safety, ensuring that the access point remains closed when not in use. This also prevents unwanted visitors from entering.
Consider aesthetics too. A painted or stained finish can blend the entrance with your home’s decor while enhancing its overall appeal. Don’t forget to think about how it will look against the backdrop of your living space.
Lastly, think about maintenance. Choose materials that are easy to clean and resistant to scratches. Keeping the entryway tidy will make life easier for both of us.
For a fun twist, check out a cat that barks like a dog for some amusing inspiration!
Step-by-Step Instructions for Installing a Feline Access Point
Measure the height where the opening will be placed. Typically, it should be around 6 inches from the floor, allowing easy access for smaller companions.
Mark the outline of the frame on the surface with a pencil. Ensure the dimensions match the size of the chosen flap for precise fitting.
Using a suitable saw, carefully cut out the marked area. If it’s a wooden surface, a jigsaw works best. Always wear safety goggles during this process.
Sand the edges of the cut opening to prevent splinters and ensure a smooth finish. This step is crucial for both aesthetics and safety.
Position the frame into the opening and secure it using screws. Make sure it is level and flush with the surface to avoid gaps.
Attach the flap according to the manufacturer’s instructions. Ensure it swings freely without obstruction. Testing it multiple times will gauge its functionality.
Seal any gaps with weather stripping to enhance insulation and prevent drafts. This detail can also discourage unwanted pests from entering.
Conduct a final check to ensure everything is secure and operational. Encourage your furry friend to explore the new access point!
For an interesting perspective related to our feline friends, check out why do anime girls look like cats.
FAQ:
What materials do I need to build a DIY cat door?
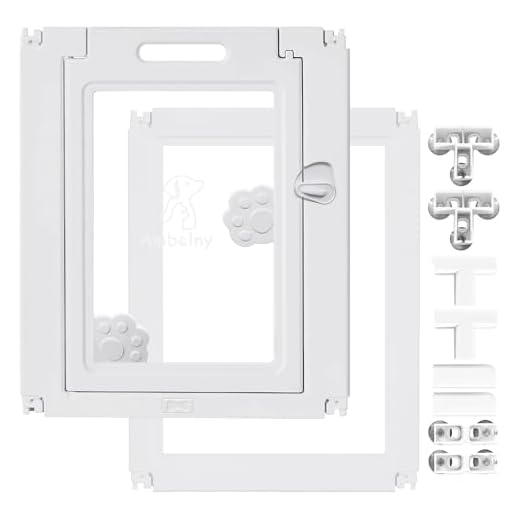
To create a cat door, you’ll need several materials. Start with a piece of plywood or a pre-made cat door kit, which includes the door flap and frame. You’ll also require hinges, a latch or magnet to keep the door closed, screws, and a saw for cutting the wood to size. Additionally, sandpaper for smoothing edges and paint or wood stain for finishing touches can enhance the look of your cat door. Don’t forget a measuring tape and a level to ensure proper installation.
How do I measure my cat for the door?
Measuring your cat for a DIY door involves a few simple steps. First, measure your cat’s height from the ground to the top of its shoulders. Add a couple of inches to this measurement to ensure easy access. Next, measure the width by observing your cat’s body width at its widest point, usually around the shoulders or chest. Again, add a little extra space for comfort. It’s a good idea to create a door that is a bit larger than these measurements to accommodate any growth and allow for easy passage.
Can I install a cat door in a wall instead of a door?
Yes, you can install a cat door in a wall, but it requires a bit more work than installing one in a standard door. You’ll need to locate the studs in the wall and ensure there are no electrical wires or plumbing in the area. Use a drywall saw to cut an opening that matches the size of your cat door. After the hole is made, you’ll need to frame it properly to support the door and ensure it fits securely. It may also be beneficial to add insulation around the edges to maintain temperature control in your home.
What are some tips for training my cat to use the new door?
Training your cat to use a new door can take some time and patience. Start by propping the door open and encouraging your cat to explore it. Use treats or toys to entice your cat to approach and eventually go through the door. If you have a flap door, you can hold it open initially and gradually let it close as your cat becomes more comfortable. Always reward your cat with praise or treats when it successfully uses the door. Consistency is key, so practice regularly until your cat confidently uses the door on its own.
Video:
Installing a personal entrance can be a delightful project. First, gather materials: a sturdy piece of wood, a saw, a hinge set, and some weather stripping. Ensure the wood is thick enough to withstand daily use but not too heavy for easy operation.
Measure the height carefully–ideally, it should be around my shoulder level. Cut the wood to size, making sure the edges are smooth to avoid any scratches. Attach the hinges on one side, allowing the flap to swing open effortlessly.
To provide a snug fit and prevent drafts, add weather stripping along the edges. This little detail makes a big difference in comfort. Finally, test the flap to ensure it swings freely. A well-crafted entrance not only enhances my independence but adds a charming touch to the home.
Choosing the Right Materials for Your Cat Door Project
For a durable entrance, prioritize solid materials like plywood or MDF, which withstand wear and tear. Avoid flimsy options that could warp over time. For the frame, consider using a sturdy wood or PVC, as they provide stability and longevity.
Insulation is key for thermal efficiency. Look for weather stripping or foam insulation to keep the heat in during colder months. This will ensure comfort throughout the seasons.
Transparency in the panel is vital. Opt for acrylic or polycarbonate instead of glass, as these materials are lightweight and shatter-resistant, making them safer for playful paws.
Secure closures are essential. Magnetic or spring-loaded latches can offer convenience and safety, ensuring that the access point remains closed when not in use. This also prevents unwanted visitors from entering.
Consider aesthetics too. A painted or stained finish can blend the entrance with your home’s decor while enhancing its overall appeal. Don’t forget to think about how it will look against the backdrop of your living space.
Lastly, think about maintenance. Choose materials that are easy to clean and resistant to scratches. Keeping the entryway tidy will make life easier for both of us.
For a fun twist, check out a cat that barks like a dog for some amusing inspiration!
Step-by-Step Instructions for Installing a Feline Access Point
Measure the height where the opening will be placed. Typically, it should be around 6 inches from the floor, allowing easy access for smaller companions.
Mark the outline of the frame on the surface with a pencil. Ensure the dimensions match the size of the chosen flap for precise fitting.
Using a suitable saw, carefully cut out the marked area. If it’s a wooden surface, a jigsaw works best. Always wear safety goggles during this process.
Sand the edges of the cut opening to prevent splinters and ensure a smooth finish. This step is crucial for both aesthetics and safety.
Position the frame into the opening and secure it using screws. Make sure it is level and flush with the surface to avoid gaps.
Attach the flap according to the manufacturer’s instructions. Ensure it swings freely without obstruction. Testing it multiple times will gauge its functionality.
Seal any gaps with weather stripping to enhance insulation and prevent drafts. This detail can also discourage unwanted pests from entering.
Conduct a final check to ensure everything is secure and operational. Encourage your furry friend to explore the new access point!
For an interesting perspective related to our feline friends, check out why do anime girls look like cats.
FAQ:
What materials do I need to build a DIY cat door?
To create a cat door, you’ll need several materials. Start with a piece of plywood or a pre-made cat door kit, which includes the door flap and frame. You’ll also require hinges, a latch or magnet to keep the door closed, screws, and a saw for cutting the wood to size. Additionally, sandpaper for smoothing edges and paint or wood stain for finishing touches can enhance the look of your cat door. Don’t forget a measuring tape and a level to ensure proper installation.
How do I measure my cat for the door?
Measuring your cat for a DIY door involves a few simple steps. First, measure your cat’s height from the ground to the top of its shoulders. Add a couple of inches to this measurement to ensure easy access. Next, measure the width by observing your cat’s body width at its widest point, usually around the shoulders or chest. Again, add a little extra space for comfort. It’s a good idea to create a door that is a bit larger than these measurements to accommodate any growth and allow for easy passage.
Can I install a cat door in a wall instead of a door?
Yes, you can install a cat door in a wall, but it requires a bit more work than installing one in a standard door. You’ll need to locate the studs in the wall and ensure there are no electrical wires or plumbing in the area. Use a drywall saw to cut an opening that matches the size of your cat door. After the hole is made, you’ll need to frame it properly to support the door and ensure it fits securely. It may also be beneficial to add insulation around the edges to maintain temperature control in your home.
What are some tips for training my cat to use the new door?
Training your cat to use a new door can take some time and patience. Start by propping the door open and encouraging your cat to explore it. Use treats or toys to entice your cat to approach and eventually go through the door. If you have a flap door, you can hold it open initially and gradually let it close as your cat becomes more comfortable. Always reward your cat with praise or treats when it successfully uses the door. Consistency is key, so practice regularly until your cat confidently uses the door on its own.
Video:
Installing a personal entrance can be a delightful project. First, gather materials: a sturdy piece of wood, a saw, a hinge set, and some weather stripping. Ensure the wood is thick enough to withstand daily use but not too heavy for easy operation.
Measure the height carefully–ideally, it should be around my shoulder level. Cut the wood to size, making sure the edges are smooth to avoid any scratches. Attach the hinges on one side, allowing the flap to swing open effortlessly.
To provide a snug fit and prevent drafts, add weather stripping along the edges. This little detail makes a big difference in comfort. Finally, test the flap to ensure it swings freely. A well-crafted entrance not only enhances my independence but adds a charming touch to the home.
Choosing the Right Materials for Your Cat Door Project
For a durable entrance, prioritize solid materials like plywood or MDF, which withstand wear and tear. Avoid flimsy options that could warp over time. For the frame, consider using a sturdy wood or PVC, as they provide stability and longevity.
Insulation is key for thermal efficiency. Look for weather stripping or foam insulation to keep the heat in during colder months. This will ensure comfort throughout the seasons.
Transparency in the panel is vital. Opt for acrylic or polycarbonate instead of glass, as these materials are lightweight and shatter-resistant, making them safer for playful paws.
Secure closures are essential. Magnetic or spring-loaded latches can offer convenience and safety, ensuring that the access point remains closed when not in use. This also prevents unwanted visitors from entering.
Consider aesthetics too. A painted or stained finish can blend the entrance with your home’s decor while enhancing its overall appeal. Don’t forget to think about how it will look against the backdrop of your living space.
Lastly, think about maintenance. Choose materials that are easy to clean and resistant to scratches. Keeping the entryway tidy will make life easier for both of us.
For a fun twist, check out a cat that barks like a dog for some amusing inspiration!
Step-by-Step Instructions for Installing a Feline Access Point
Measure the height where the opening will be placed. Typically, it should be around 6 inches from the floor, allowing easy access for smaller companions.
Mark the outline of the frame on the surface with a pencil. Ensure the dimensions match the size of the chosen flap for precise fitting.

Using a suitable saw, carefully cut out the marked area. If it’s a wooden surface, a jigsaw works best. Always wear safety goggles during this process.
Sand the edges of the cut opening to prevent splinters and ensure a smooth finish. This step is crucial for both aesthetics and safety.
Position the frame into the opening and secure it using screws. Make sure it is level and flush with the surface to avoid gaps.
Attach the flap according to the manufacturer’s instructions. Ensure it swings freely without obstruction. Testing it multiple times will gauge its functionality.
Seal any gaps with weather stripping to enhance insulation and prevent drafts. This detail can also discourage unwanted pests from entering.
Conduct a final check to ensure everything is secure and operational. Encourage your furry friend to explore the new access point!
For an interesting perspective related to our feline friends, check out why do anime girls look like cats.
FAQ:
What materials do I need to build a DIY cat door?
To create a cat door, you’ll need several materials. Start with a piece of plywood or a pre-made cat door kit, which includes the door flap and frame. You’ll also require hinges, a latch or magnet to keep the door closed, screws, and a saw for cutting the wood to size. Additionally, sandpaper for smoothing edges and paint or wood stain for finishing touches can enhance the look of your cat door. Don’t forget a measuring tape and a level to ensure proper installation.
How do I measure my cat for the door?
Measuring your cat for a DIY door involves a few simple steps. First, measure your cat’s height from the ground to the top of its shoulders. Add a couple of inches to this measurement to ensure easy access. Next, measure the width by observing your cat’s body width at its widest point, usually around the shoulders or chest. Again, add a little extra space for comfort. It’s a good idea to create a door that is a bit larger than these measurements to accommodate any growth and allow for easy passage.
Can I install a cat door in a wall instead of a door?
Yes, you can install a cat door in a wall, but it requires a bit more work than installing one in a standard door. You’ll need to locate the studs in the wall and ensure there are no electrical wires or plumbing in the area. Use a drywall saw to cut an opening that matches the size of your cat door. After the hole is made, you’ll need to frame it properly to support the door and ensure it fits securely. It may also be beneficial to add insulation around the edges to maintain temperature control in your home.
What are some tips for training my cat to use the new door?
Training your cat to use a new door can take some time and patience. Start by propping the door open and encouraging your cat to explore it. Use treats or toys to entice your cat to approach and eventually go through the door. If you have a flap door, you can hold it open initially and gradually let it close as your cat becomes more comfortable. Always reward your cat with praise or treats when it successfully uses the door. Consistency is key, so practice regularly until your cat confidently uses the door on its own.


