For immediate relief, combine equal parts of white vinegar and water in a spray bottle. Generously apply the mixture to the affected area, allowing it to sit for approximately 10 minutes before blotting with a clean cloth. This natural solution neutralizes odors effectively.
If the issue persists, consider using baking soda as an absorbent agent. Sprinkle a generous amount over the treated area after the vinegar solution has dried. Let it sit for several hours or overnight to absorb any lingering scents, then vacuum it up to reveal a fresher surface.
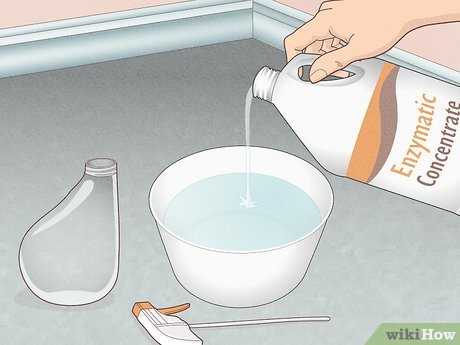
For stubborn cases, enzymatic cleaners specifically designed for organic stains can be a game changer. These products break down odor-causing substances at a molecular level. Follow the manufacturer’s instructions for optimal results, ensuring the cleaner is applied directly to the source of the odor.

Lastly, regular maintenance is vital. Keeping surfaces clean and dry will prevent future occurrences. Regularly check for any signs of moisture and address them immediately to maintain a pleasant environment.
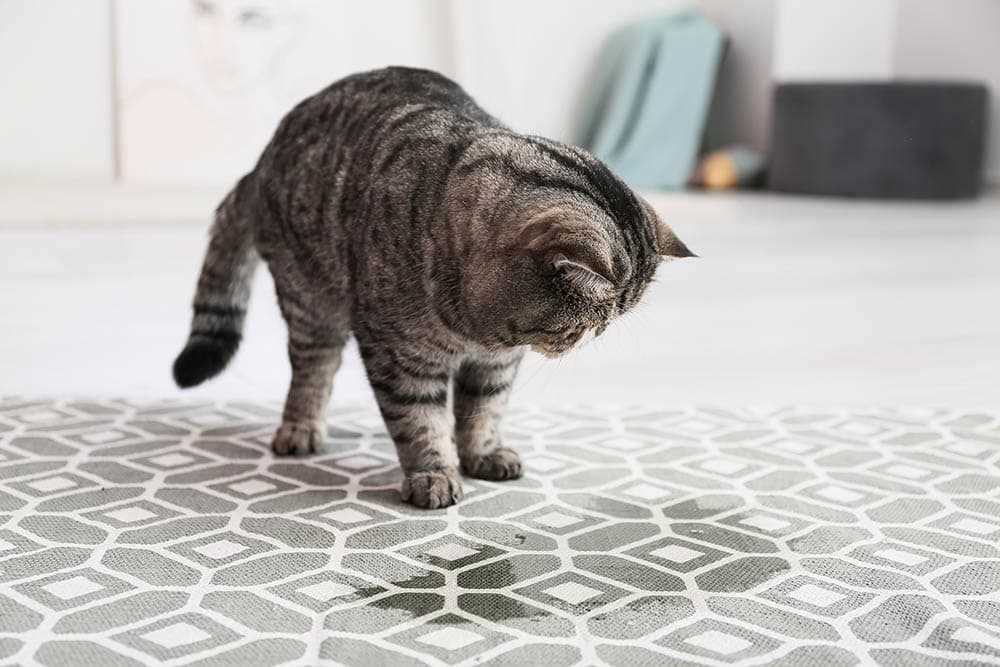
Identifying the Source of the Odor
First, locate the specific areas where the scent is strongest. Sniff around the space to pinpoint problem spots. Once identified, consider these methods:
- Use a black light to reveal any hidden stains. The glow will help you see areas not visible to the naked eye.
- Check for moisture. Wet patches can indicate lingering residue, which may require additional attention.
- Inspect corners, baseboards, and seams in flooring. These areas often trap odors more effectively.
Next, assess the age of the marks. Older stains may require more intensive cleaning methods than newer ones. For persistent issues, identify the cleaning products previously used, as some may not effectively neutralize the odor.
Finally, verify if any items might have absorbed the scent, such as rugs or furniture. Removing or cleaning these items can significantly help in eliminating the issue.
Choosing the Right Cleaning Solution
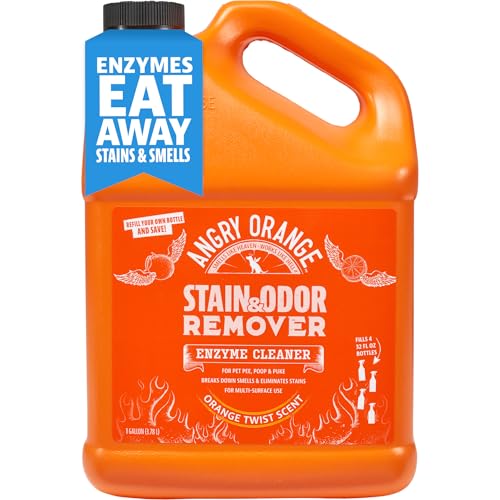
For tackling unpleasant odors on surfaces, enzymatic cleaners are my top choice. They break down the compounds causing the stink, effectively neutralizing the source rather than just masking it.
Homemade Options
If you’re feeling crafty, a mixture of white vinegar and baking soda works wonders. Combine one part vinegar with one part water, spray it on the affected area, sprinkle baking soda, and let it sit before scrubbing. This duo helps to eliminate unpleasant scents naturally.
Commercial Products
When opting for store-bought solutions, select those specifically designed for pet messes. Look for labels that mention enzyme-based or bio-enzymatic formulas. These products are engineered to target and digest odor-causing substances, ensuring a fresh environment.
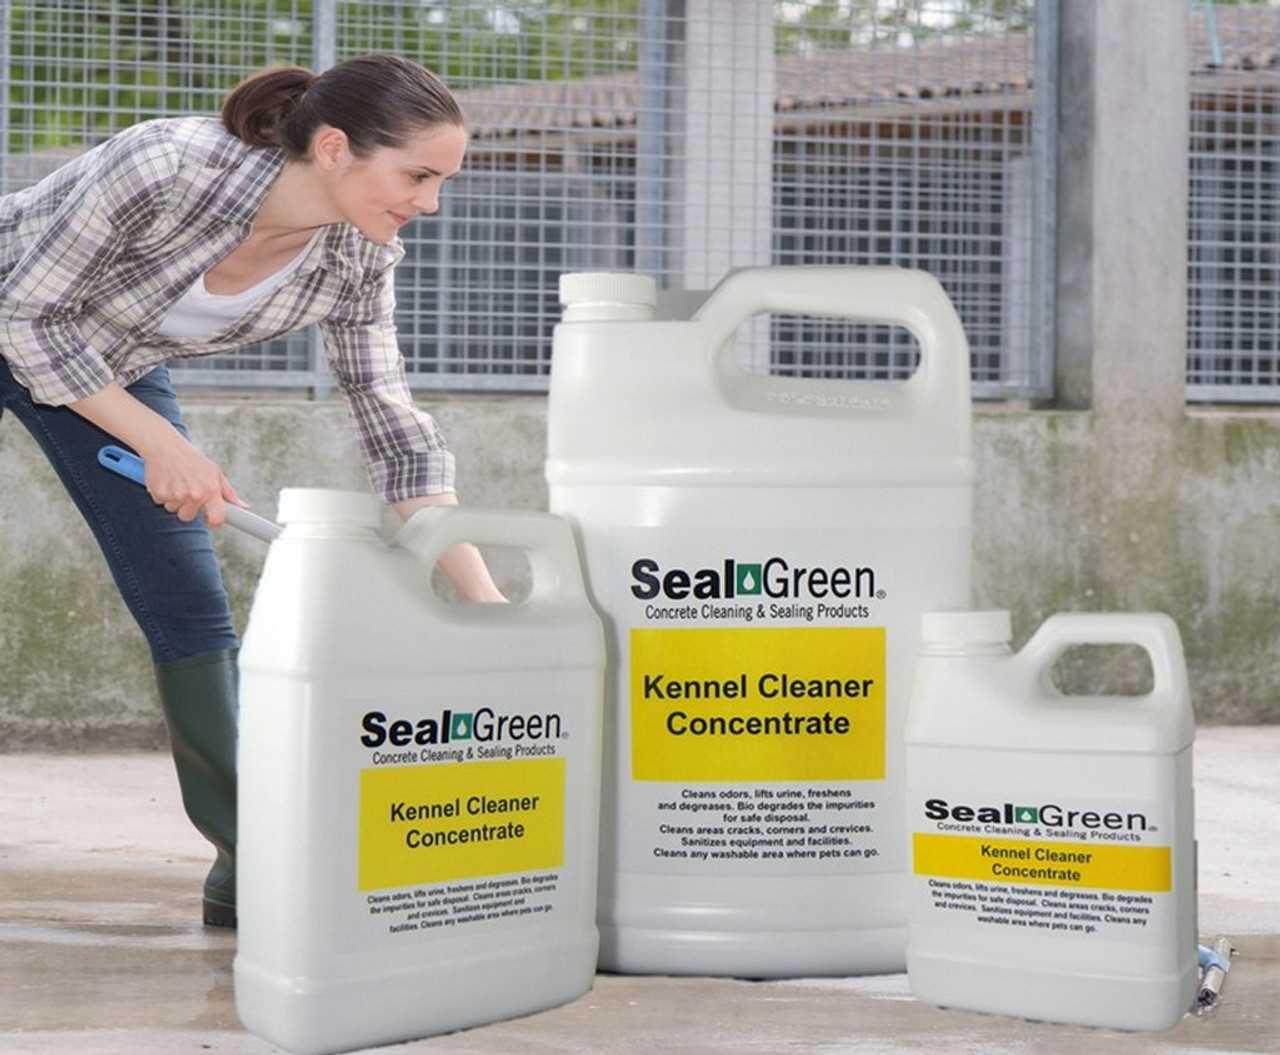
Preparing the Concrete Surface for Treatment
Thoroughly clean the area before applying any cleaning agents. Remove loose debris and dirt using a broom or vacuum. For stubborn particles, consider scrubbing with a stiff brush and soapy water. Rinse well with plain water to ensure no residue remains.
After cleaning, allow the surface to dry completely. Moisture can hinder the effectiveness of cleaning solutions, so ensure it is bone-dry before continuing. This step is crucial for optimal results.
Once dry, assess the surface for any remaining stains or discoloration. Identifying these spots will help in targeting the treatment more effectively. For better absorption of the cleaning solution, it might be beneficial to lightly etch the surface using a concrete cleaner or a similar product. This will enhance the penetration of your chosen solution.
For ongoing prevention, consider investing in the best litter box for multiple cats automatic. This can significantly reduce future incidents, making maintenance easier.
Finally, keep the area well-ventilated while treating, and ensure that pets are kept away until the surface is completely dry and odor-free. This will help in achieving a fresh environment once the process is complete.
Applying the Cleaning Solution Properly
First, ensure the area is well-ventilated. Open windows and doors to maximize airflow. This helps with the drying process and reduces any lingering odors from the cleaning products.
Next, pour the chosen cleaning solution directly onto the affected area. Use enough liquid to saturate the surface thoroughly. Avoid skimping, as a deeper penetration is often necessary for complete odor removal.
Utilize a scrub brush with stiff bristles to work the solution into the surface. Scrubbing not only helps to lift stains but also allows the cleaner to penetrate more effectively. Make sure to cover all areas, especially spots that may not be immediately visible.
For stubborn areas, let the solution sit for at least 10-15 minutes before scrubbing again. This dwell time is crucial for breaking down any remaining residues that contribute to the unpleasant aroma.
After scrubbing, rinse the area with clean water. This step removes any remaining cleaner and contaminants. A pressure washer can be beneficial if available, as it provides a thorough rinse and helps to clean deeply embedded particles.
Finally, allow the surface to dry completely. If possible, place fans around the area to expedite drying. Once the area is dry, check for any remaining odors. If necessary, repeat the cleaning process for optimal results.
| Step | Action |
|---|---|
| 1 | Ventilate the area |
| 2 | Apply cleaning solution generously |
| 3 | Scrub with a stiff brush |
| 4 | Let the solution sit |
| 5 | Rinse thoroughly |
| 6 | Allow to dry completely |
Rinsing and Drying the Area
After applying the cleaning solution, it’s time to rinse thoroughly. Use a hose or a bucket of water to wash away any remaining residue. Ensure that the liquid flows away from the treated area to prevent any potential re-soiling. Aim for a generous amount of water to dilute the cleaning agents and eliminate any lingering odors.
Drying Techniques
Once rinsed, drying the surface is crucial. Use absorbent towels or rags to blot the area, soaking up excess moisture. For larger spaces, a wet/dry vacuum can be very effective. If the weather permits, open windows or turn on fans to improve air circulation. Sunlight can also aid in drying and further neutralizing any odors.
Final Check
After the area is dry, conduct a quick inspection. If any scent remains, it may indicate that deeper cleaning is needed. Be vigilant and repeat the rinsing and drying process if necessary. A fresh and clean surface will ensure a comfortable environment.
Preventing Future Incidents

To ensure no more unpleasant odors arise in the future, consider the following steps:
- Regularly clean the area where I frequent, using a mixture of vinegar and water to deter any lingering scents.
- Implement a routine check for potential accidents. Quick action prevents odors from settling into surfaces.
- Provide multiple litter boxes in different locations to encourage proper usage. This reduces the chance of accidents.
- Use enzymatic cleaners specifically designed to neutralize odors, ensuring the area is treated promptly after any incident.
- Keep my litter box clean. A daily scoop and regular full changes help maintain an odor-free environment.
- Consider using odor-absorbing products around the home to help manage smells.
For those cleaning tools, I found that a JML scrubber can be handy, especially for tough stains and marks. Keeping everything tidy is key to avoiding future issues!