For those pesky odors lingering in your sleeping surface, the first step is to absorb the problematic area with paper towels. Gently press down to soak up any moisture, taking care not to rub, as this can spread the issue further.
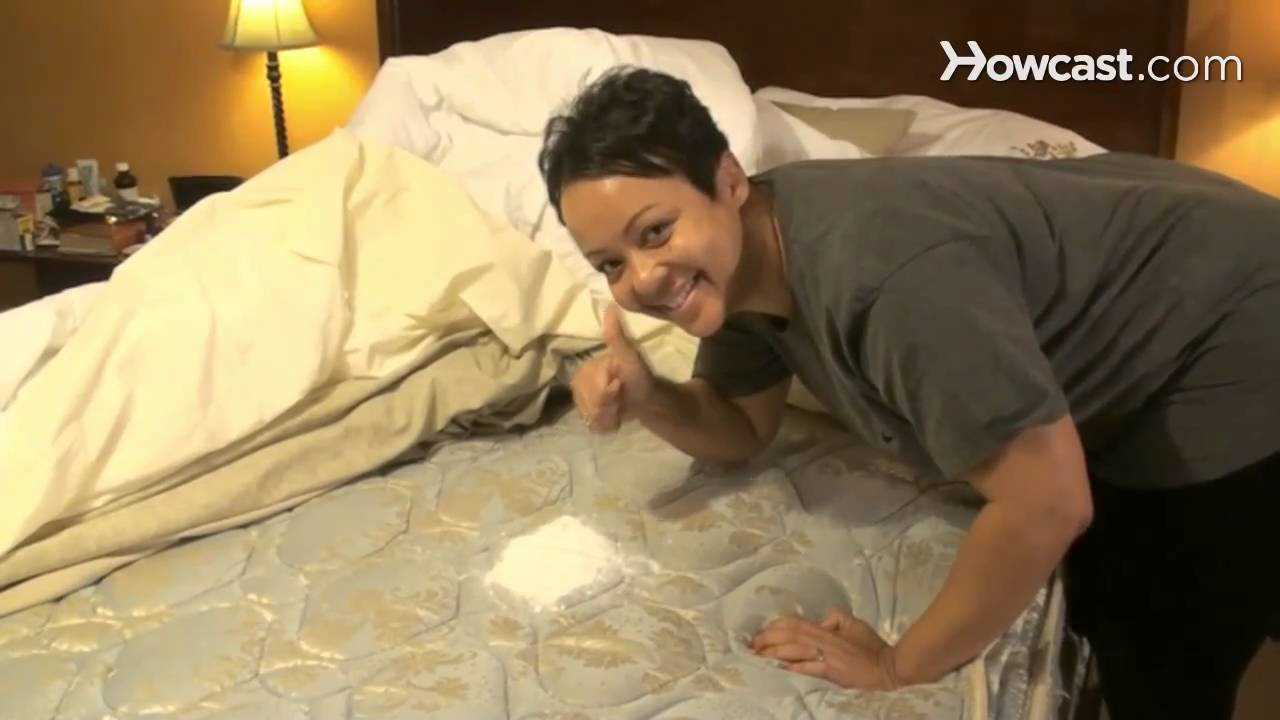
Afterward, sprinkle a generous amount of baking soda over the affected spot. This natural deodorizer works wonders by neutralizing unpleasant scents. Let it sit for several hours, or even overnight, to allow it to fully absorb the odors.
Next, create a mixture of equal parts white vinegar and water in a spray bottle. Lightly mist the area, avoiding saturation. The vinegar will help break down any remaining residues. After applying, allow it to air dry completely.
For the final touch, vacuum the area thoroughly to remove the baking soda. This step ensures that any residual particles are eliminated, leaving your sleeping surface fresh and odor-free.
Identify the Affected Area
To pinpoint the trouble spot, gently press on the surface. If it feels damp, that’s your cue. Look for discoloration, as the fabric might have turned a different shade due to moisture.
Use your nose; if a distinct odor wafts from a specific section, focus on that area. Shine a flashlight on the mattress to reveal any hidden stains that might not be visible in regular light.
For a thorough check, run your fingers across the seams and edges where liquid may have seeped in. Pay special attention to the areas where I might have curled up or spent time.
Mark the affected zones with a piece of tape or a marker, so you know exactly where to concentrate your cleaning efforts later.
Choose the right cleaning solution for urine stains
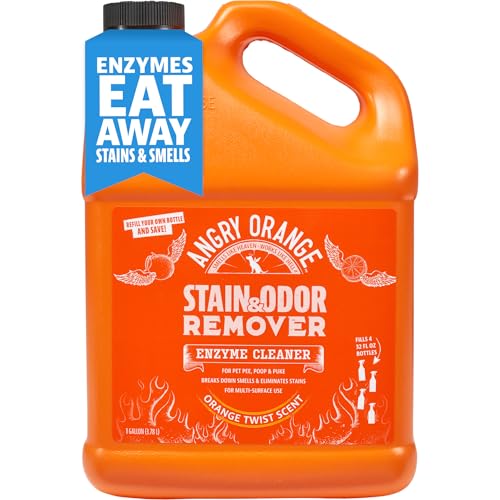
Enzymatic cleaners work wonders on organic stains. They break down the components of the liquid, effectively neutralizing odors. Look for products specifically designed for pet accidents, as they contain the necessary enzymes to tackle these issues.
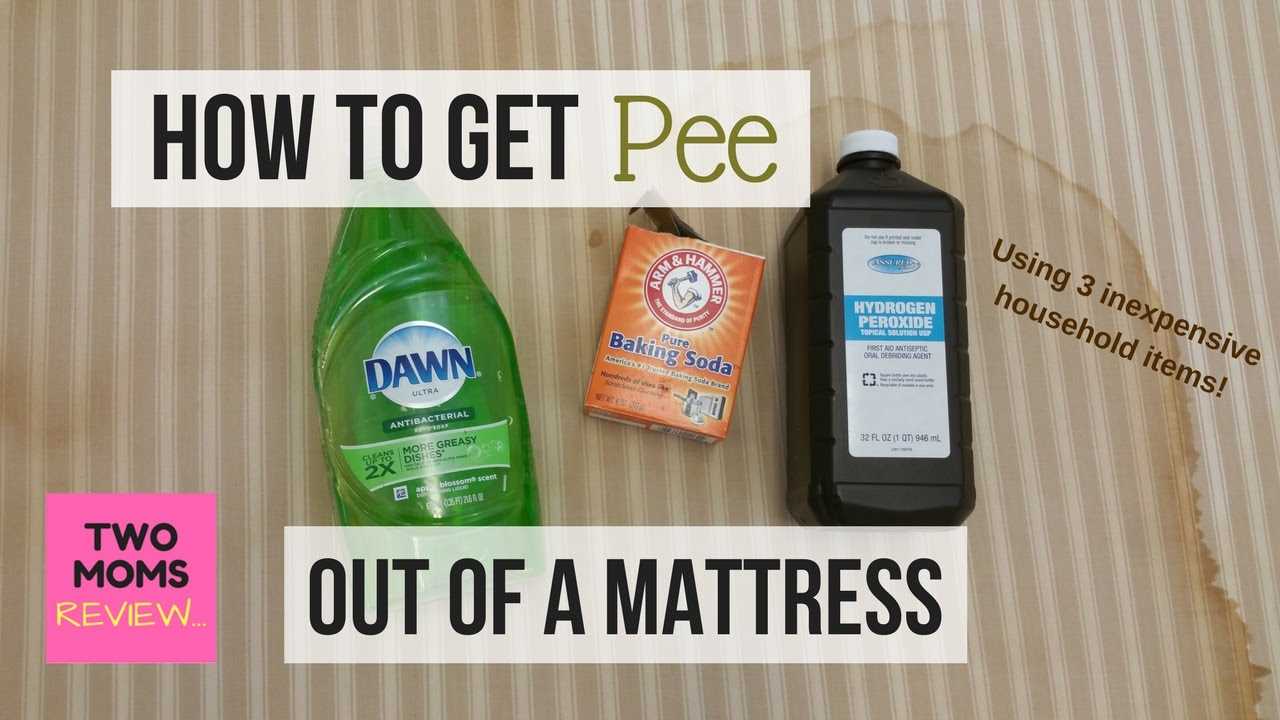
Vinegar mixed with water is another excellent choice. A 50/50 solution can help lift stains and leave a fresh scent. Just remember to test it on a small area first to ensure it won’t damage the fabric.
Commercial vs. Homemade Solutions
Commercial products often offer targeted formulations, while homemade solutions can be cost-effective. If you prefer a do-it-yourself approach, baking soda can be sprinkled on the damp area after cleaning, absorbing any lingering scents.
For stubborn odors, a mixture of hydrogen peroxide, dish soap, and baking soda can enhance cleaning power. Apply it carefully and allow it to sit for a while before blotting it up.
Testing and Application
Always perform a spot test with any solution before a full application. This helps prevent any unexpected reactions with the mattress material. Follow the manufacturer’s instructions for commercial products to achieve the best results.
For further reading on cleaning techniques, you might find this link helpful: can i use my pressure washer on lanai screens.
Prepare the Surface for Deep Cleaning
Remove all bedding and any protective covers from the surface. This ensures that the cleaning solution can reach the fabric directly without any barriers.
Next, vacuum the area thoroughly. Use an upholstery attachment to capture any loose debris, hair, or particles that may have settled into the fibers. This step is crucial for achieving the best results.
Once vacuuming is complete, inspect the surface for any visible stains or discoloration. Mark these spots for targeted cleaning later.
To help the cleaning process, consider placing the surface in a well-ventilated area. If possible, allow it to air out in sunlight, as UV rays can help neutralize odors.
Gather Necessary Supplies
Prepare your cleaning supplies, which may include:
- White vinegar or enzymatic cleaners
- Baking soda
- Soft cloths or sponges
- A spray bottle for easy application
Also, keep nearby any items you may need after cleaning, like fresh bedding and a protective cover to keep it safe from future incidents.
If you’re looking to keep your fur friend free from unwanted visitors, check out the best over the counter flea and tick for cats to maintain a healthy environment.
Apply the cleaning solution properly
First, ensure the area is well-ventilated. Open windows or use a fan to help disperse odors. Then, take your chosen cleaning mixture and pour it into a spray bottle for even application. This helps to avoid over-saturating any section of the surface.
Spray the solution generously over the targeted zone, making sure to cover it thoroughly but not to the point of dripping. Gently blot the area with a clean cloth or paper towel, working from the outside toward the center to prevent spreading. Avoid scrubbing, as this can push the liquid deeper into the fibers.
Let it Sit
After applying the cleaner, allow it to sit for at least 10-15 minutes. This gives the solution time to break down the unpleasant residue. For stubborn issues, consider extending the wait to 30 minutes. Once the time is up, use a fresh cloth to blot the area again, absorbing as much of the solution as possible.
Rinse and Dry
If the instructions suggest rinsing, lightly spray the area with water and blot once more to remove any remaining cleaner. Finally, ensure the area is completely dry. Use fans or a hairdryer on a cool setting to speed up the drying process. This step is critical to prevent any moisture from attracting new odors.
Dry the mattress thoroughly after cleaning
After applying the cleaning solution, it’s crucial to dry the surface completely. Use a clean, dry towel to blot any excess moisture. Press down firmly to absorb as much liquid as possible. This step prevents mold and mildew from developing.
Utilize air circulation
Position the bed in a well-ventilated area or use fans to enhance air circulation. If the weather permits, placing the item outside in the sun can be particularly beneficial. Sunlight not only speeds up the drying process but also helps eliminate lingering odors.
Check for moisture
Once the surface appears dry, check by feeling different areas with your hand. If any part still feels damp, continue the drying process. Ensuring thorough dryness is key to maintaining a fresh sleeping environment.
Prevent Future Accidents with Proper Training and Products

Establishing a routine is key. Regular litter box training is essential. Ensure the box is accessible and clean. I prefer a tidy space, and I bet others do too. Use a litter that appeals to my senses; it makes a difference.
Training Tips
Positive reinforcement works wonders. Use treats or praise when I use the box correctly. Create a consistent schedule for feeding and bathroom breaks to help me anticipate when to go.
Recommended Products
Invest in high-quality litter boxes that are easy to clean. Consider options with covers for privacy, yet ensure they’re not too enclosed. Some products help control odors; they can be a lifesaver. Use enzymatic cleaners specifically designed for feline messes to neutralize any accidents.
| Product Type | Recommended Features | Benefits |
|---|---|---|
| Litter Box | Easy to clean, covered options | Encourages use, reduces mess |
| Litter | Low dust, appealing texture | Comfortable for paws, minimizes tracking |
| Cleaning Solution | Enzymatic formula | Breaks down odor-causing substances |
Monitor my behavior for signs of stress or discomfort. Regular vet check-ups can help catch any health issues early. Combine these strategies for a happier, accident-free home.