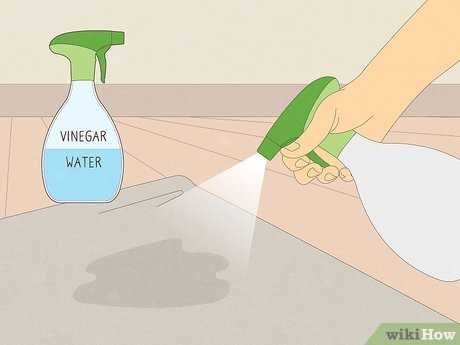
Begin with a solution of white vinegar and water. Mix equal parts in a spray bottle, apply to the affected area, and let it sit for about 15 minutes. This natural approach neutralizes unpleasant odors effectively.
Next, sprinkle baking soda generously over the damp area. Allow it to absorb any lingering scents for several hours or overnight. Vacuum the residue afterward to remove any remnants.
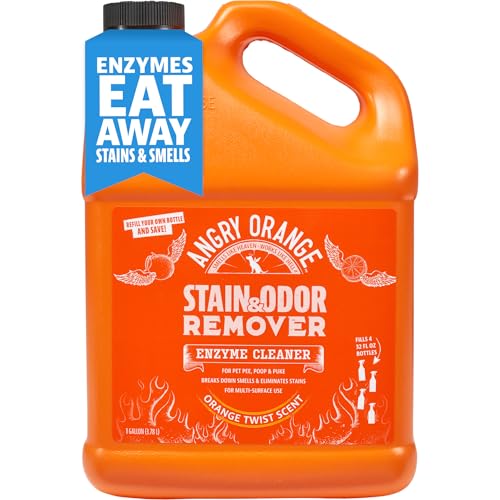
For persistent odors, consider using enzymatic cleaners specifically designed for biological stains. These products break down the components causing the odor, providing a deeper clean.
Finally, ensure proper ventilation in the room. Open windows and use fans to circulate fresh air, which aids in dissipating any remaining odors.
Identify the Source of the Odor
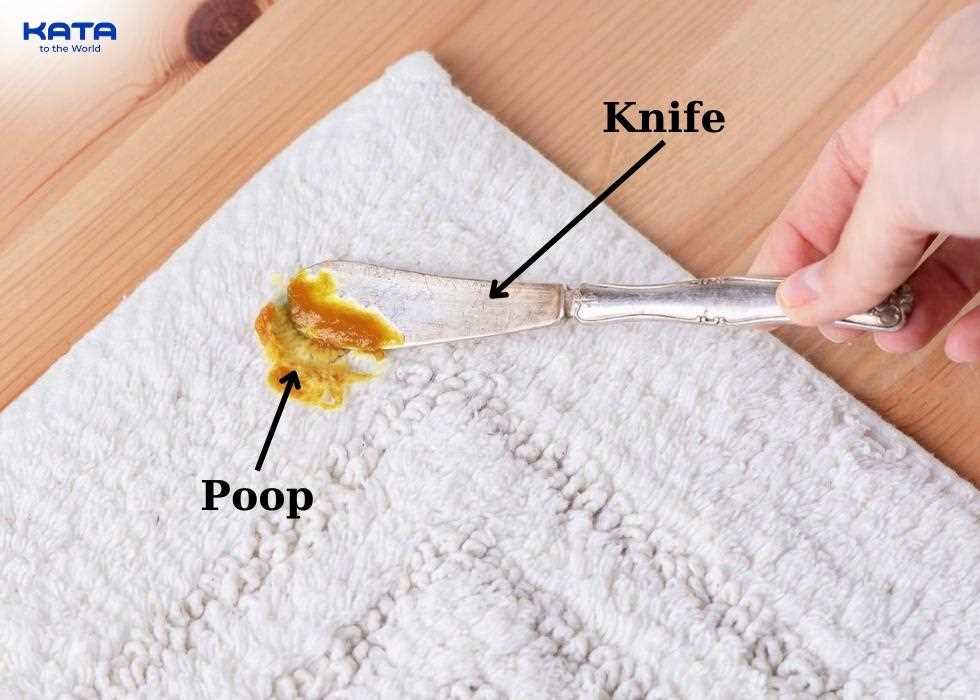
First, locate the exact area where the unpleasant scent is strongest. Use your nose as a guide–sniff around until you find the most intense spot. Sometimes, the evidence isn’t visible, so keep an eye out for any stains or discoloration on the fabric.

Once you’ve identified the region, feel the texture of the material. If it feels damp or sticky, that’s a sign of a recent incident. If the area is dry, it might be an old problem that requires a different approach.
Check nearby furniture and baseboards. Sometimes, the source can be hidden beneath or behind objects. Don’t forget to inspect corners and crevices, as these are often overlooked. If you discover multiple spots, make a note of each one to address them all.
Consider the possibility of underlying issues. A persistent odor might indicate health problems or behavioral issues that need attention. In such cases, consulting a veterinarian may be beneficial.
Once the source is pinpointed, it’s time to strategize on cleaning methods that will effectively tackle the situation.
Gather Necessary Cleaning Supplies
I recommend having a few specific items ready before tackling the issue. First, grab an enzymatic cleaner designed for pet messes. This type of solution breaks down odor-causing substances effectively. Choose a spray bottle for easy application.
Next, a soft cloth or paper towels will be essential for blotting the area. Avoid using anything abrasive that could damage the fibers of the flooring.
A scrub brush with soft bristles can help work the cleaner into the surface, ensuring a thorough clean. Additionally, a bucket filled with warm water will assist with rinsing any leftover cleaner after treatment.
Consider having baking soda on hand as well; it’s excellent for neutralizing lingering odors. After the initial cleaning, sprinkling some on the affected area can help absorb any remaining scents.
Lastly, a vacuum cleaner will be useful for removing baking soda after it sits for some time. Make sure it has a good suction to pick up all the residue.
Use Baking Soda for Odor Absorption
Sprinkle a generous amount of baking soda directly onto the affected area. Ensure it covers the entire spot where the unpleasant odor lingers. This ingredient works wonders in absorbing unwanted scents.
Allow the baking soda to sit for several hours, or even overnight, to maximize its effectiveness. During this time, it will pull in the odors and help neutralize them.
After the waiting period, vacuum the area thoroughly. Make sure to remove all the baking soda, as leaving any residue can lead to further issues. You’ll notice a significant reduction in the unpleasant aroma.
For persistent odors, repeat this process as needed. Baking soda is safe and non-toxic, making it perfect for use around pets. It’s a simple, natural solution that can greatly improve your space.
Apply Enzymatic Cleaners Correctly
First, choose a quality enzymatic cleaner specifically formulated for pet-related messes. Look for products that contain natural enzymes to break down organic materials.
Before application, always test a small, inconspicuous area of the fabric to ensure no discoloration occurs. Once confirmed, follow these steps:
- Shake the cleaner well to mix the enzymes.
- Apply a generous amount directly onto the affected area, saturating the fibers.
- Gently work the cleaner into the material with your paws or a soft brush, ensuring it penetrates deeply.
- Allow it to sit for the recommended time, usually around 10 to 15 minutes, to let the enzymes do their job.
- Blot the area with clean cloths to absorb excess moisture, avoiding rubbing which can damage the fibers.
- Rinse the area with clean water, then blot again to remove any remaining cleaner.
- Finally, let the area air dry completely. This step is crucial, as moisture can lead to lingering odors.
Check the area after drying. If any odor remains, repeat the process until satisfied with the results.
Deep Clean the Affected Area
Begin with a thorough vacuuming of the area to remove any loose debris. Follow this with a mixture of warm water and a gentle detergent. Use a clean cloth to blot the solution onto the stained region, avoiding excessive scrubbing which may damage the fibers. Rinse the cloth frequently to prevent spreading any residue.
For deeper cleansing, consider a steam cleaner. Ensure the model is suitable for your carpet type. The heat from steam can help eliminate stubborn odors trapped within the fibers. After steaming, use a clean towel to soak up excess moisture, preventing mold growth.
Drying and Final Touches
Allow the area to dry completely. Place a fan near the spot to speed up the drying process. Once dry, sprinkle a generous amount of baking soda to absorb any lingering odors. Leave it for several hours or overnight, then vacuum it up.
For ongoing care, consider investing in pet insurance for fiv cats to cover unexpected issues. This way, you can always ensure the best health for your furry companions. Also, if you have a larger home, you might find the best pressure washer for two story house helpful for maintaining cleanliness in various areas, including outdoor spaces.
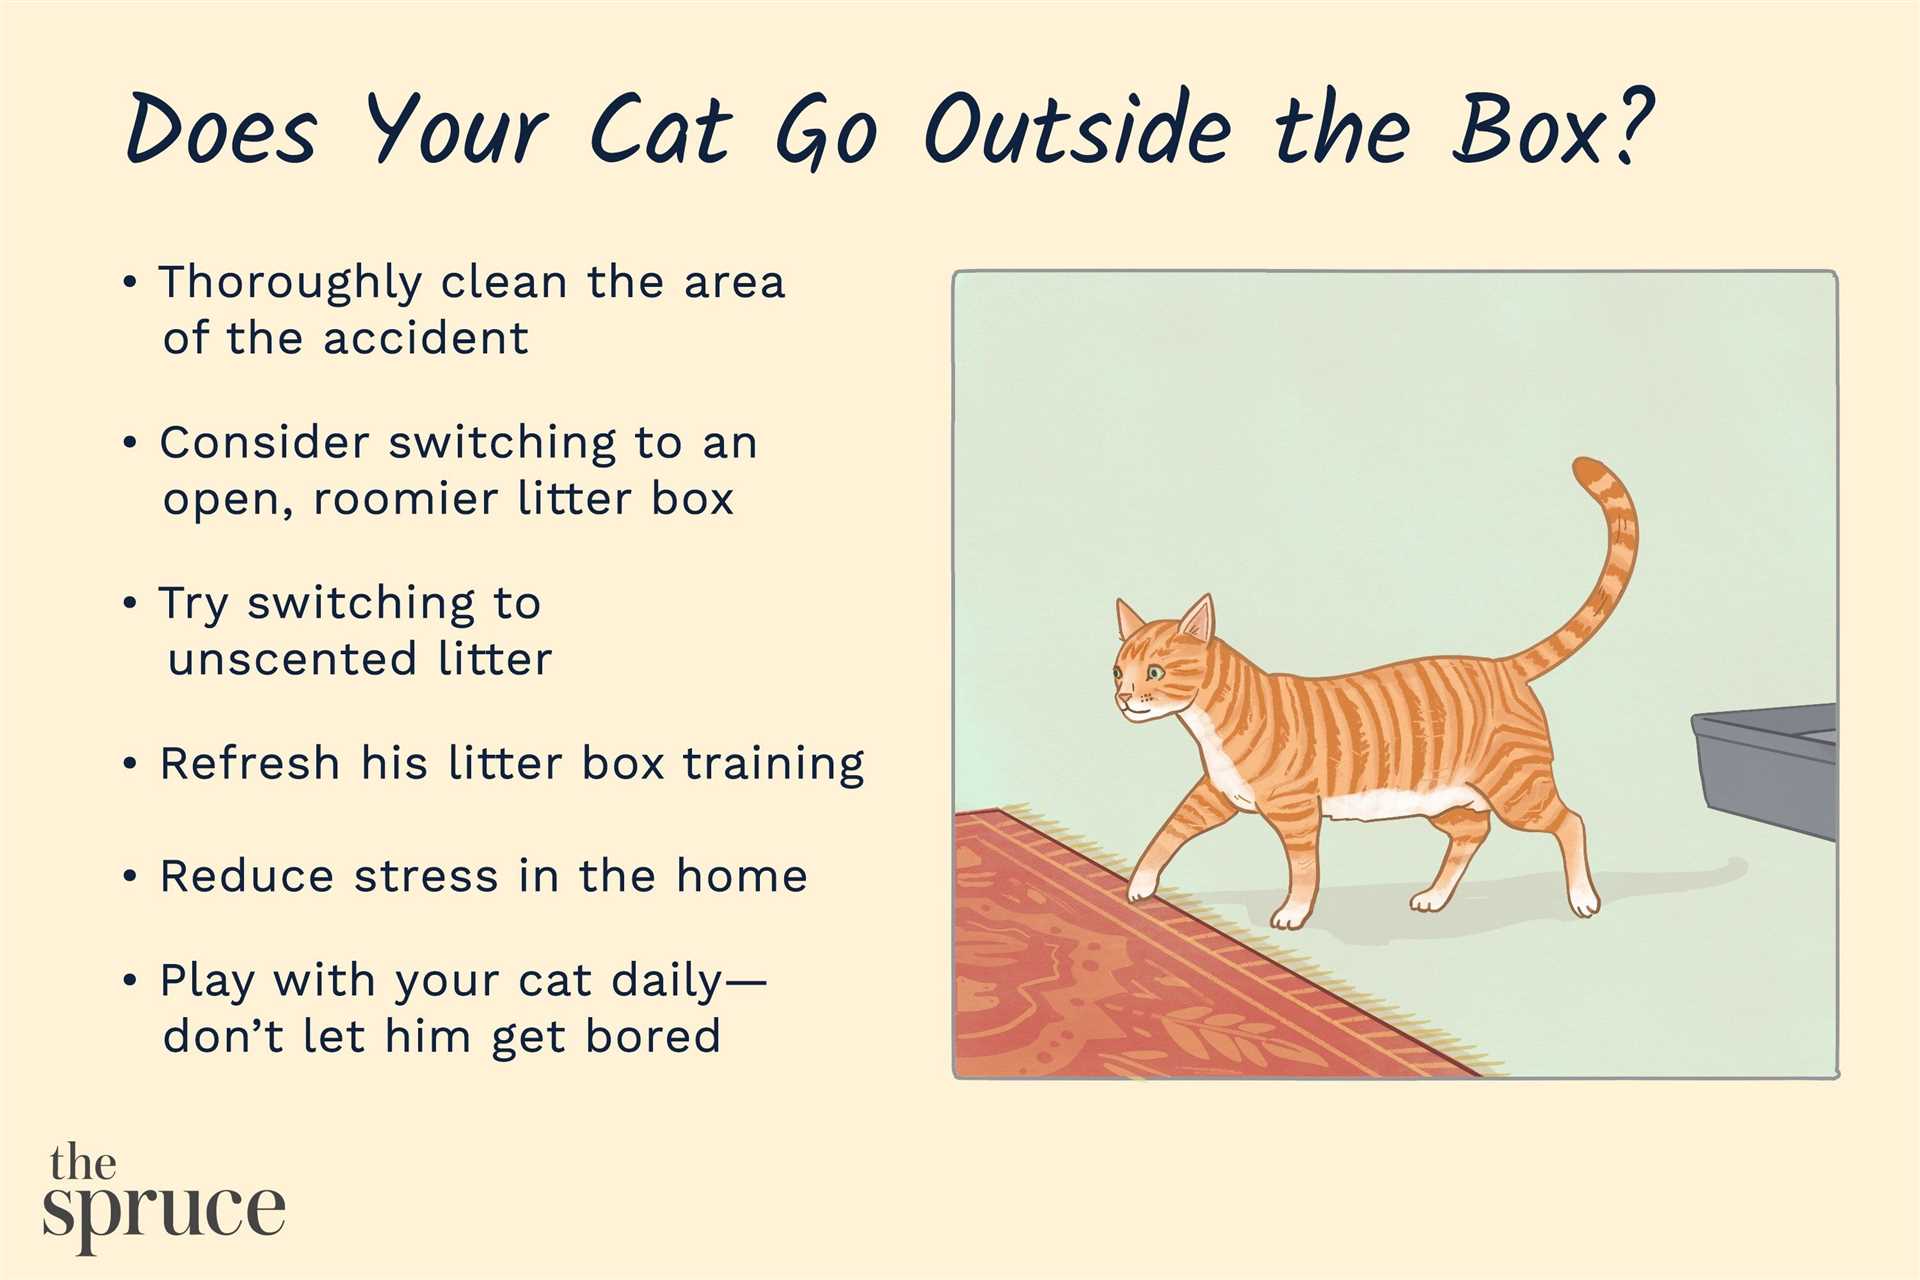
Prevent Future Accidents on Carpet
To avoid future mishaps on the floor, focus on creating a comfortable and clean environment. Regularly monitor litter box cleanliness, ensuring it’s scooped daily and fully cleaned weekly. Cats appreciate a tidy space, which encourages them to use the box consistently.
Consider the placement of the litter box. It should be easily accessible yet private enough to feel secure. If you have multiple levels in your home, provide boxes on each floor.
Keep an eye on your furry friend’s behavior. Changes in litter box habits can indicate health issues or stress. Frequent vet check-ups help catch any problems early. Pay attention to signs of discomfort or anxiety and address them promptly.
If you notice that your feline prefers certain areas of the home, add additional litter boxes in those spots. Cats often prefer variety in their bathroom locations.
Establish a routine for feeding and playtime. A consistent schedule can reduce anxiety and make your companion feel more secure, lessening the likelihood of accidents.
| Tip | Description |
|---|---|
| Daily Cleaning | Scoop litter daily and clean the box weekly to ensure a hygienic environment. |
| Box Placement | Position boxes in quiet, accessible areas to make them inviting. |
| Health Monitoring | Observe behavioral changes and consult a vet if necessary. |
| Routine | Maintain a consistent schedule for feeding and play to reduce stress. |
With these strategies, I can keep my home clean and comfortable, ensuring I only use my designated space. Happy paws lead to a happy home!