


First, grab some paper towels or an old cloth. Blot the area gently to soak up as much liquid as possible. Avoid rubbing; you don’t want to push anything deeper into the fibers. Once the surface is dry, sprinkle a generous amount of baking soda over the affected spot. This will help absorb any lingering odors.
Next, mix a solution of warm water and a few drops of dish soap. Dampen a clean cloth with the soapy mixture, and blot the area again. Rinse the cloth frequently to avoid spreading the residue. Afterward, use another damp cloth with plain water to remove any soap traces. Finally, let the area air dry, or speed up the process with a fan.
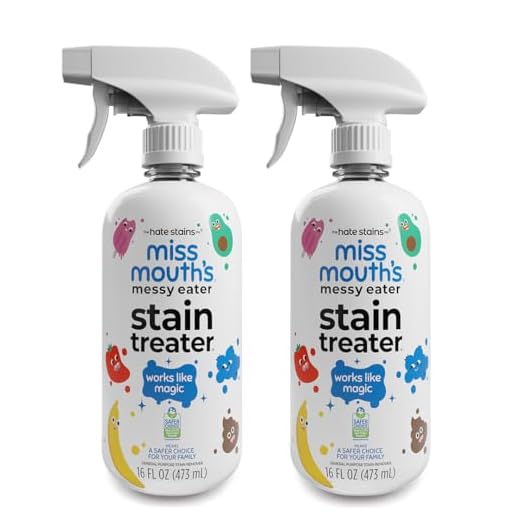
For persistent stains or smells, consider using a specialized enzymatic cleaner. These products break down organic matter and are particularly effective. Follow the instructions on the label for the best results.
Identify the Type of Material Before Tidying Up
First, determine if the substance is mostly liquid or has solid components. This will guide your approach for removal. If it’s a watery mix, absorb as much as possible with paper towels or a cloth. For thicker textures, use a spoon to gently lift away the solids without pushing them deeper into the fibers.
Assess Color and Contents
Pay attention to the color and what’s inside. If you see hair, it might indicate a recent grooming session or hairballs. Darker colors could signal digested food, while lighter shades may suggest an upset stomach. Noticing these details can help you decide whether to consult a vet.
Smell and Other Indicators
Odor can reveal much about the situation. A foul smell may indicate something more serious, while a less intense scent could simply be a result of an upset stomach. Always trust your nose; it may guide you in handling the cleanup effectively.
Gather Necessary Cleaning Supplies
For a successful cleanup, make sure to have the following items ready:
| Item | Purpose |
|---|---|
| Paper towels or cloths | To absorb and blot up the mess |
| Plastic gloves | To keep hands clean and protected |
| White vinegar | To neutralize odors and break down stains |
| Baking soda | To absorb moisture and odor |
| Dish soap | To help lift stubborn stains |
| Spray bottle | For easy application of cleaning solutions |
| Cold water | To dilute cleaning solutions |
| Best quiet air compressor for home garage | To assist with air drying if necessary |
Having these supplies on hand will make the process smoother and more effective. Make sure to prepare everything before starting the cleanup task.
Remove solid pieces and blot the stain
Using a paper towel or a plastic bag, gently lift any solid remnants from the surface. Avoid pressing down too hard, as this could push the mess deeper into the fibers.
Next, take a clean cloth or more paper towels to blot the area. Use a dabbing motion, starting from the outside and working inward to prevent spreading. Blotting helps absorb moisture without further embedding the stain.
If the area remains discolored, consider applying a solution made from equal parts water and white vinegar to aid in removal. Afterward, rinse the area with plain water and blot until dry.
For ongoing care, using a deshedding shampoo for cats can help reduce future incidents by minimizing hairballs and associated issues.
Apply Cleaning Solution and Scrub the Area
After preparing the cleaning mixture, pour a small amount directly onto the affected region. Avoid soaking the fibers too deeply to prevent moisture from reaching the padding underneath. Use a soft cloth or sponge to work the solution into the material gently. Employ a circular motion, applying light pressure to lift the stain without damaging the texture.
Continue scrubbing until the discoloration begins to fade. Rinse your cloth or sponge frequently in clean water to avoid spreading any residue. If necessary, repeat the application of the cleaning solution for stubborn spots. Patience is key; allowing the solution to sit for a few minutes can enhance its effectiveness.
Once the stain is adequately addressed, blot the area with a dry towel to absorb excess moisture. This step helps in preventing any lingering odors and prepares the surface for drying. Ensure that the area is well-ventilated to speed up the evaporation process.
Rinse and Dry the Area Properly
After applying the cleaning solution, it’s crucial to rinse the surface thoroughly. Use a clean cloth dampened with plain water to wipe the treated spot. This helps remove any remaining cleaning agent, preventing residue buildup.
Follow these steps for rinsing:
- Dampen a clean cloth with lukewarm water.
- Gently blot the area to lift the cleaning solution without spreading it further.
- Replace the cloth with a fresh one as needed to ensure effective rinsing.
Once rinsed, drying the area is just as important. Use a dry towel to absorb excess moisture:
- Press the towel firmly against the spot, soaking up as much liquid as possible.
- For quicker drying, place a fan nearby or open a window to increase airflow.
- Avoid walking on the damp area until it’s completely dry.
This process helps maintain the carpet’s integrity and prevents any lingering odors or stains from returning. Keeping things fresh is key!


