


Act quickly! The sooner you address the situation, the better your chances of eliminating the smell. Blot the affected area with clean paper towels to absorb as much liquid as possible. Avoid rubbing, as this could spread the stain further.
Next, mix a solution of equal parts white vinegar and water in a spray bottle. Lightly mist the stained area, allowing the mixture to penetrate for a few minutes. Vinegar neutralizes odors effectively and helps break down lingering particles.
After the vinegar solution has set, sprinkle baking soda generously over the damp area. This will absorb any remaining moisture and odors. Let it sit for several hours, or ideally overnight, to maximize its effectiveness.

Finally, vacuum the area thoroughly to remove the baking soda. If any odor persists, repeat the process as necessary. Your bedding will be refreshed and ready for a cozy nap again!
Removing Unwanted Odors from Bedding
First, grab some paper towels or a clean cloth. Blot the area immediately to absorb as much liquid as possible. Don’t rub; that just spreads it around.
Next, mix equal parts of white vinegar and water in a spray bottle. Spray the affected area generously. The vinegar neutralizes odors effectively. Let it sit for about 5-10 minutes.
After that, sprinkle baking soda over the damp spot. This will help absorb any remaining smells. Let it sit for several hours, or ideally overnight.
Once the baking soda has had time to work its magic, vacuum it up thoroughly. This removes both the baking soda and odors.
If necessary, repeat the process until the scent is completely gone. For stubborn issues, consider using an enzymatic cleaner designed for pet messes, following the manufacturer’s instructions closely.
Finally, allow the area to air out. Fresh air helps eliminate lingering scents. Open a window or set the bedding outside for a few hours if the weather permits.
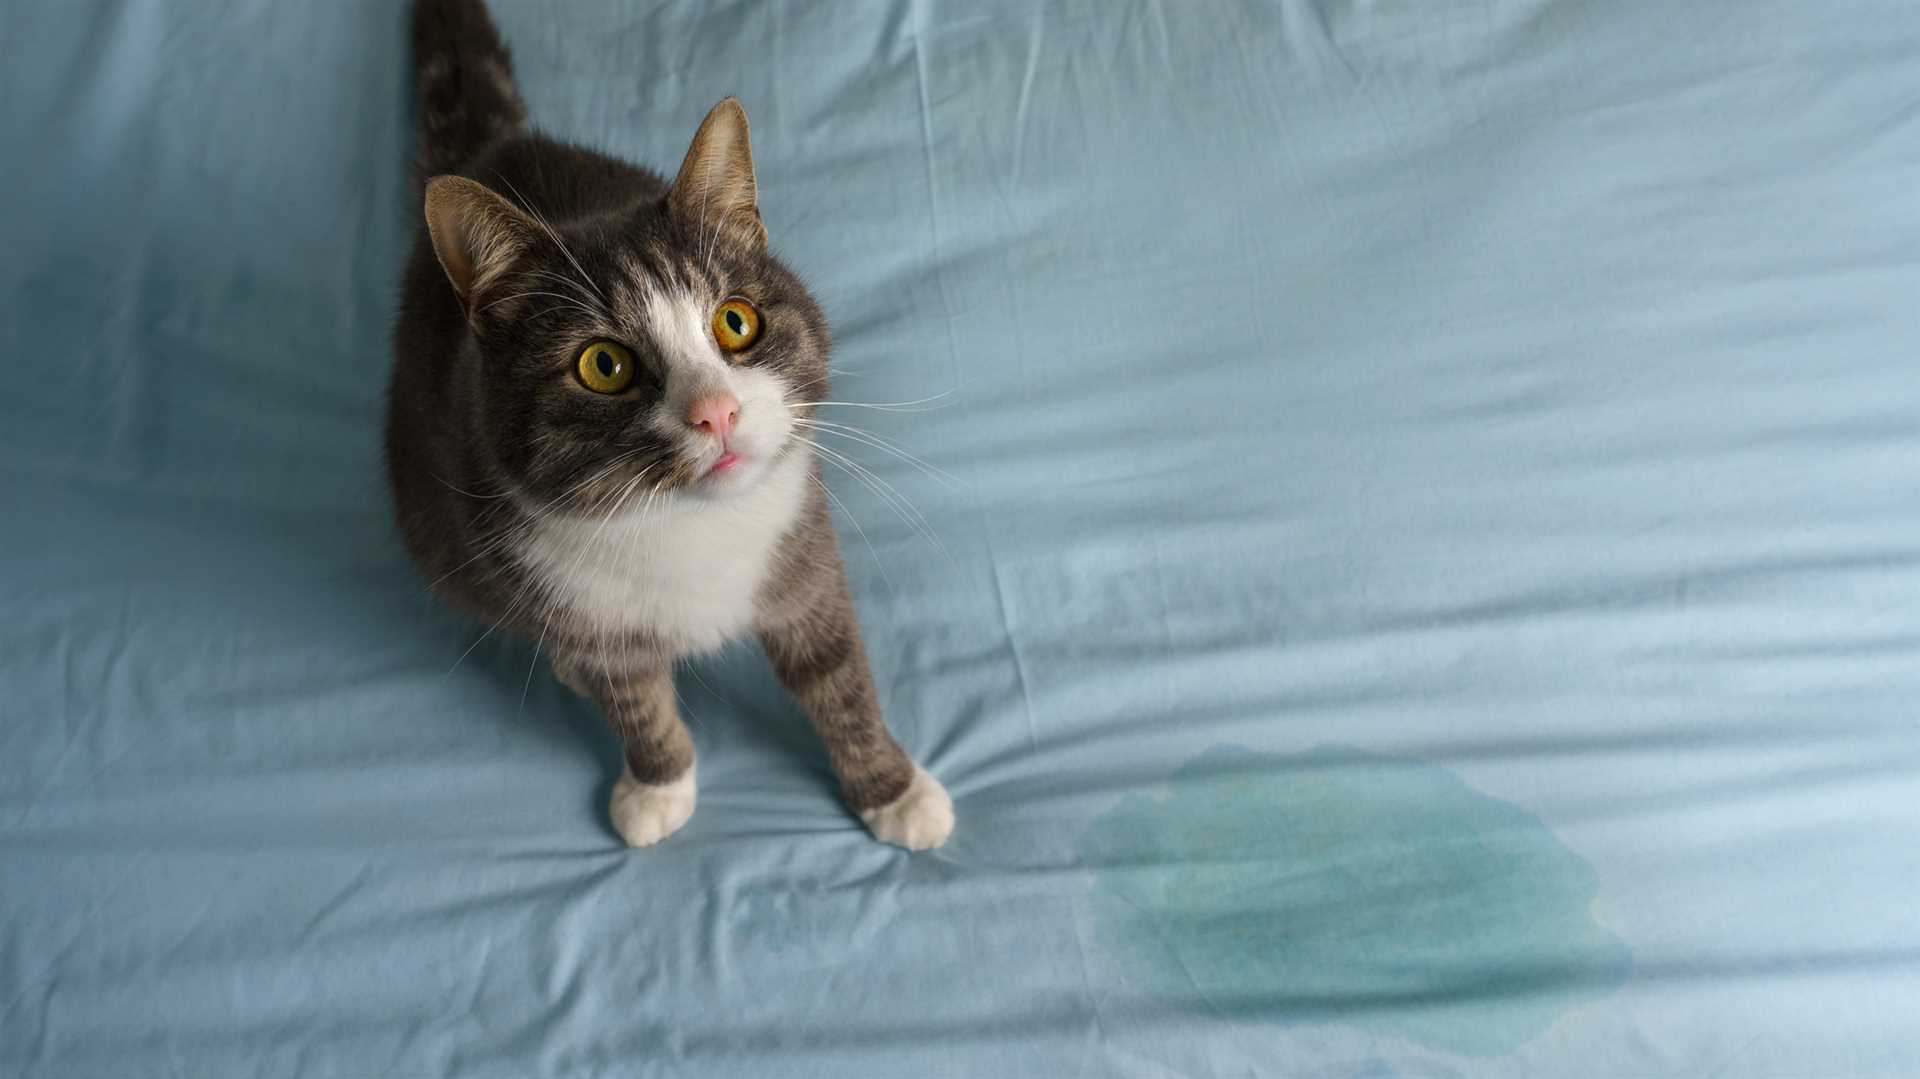
Identify the Stain and Odor Source
Finding the exact location of the marks and smells is key. I recommend using a blacklight. Turn off all lights in the room and use the blacklight to spot any glowing areas. This helps pinpoint where I may have left my little surprises.
Check Your Sleeping Area
Examine the entire surface. Look for:
- Dark spots or discoloration
- Wetness or dampness
- Foul odor emanating from specific spots
Pay attention to seams and folds where fluids might seep in.
Consider the Type of Material
Some substances absorb liquids better than others. If the bedding is thick or plush, the odor may linger deeper. It’s crucial to address these areas thoroughly.
Once identified, the source of the odor becomes much easier to tackle. Don’t ignore the small spots; they can combine to create a larger problem.
Gather Necessary Cleaning Supplies
To tackle the issue effectively, I recommend having the following items ready:
| Supply | Purpose |
|---|---|
| Baking Soda | Absorbs moisture and neutralizes odors. |
| White Vinegar | Breaks down stains and eliminates smells. |
| Water | Used for dilution and rinsing. |
| Soft Cloths or Paper Towels | For blotting and applying cleaning solutions. |
| Spray Bottle | For easy application of liquid cleaners. |
| Enzymatic Cleaner | Specifically designed to break down biological stains. |
| Rubber Gloves | To protect your paws while cleaning. |
| Vacuum Cleaner | For removing baking soda after it’s done absorbing. |
With these supplies, you can tackle the issue head-on and restore your sleeping space effectively.
Blotting the Affected Area
Immediately grab some paper towels or an absorbent cloth. Press firmly on the stained spot without rubbing. This helps soak up as much moisture as possible. Repeat this step with fresh towels until no more liquid comes through.
Technique for Effective Blotting
Always blot from the outside of the stain towards the center to prevent spreading. Apply enough pressure to absorb liquid but avoid scrubbing, which can damage the fabric fibers. If the material allows, use a weight, like a heavy book, to enhance absorption.
After Blotting
Once the area feels dry, let it air out. This helps reduce odors before moving on to further treatment. Ensure the space is well-ventilated, as fresh air will help eliminate lingering smells.
Applying an Enzymatic Cleaner
Grab an enzymatic solution specifically designed for tackling organic stains and odors. These products break down the compounds in the mess, making it easier to eliminate the source of the smell.
Spray a generous amount of the cleaner onto the affected area, ensuring it saturates the stain. Follow the instructions on the label regarding dwell time; usually, letting it sit for 10-15 minutes allows the enzymes to work their magic.
After the waiting period, blot the area with a clean, dry cloth or paper towel. Avoid rubbing, as this can push the solution deeper into the fibers. Instead, gently dab to absorb the cleaner and any remaining residue.
Rinse the area with a little water to remove any leftover cleaner, then blot again until the mattress feels damp but not soaked. Allow the area to air dry completely. This may take several hours, so it’s best to leave it uncovered in a well-ventilated space.
Once dry, check for any lingering odors. If necessary, repeat the process. Your sleeping spot should feel fresh and clean, ready for cozy naps again!
Using Baking Soda for Odor Neutralization
Sprinkling baking soda on the affected area works wonders in absorbing unpleasant scents. Start by making sure the surface is dry after any initial cleaning steps. Generously cover the spot with a thick layer of the powder. This allows it to penetrate deeply and neutralize odors effectively.

Let It Sit
Give the baking soda time to work–ideally, leave it for several hours or overnight. This duration enhances its ability to capture lingering smells. If possible, place the mattress in a well-ventilated area to increase air circulation, which can further aid in odor removal.
Vacuum the Residue
After the waiting period, use a vacuum cleaner with an upholstery attachment to remove the baking soda. Ensure you cover the entire area where the powder was applied. This step not only eliminates the baking soda but also helps lift away any remaining particles that might cause odors.
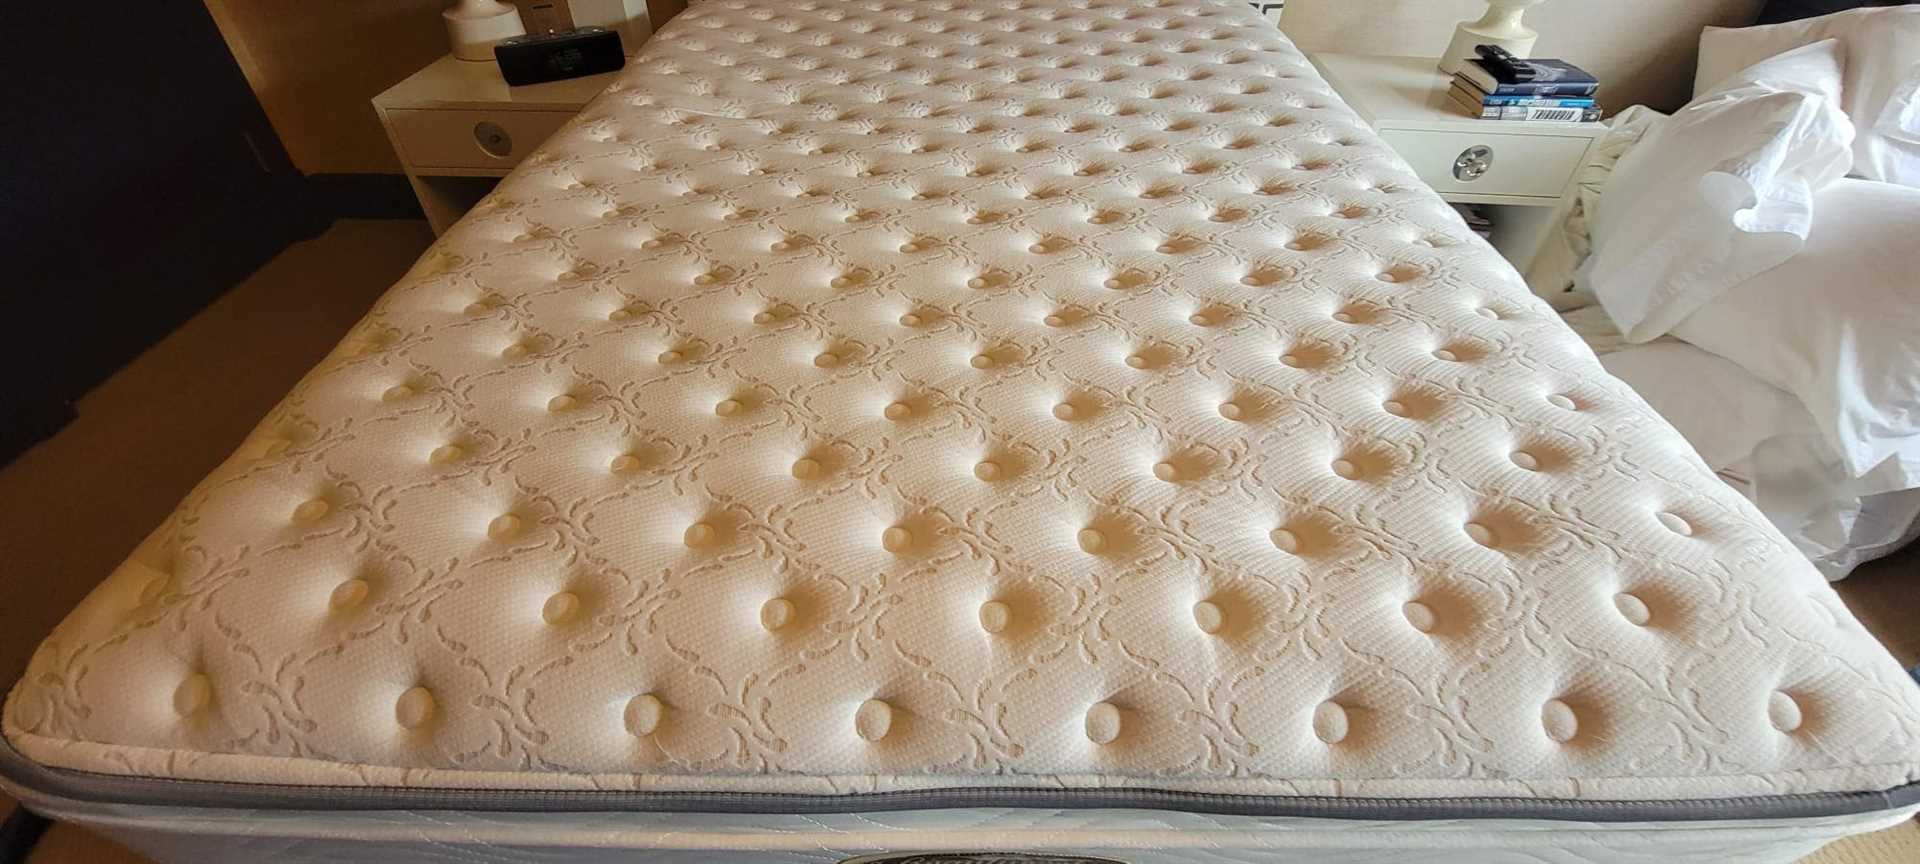
Rinsing and Drying the Mattress
Once you have applied the enzymatic solution and let it sit, it’s time to rinse. Use a clean cloth dampened with warm water to carefully blot the area, ensuring you remove as much of the cleaner as possible. Avoid soaking the surface, as excess moisture can lead to mold or mildew.

Follow these steps for effective rinsing:
- Take a fresh cloth to prevent recontamination.
- Dampen it lightly and gently press it against the treated area.
- Repeat until the cloth comes away mostly clean.
After rinsing, drying is crucial. Use a fan or dehumidifier to help speed up the process. If you prefer, set your mattress outdoors on a sunny day, as sunlight can aid in eliminating lingering odors.
For those who want to ensure complete dryness, consider the following:
- Flip the mattress to allow air circulation on both sides.
- Check for any dampness before putting sheets back on.
- Use an air compressor for thorough drying if available; the best racing air compressor for home garage can be very handy.
Keeping your mattress dry will help prevent future incidents and ensure a comfortable sleeping environment. If you notice any persistent odors, you might want to consider using an odor neutralizer, such as baking soda, to freshen up the area. And remember, maintaining your feline friend’s health with the best over the counter flea treatment for cats is key to preventing accidents in the future.
Preventing Future Incidents
To avoid future mishaps, consider using a waterproof cover for your bed. It acts as a barrier, protecting the surface beneath from unwanted accidents.
Encourage regular litter box usage by keeping it clean and accessible. A clean environment makes it easier for me to use the box instead of seeking alternative spots.
Monitor my behavior for any signs of distress or health issues. Changes in habits can indicate problems that need addressing, which could lead to accidents.
Establish a routine for play and interaction. Engaging activities can reduce stress and anxiety, which might contribute to undesirable behaviors.
Utilize pheromone diffusers or sprays in the living space. These products can create a calming atmosphere, reducing the chances of incidents.
| Tip | Description |
|---|---|
| Waterproof Cover | Protects bedding from spills and accidents. |
| Clean Litter Box | Encourages proper usage and prevents alternatives. |
| Behavior Monitoring | Identifies potential health issues early. |
| Regular Playtime | Reduces stress and promotes positive behavior. |
| Pheromone Products | Creates a calming environment, minimizing accidents. |
FAQ:
What are the best methods for removing cat urine from a mattress?
To effectively clean cat urine from a mattress, you can use several methods. One popular approach is to use a mixture of white vinegar and water. Create a solution with equal parts vinegar and water, then apply it to the affected area. Blot the area with a clean cloth to absorb the urine and vinegar solution. Afterward, sprinkle baking soda over the spot to help neutralize any lingering odors. Leave it for a few hours or overnight, then vacuum it up. Another option is to use enzymatic cleaners specifically designed for pet stains, as they break down the components of the urine and eliminate odors more efficiently. Always check the manufacturer’s instructions and do a patch test on a small area first.
How can I prevent my cat from urinating on the mattress in the future?
Preventing your cat from urinating on your mattress involves addressing the underlying issues that may cause this behavior. First, ensure that your cat’s litter box is clean, accessible, and placed in a quiet area. If your cat is not using the litter box, there may be medical issues at play, so a visit to the veterinarian is advisable. You can also try using a different type of litter or adding more litter boxes around your home. Additionally, consider providing your cat with more enrichment, such as toys and scratching posts, to alleviate stress or boredom. Lastly, reinforcing positive behavior with treats or praise when your cat uses the litter box can also help encourage good habits.


