


First, grab some cotton balls or gauze and a vet-approved solution. Wet the cotton with the liquid, ensuring it’s not dripping. Gently wipe the inner part of the flap and the canal, avoiding any deep insertion.
Next, check for debris or brown waxy build-up. If you spot it, repeat the wiping process until it’s clean, using a fresh cotton ball for each wipe. Always be gentle; my ears are sensitive!
After that, reward yourself with a few head scratches and a tasty treat. Keeping things clean not only feels good but also helps me stay healthy and happy.

Finally, keep an eye on my ears in the following days. If any discomfort or excessive dirt appears, it’s time for a trip to the vet. Prevention is key to keeping those pesky invaders away!
Steps for Treating My Ears from Unwanted Guests
First, I ensure I have the right supplies ready:
- Vet-approved ear cleaner
- Cotton balls or gauze
- Treats for positive reinforcement
Next, I find a quiet and cozy spot, making sure I’m calm. My human gently holds me, providing reassurance. They apply a few drops of the cleaner into my ear canal.
It’s important for my human to massage the base of my ear for about 30 seconds. This helps the solution break down any debris or buildup.
After that, they let me shake my head. This action helps remove excess cleaner and any loosened grime. I might make a mess, but it’s all part of the process!
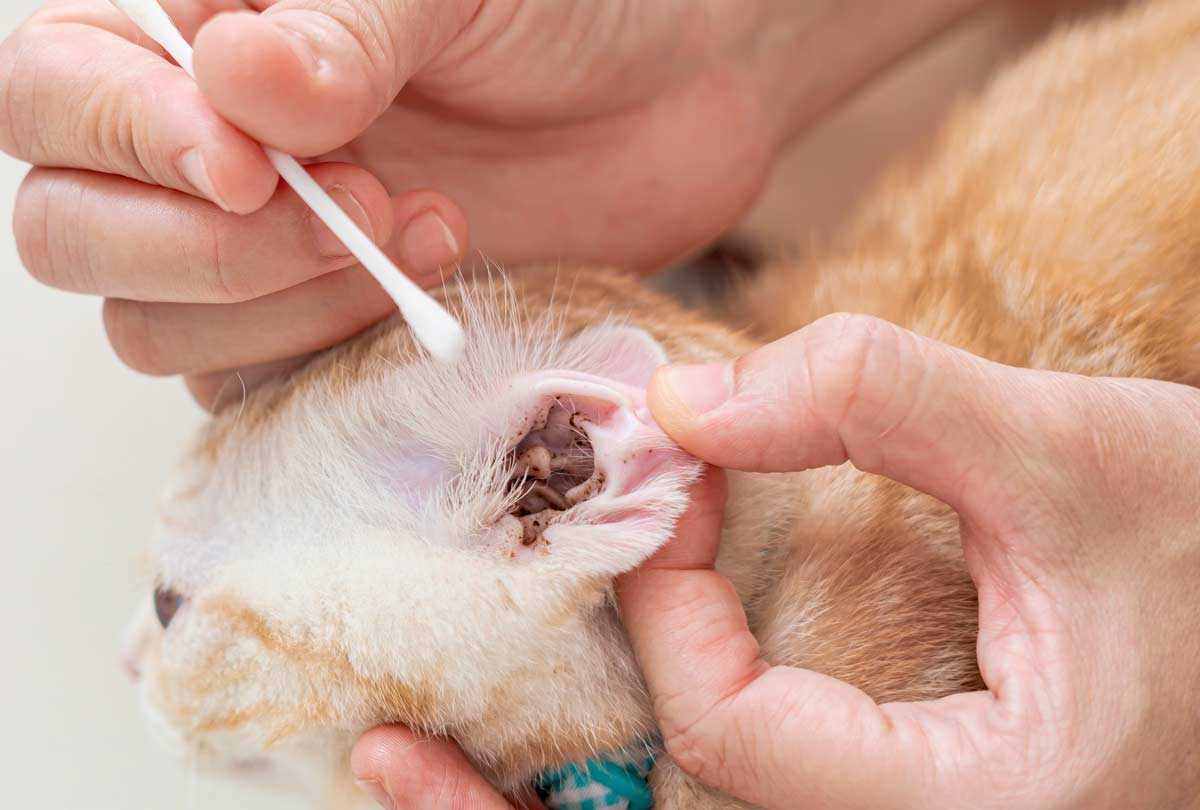
Using a cotton ball or gauze, my human carefully wipes away the residue from the inner ear flap. They avoid pushing anything deep inside, as safety is key.
Finally, I receive my treats. Positive reinforcement makes me feel good about the whole experience!
Regular check-ups are part of my routine, ensuring my ears stay healthy and clean. If I show signs of discomfort, my human knows to consult the vet right away.
Identifying the Symptoms of Ear Mites in Cats
Pay close attention to the following signs that indicate the presence of these troublesome parasites:
Common Indicators
| Symptom | Description |
|---|---|
| Excessive Scratching | Frequent pawing or rubbing of the head and face can signal irritation. |
| Dark Debris | Black or brown waxy buildup in the auditory canal, resembling coffee grounds. |
| Odor | Unpleasant smell emanating from the affected area indicates infection. |
| Inflammation | Redness or swelling around the entrance of the auditory canal suggests an inflammatory response. |
| Head Shaking | Repeatedly shaking the head may signal discomfort and annoyance. |
| Apathy | Lack of interest in play or food could point to general malaise due to infestation. |
Behavioral Changes
Monitor for shifts in behavior, such as increased irritability or withdrawal from routine activities. These changes can be subtle but may indicate your furry friend is feeling unwell due to these unwelcome guests.
Gathering Necessary Supplies for Ear Cleaning
Get yourself a few key items before tackling this task. First, grab a gentle, vet-recommended cleaning solution designed for furry friends. Avoid human products; they can be harmful.
Next, have some cotton balls or gauze handy. These are perfect for applying the solution and wiping away debris. Make sure they’re soft to avoid irritation.
A pair of gloves is wise to keep your paws clean and protect against any potential mess. You might also want to have a towel nearby in case things get a bit splashy.
Don’t forget treats! Offering a tasty snack afterward can help make the experience more pleasant for your furry companion. Lastly, have a friend or family member available to help hold if your little buddy gets squirmy.
Step-by-Step Guide to Cleaning Your Feline’s Ears
First, make sure your human has the right materials ready. You’ll need a gentle cleanser recommended by the vet, cotton balls, and treats for positive reinforcement. It’s crucial to create a calm environment, so pick a cozy spot where I feel safe.
Preparation
Gently hold my head with one hand while the other hand applies a few drops of the cleanser into my ear. Ensure the bottle doesn’t touch my fur to avoid any discomfort. Allow the solution to sit for a moment; I might shake my head, and that’s okay.
Cleaning Process
Using a cotton ball, wipe the visible areas inside my ear, avoiding deep insertion. Be careful not to push any debris further in. If you notice any dark discharge, it could be a sign of trouble, so contact the vet if it persists. Afterward, reward me with a treat to make the experience positive. For a thorough cleaning of other areas, check out the best petrol commercial pressure washer for a van in uk for a clean space!
Choosing the Right Treatment for Ear Mite Infestation
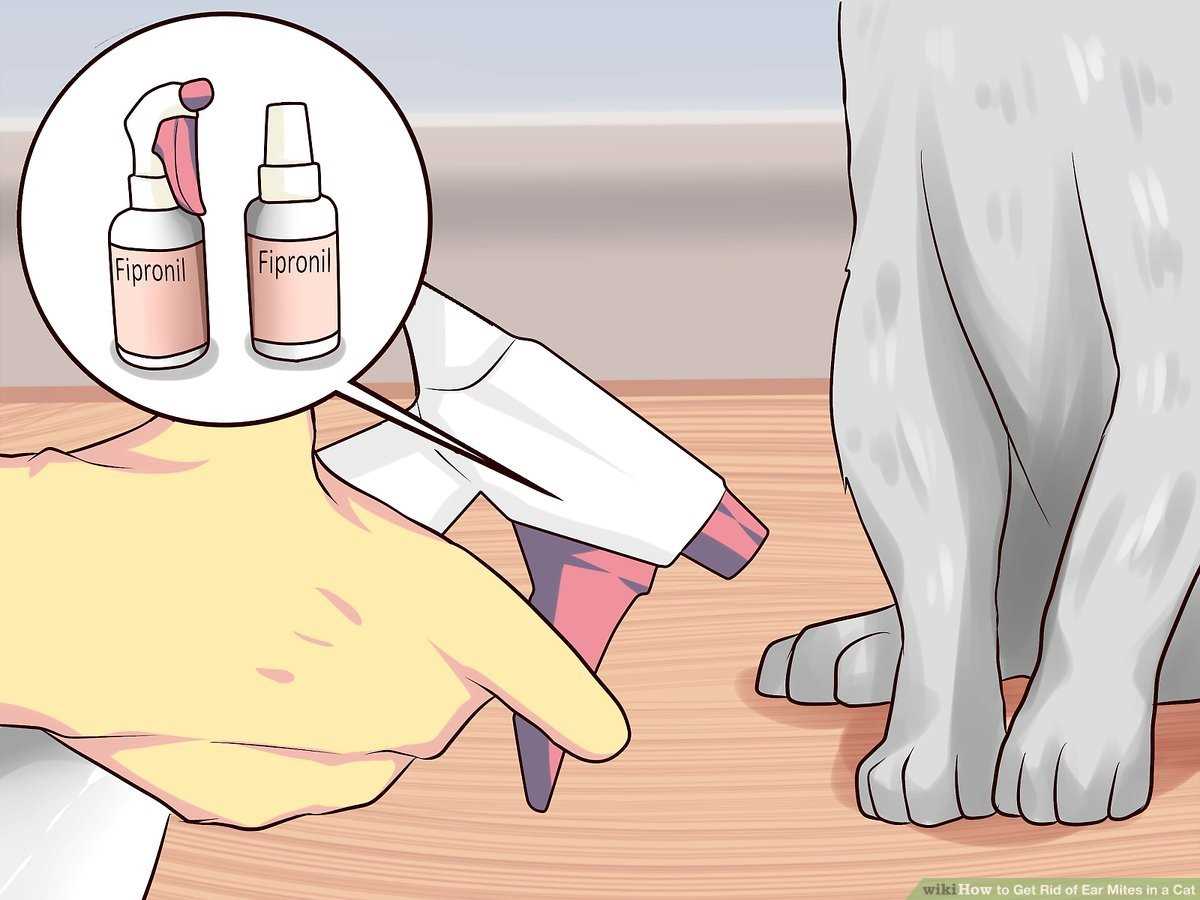
For a successful battle against those annoying parasites, selecting an effective remedy is key. I recommend opting for treatments specifically designed for mites. Look for products containing ingredients like pyrethrins or ivermectin, as they target these critters effectively.
Prescription medications from a vet often provide the fastest relief. They may prescribe topical solutions or oral medications that clear out the infestation. If you prefer over-the-counter options, research thoroughly to ensure safety and efficacy. You can find best over the counter flea meds for cats that may also help in controlling these pests.
Follow-Up Care
After starting treatment, monitoring is essential. Keep an eye on any changes in behavior or symptoms. If irritation persists or worsens, consulting a veterinarian is advisable. They can adjust the treatment plan as needed, ensuring comfort and health.
Prevention Tips
To prevent future infestations, maintain a clean environment. Regularly wash bedding and vacuum living areas. Additionally, keeping an eye on outdoor exposure can reduce the risk of new infestations.

Preventing Future Infestations in Felines
Regular inspections of your furry friend’s head are key. Check for any signs of discomfort or unusual wax buildup during cuddle sessions. A quick visual scan can save you from a larger problem down the line.
Maintaining a clean environment is crucial. Vacuum frequently to minimize dust and debris where parasites thrive. Wash bedding and toys regularly in hot water to eliminate any lingering eggs or larvae.
Routine Veterinary Check-Ups
Frequent visits to the vet help catch potential issues before they escalate. Discuss preventive treatments that may be appropriate for your companion. Keeping vaccinations up to date also plays a role in overall health.
Limit Outdoor Exposure
Reducing access to outdoor spaces can lessen the chances of encounters with infested critters. If outdoor adventures are a must, consider using protective gear like collars with flea and tick prevention. Supervised outings can also help keep potential threats at bay.
FAQ:
What are the signs that my cat has ear mites?
Common signs of ear mites in cats include excessive scratching at the ears, shaking their head frequently, a dark, waxy discharge from the ears, and a strong odor. You may also notice inflammation or redness inside the ear canal. If you observe your cat exhibiting these behaviors, it’s a good idea to consult a veterinarian for a proper diagnosis.
How do I safely clean my cat’s ears if they have ear mites?
To clean your cat’s ears, start by choosing a gentle, vet-recommended ear cleaner. First, hold your cat securely, perhaps wrapping them in a towel to prevent sudden movements. Apply the cleaner according to the instructions, usually by dropping it into the ear canal. Massage the base of the ear gently to help loosen debris. After a minute, let your cat shake their head to remove excess fluid. Use a cotton ball or soft cloth to wipe away any remaining dirt or wax. Be careful not to insert anything deep into the ear canal.
Can ear mites cause any long-term damage to my cat’s ears?
Yes, if left untreated, ear mites can cause significant damage to your cat’s ears. They can lead to chronic inflammation, infections, and even hearing loss. The constant scratching and rubbing can result in painful sores and secondary bacterial infections. Therefore, it’s important to treat ear mite infestations promptly and follow up with your veterinarian to monitor your cat’s ear health.
What treatment options are available for ear mites in cats?
Treatment for ear mites typically includes topical medications prescribed by a veterinarian, which may come in the form of drops or ointments. These treatments usually need to be administered for several days to ensure all mites are eliminated. In some cases, oral medications may also be recommended. It’s essential to treat all pets in the household simultaneously to prevent reinfestation.
How can I prevent ear mites from affecting my cat in the future?
To reduce the risk of ear mites, keep your cat indoors as much as possible to limit exposure to infected animals. Regularly check your cat’s ears for signs of mites or infection, and maintain a clean environment. Regular grooming can also help, as it allows you to spot any issues early. If you have multiple pets, ensure they are healthy and free from parasites, as ear mites can easily spread between animals.


