


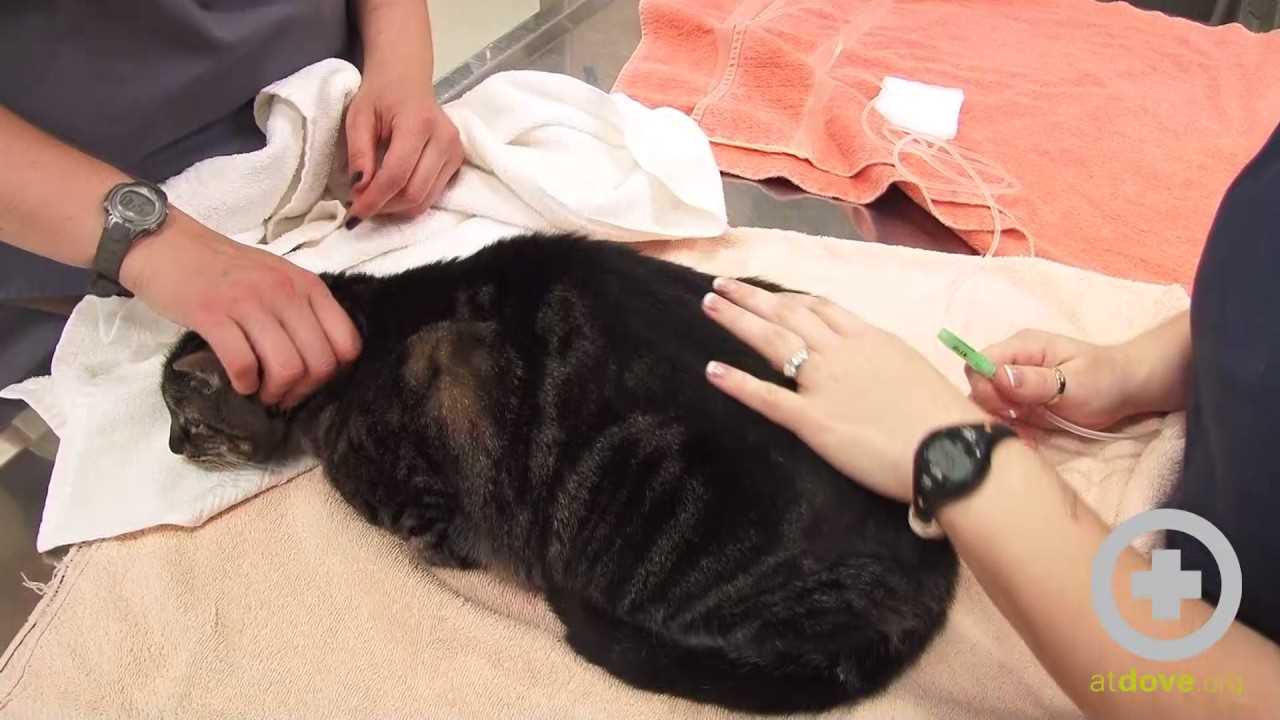
In my experience, the best spots for receiving hydration are the scruff at the back of the neck or along the sides of the ribcage. These areas tend to have enough loose skin for a smooth process, making it easier for both the caregiver and the recipient.
When preparing for this procedure, ensure that the environment is calm and familiar. A cozy blanket or a favorite spot can make a significant difference in comfort. Positioning is key; having me sit or lie down comfortably will help ease any tension.
Maintaining a steady hand is crucial. Gradually inserting the needle into the chosen spot, at an angle of about 45 degrees, allows for a more comfortable experience. Always keep an eye on my reactions; if I seem uneasy, take a moment to soothe me before continuing.

Finally, after the hydration session, providing a treat or extra cuddles can create positive associations with the process, making future sessions less stressful for both of us.
Optimal Locations for Administering Hydration
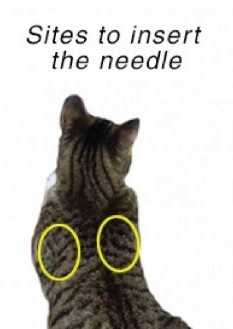
For effective hydration, the best spots are typically between the shoulder blades or along the back of the neck. These areas provide ample skin elasticity and are less sensitive, minimizing discomfort.
Preparation Steps
- Ensure the area is clean and dry.
- Warm the hydration solution slightly to enhance comfort.
- Gather all necessary supplies before starting.
Procedure Tips
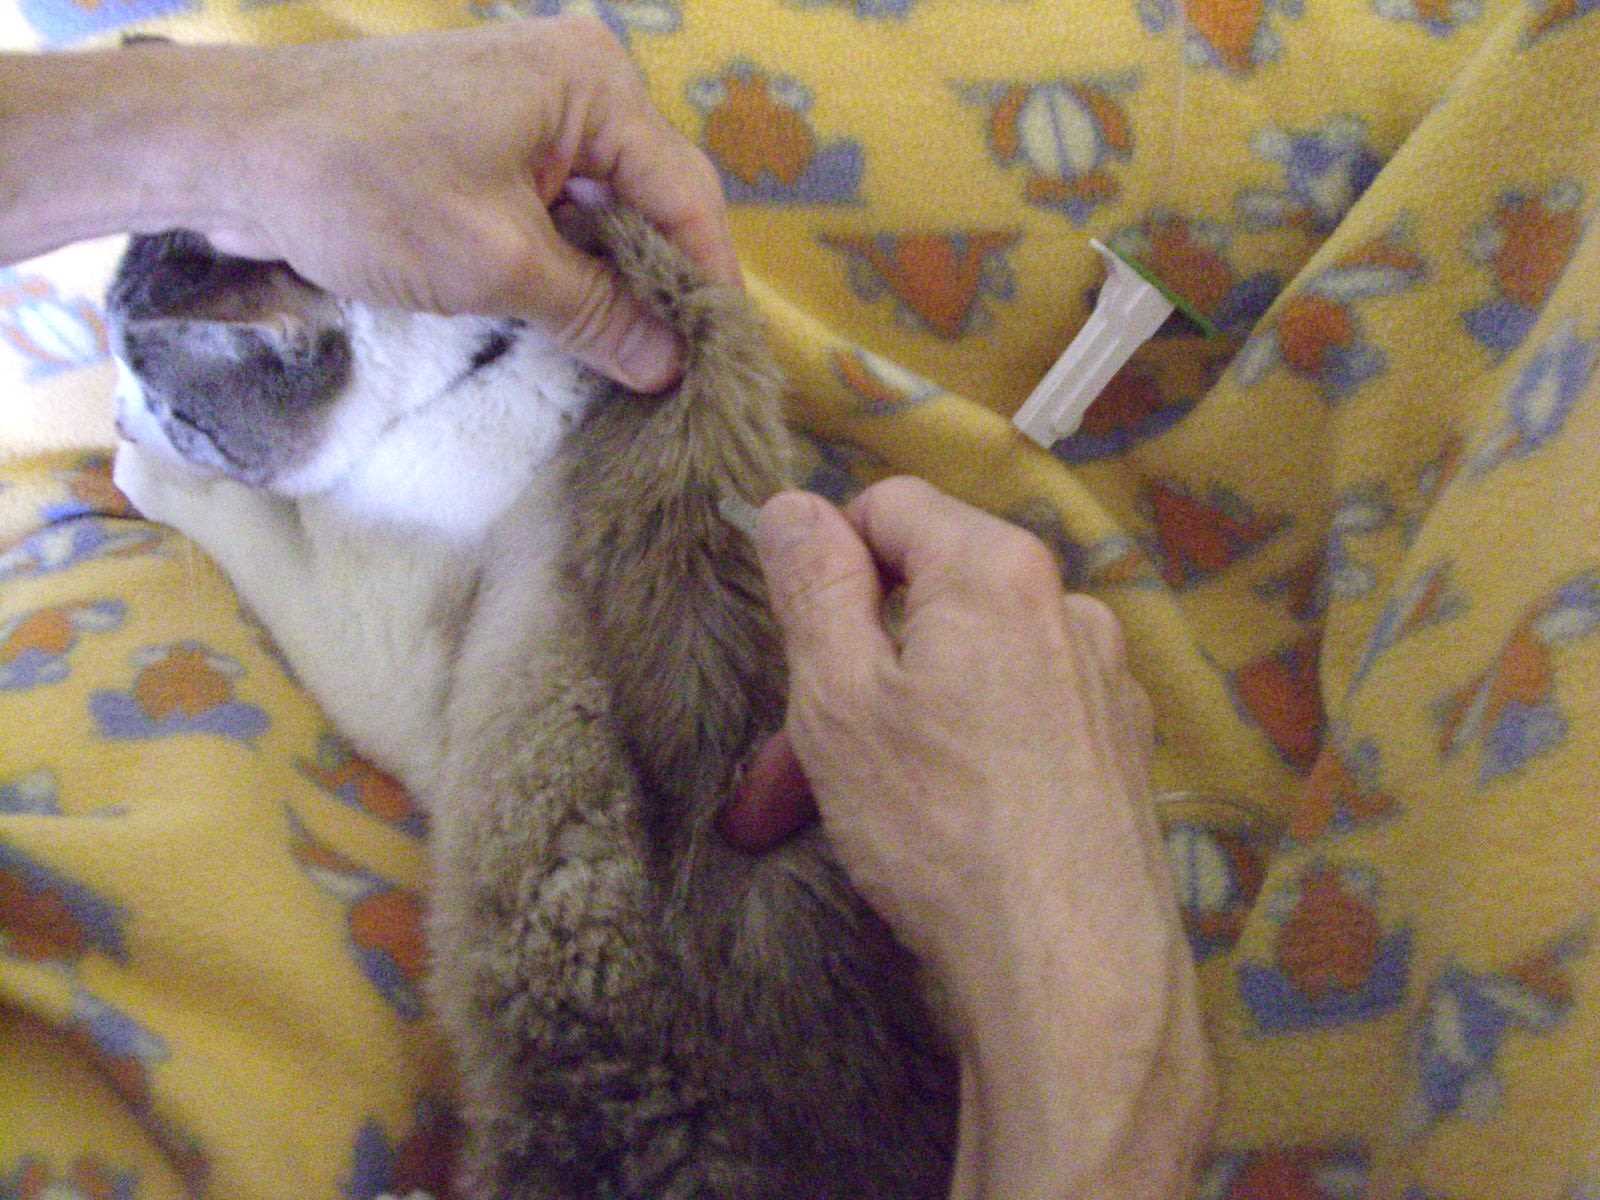
- Pinch the skin to create a tent for easy insertion of the needle.
- Insert the needle at a gentle angle to avoid complications.
- Monitor for any signs of discomfort or stress during the process.
After the process, if there’s any irritation or infection, consider using antibiotic ointment for cats over the counter to promote healing.
Always consult with your veterinarian for personalized advice and support tailored to your furry friend’s needs.
For those interested in using the right tools for cleaning purposes, check if you can use a pressure washer for sprayer. It can be beneficial for maintaining a clean environment for your pet.
Choosing the Right Location on the Cat’s Body
The best spot for administering hydration is between my shoulder blades. This area has loose skin, making it easier to insert the needle without causing discomfort. Positioning the needle here allows for better absorption, ensuring I stay hydrated.
Alternative Spots
If the area between my shoulders isn’t suitable, the skin on the sides of my abdomen is another option. It’s essential to avoid sensitive regions, like the belly or near my spine, which can be uncomfortable. Always check for any lumps or bumps before proceeding.
Preparation Tips
Before any hydration session, ensure the area is clean and free of debris. A gentle pinch of the skin helps create a tent, making the process smoother. This technique minimizes stress for both of us and allows for a more comfortable experience.
Preparing the Area for Fluid Administration
Ensure the selected spot is clean and dry. Wipe the area with a soft cloth or gauze to remove any dirt or debris. This minimizes the risk of infection and promotes comfort during the process.
Choose a quiet and calm environment, free from distractions. Soft lighting can help create a relaxed atmosphere, making the experience more pleasant for both of us.
Position me comfortably, preferably in a familiar spot where I feel secure. A cozy blanket or my favorite mat can provide reassurance. If I seem anxious, gentle petting can help me settle down.
Have all necessary supplies within reach before starting. This includes the syringe or bag of liquid, needles, and any other tools you may need. Organizing everything in advance streamlines the process.
If possible, use a helper to hold me steady. A gentle embrace can prevent sudden movements and make the procedure smoother. Clear communication is key; let your assistant know when to proceed.
Finally, remain calm. Your demeanor sets the tone for the experience. If you’re relaxed, I’m more likely to be at ease during the administration.
How to Hold Your Feline Friend During the Process
Ensure a secure grip by placing one arm around my body, holding me against your side. This position makes me feel safe and reduces any anxiety I might have.
Use your other hand to support my front legs gently, keeping them still. This will prevent sudden movements that could disrupt the procedure.
Creating a Calm Environment
Make sure the area is quiet and free from distractions. Soft voices and gentle movements help me relax. You can also prepare a cozy blanket to wrap me in if I seem particularly nervous.
Maintaining Comfort
Check my body language. If I appear tense, adjust your hold slightly to provide more comfort. A gentle stroke along my back can also help ease any tension I may have.
Identifying Signs of Discomfort or Stress
Pay attention to specific indicators that suggest unease during the hydration process. Recognizing these signs early can make a significant difference in the experience.
- Vocalization: Increased meowing or yowling can signal distress.
- Body Language: Look for flattened ears, a twitching tail, or tense muscles.
- Withdrawal: If I try to escape or hide, it’s a clear indication of discomfort.
- Increased Heart Rate: A noticeable change in breathing or heart rate can suggest anxiety.
- Loss of Appetite: Skipping meals or refusing treats may reflect stress levels.
- Grooming Changes: Over-grooming or neglecting personal care can indicate emotional strain.
Monitoring these behaviors allows for adjustments in the approach, ensuring a more positive experience. If you notice any of these signs, take a moment to pause, reassess the situation, and provide reassurance. A gentle touch or soothing voice can help ease the tension.
Building a comfortable routine can also minimize stress. Consistency in the environment and technique promotes familiarity, making each session smoother over time.
Best Practices for Sterilizing Equipment
Prioritize cleanliness by using a disinfectant solution for all tools. A mixture of 70% isopropyl alcohol works effectively. Soak syringes, needles, and any other equipment for at least 10 minutes before rinsing with sterile water.
Single-Use Items
Whenever possible, opt for single-use syringes and needles. This eliminates the risk of contamination and ensures a sterile environment. Dispose of these items in a sharp container immediately after use.
Storage and Handling
Store sterilized instruments in a clean, dry area. Use sealed containers to prevent dust and bacteria from settling. Always handle tools with clean hands, and avoid touching non-sterile surfaces before using them on your furry friend.
Regularly check expiration dates on sterilization supplies, as effectiveness can diminish over time. Revisit your sterilization process frequently to ensure it remains thorough and reliable.
Monitoring Your Cat Post-Administration
After the procedure, it’s crucial to keep a close eye on my well-being. Look for any signs of discomfort or unusual behavior. Tracking my hydration status is key; observe my drinking habits and check for any changes in appetite.
Temperature should be monitored regularly. An increase might indicate an adverse reaction. If I’m feeling warm to the touch or lethargic, note it down and consult a vet if necessary.
Pay attention to the injection site. Watch for swelling, redness, or discharge; these could signal infection. Normal reactions include a slight lump that should diminish in a day or two. If it persists or worsens, reach out for guidance.
| Observation | What to Look For | Action |
|---|---|---|
| Hydration | Increased thirst or decreased drinking | Encourage water intake; consult a vet if severe |
| Appetite | Changes in eating habits | Monitor food intake; seek help if no improvement |
| Temperature | Elevated warmth | Check for lethargy; contact a vet if concerning |
| Injection Site | Swelling, redness, or discharge | Monitor closely; consult a vet if symptoms worsen |
Maintaining a calm environment helps me feel secure. If I seem anxious, provide a cozy space to relax. Your presence and gentle reassurance can make a significant difference in my recovery.


