


To maintain a tidy area around my designated space, I recommend using a simple vacuum or a handheld cleaner. This method swiftly removes any stray particles, ensuring my surroundings remain pristine.
For deeper maintenance, a mixture of warm water and mild detergent works wonders. Dampen a cloth with the solution and wipe down the surface thoroughly. This not only tackles stubborn grime but also eliminates any lingering odors that might disrupt my regal ambiance.
After cleaning, allow the area to air dry completely. This step is crucial, as it prevents any slippery residue that could compromise my graceful movements. From my eight years of experience, I can assure you that a clean environment contributes significantly to my overall happiness and well-being.
Lastly, consider placing a secondary rug or mat nearby. This additional layer can help catch any remnants that escape during my playful antics, making upkeep even easier. Trust me, a tidy space makes for a much more enjoyable territory!
Cleaning Tips for Your Furry Friend’s Accessory
For keeping the area tidy, I recommend shaking out the debris outside first. This helps remove clumps and excess material easily.
Materials Needed
- Vacuum cleaner with a brush attachment
- Warm water
- Mild detergent or pet-safe cleaner
- Soft brush or cloth
- Dry towel
Step-by-Step Process
- Begin with vacuuming to pick up loose particles.
- Prepare a solution of warm water mixed with a small amount of detergent.
- Dampen the soft brush or cloth in the solution and gently scrub the surface to remove stains and odors.
- Rinse with clean water and ensure no soap residue remains.
- Use a dry towel to absorb excess moisture and allow it to air dry completely before placing it back.
Regular maintenance keeps everything fresh and pleasant for both of us!
Choosing the Right Cleaning Supplies
For a quick and effective tidying session, I recommend using a combination of rubber gloves, a vacuum with a brush attachment, and a sturdy scraper. Rubber gloves help protect my human’s hands while they tackle stubborn debris. The vacuum is perfect for collecting fine particles and fur, while a scraper can lift any stuck bits from the surface.
Cleaning Solutions
Opt for a mild detergent or an enzyme-based cleaner to break down odors and stains. Avoid harsh chemicals that could irritate sensitive noses, including mine. A good option is a solution of water and vinegar; it’s safe and deodorizing. Just mix equal parts and spray it on the surface, allowing it to sit for a few minutes before wiping it away.
Tools for the Task
A soft-bristled brush works wonders for loosening dirt without damaging the surface. Microfiber cloths are ideal for absorbing moisture and capturing particles. Make sure to have a separate container for waste disposal; a sturdy trash bag will keep everything neat and contained. With these supplies, the upkeep process becomes much smoother and more pleasant!
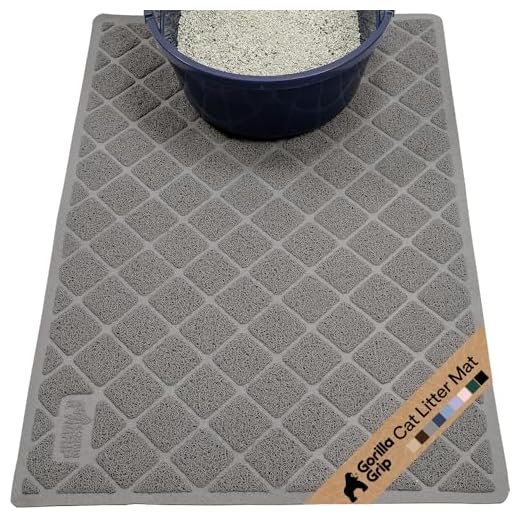
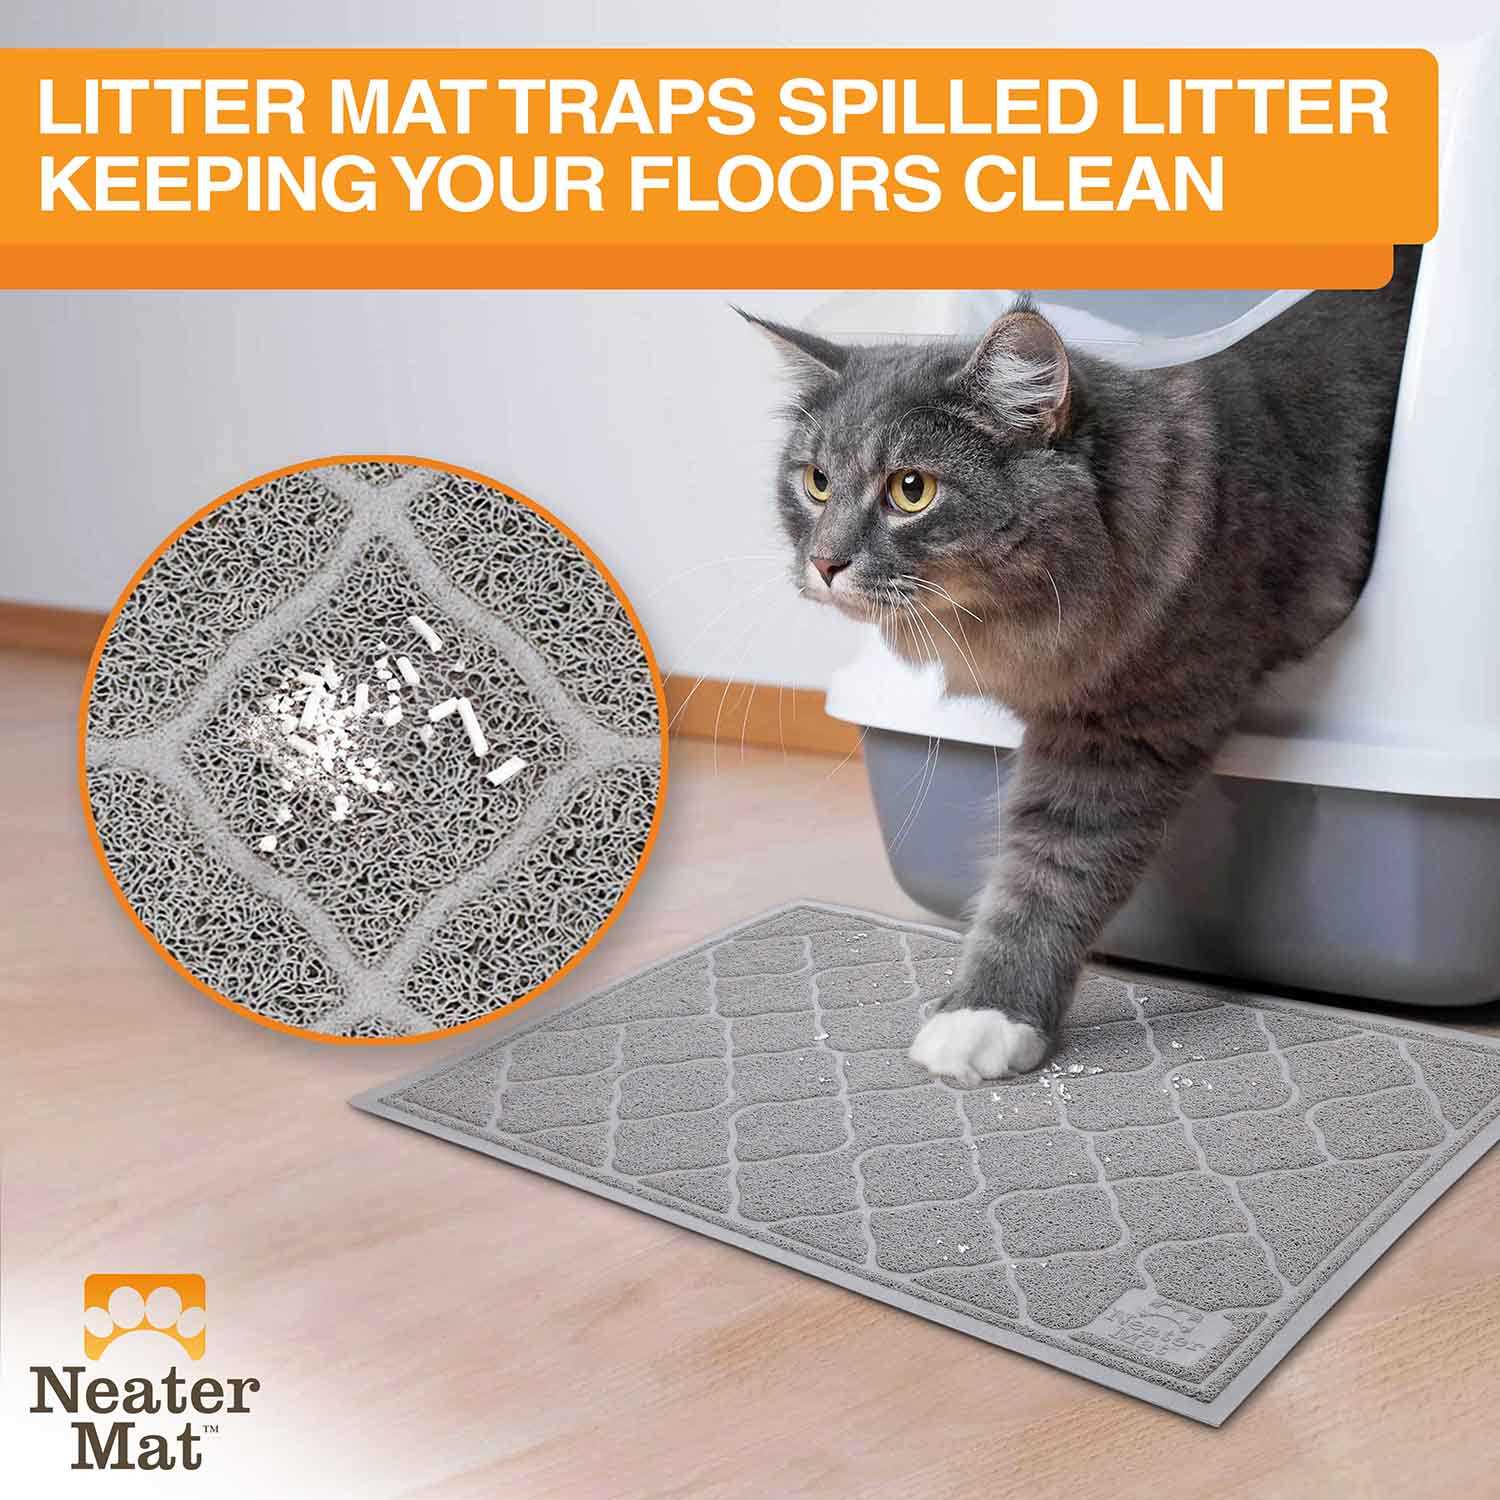
Removing Litter from the Mat
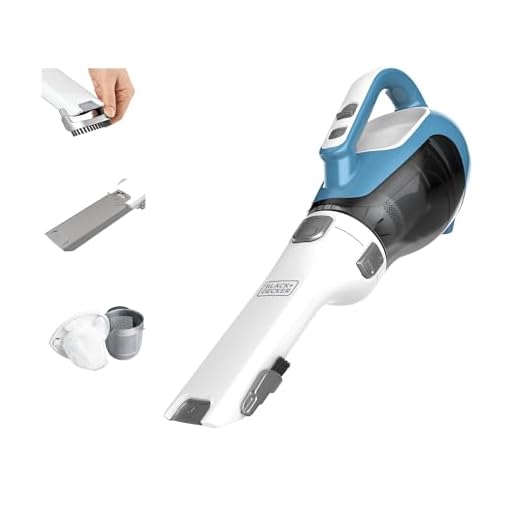
First, grab a small handheld vacuum. It’s perfect for picking up those tiny granules that stick to the surface. Move it slowly over the area to ensure you catch everything.
If a vacuum isn’t available, use a stiff brush or a broom. Gently sweep the surface, paying attention to the edges where debris tends to gather. A dustpan will help collect the pieces easily.
For Stubborn Residue
Use a damp cloth or sponge to tackle any stuck bits. Dampen it slightly and wipe the surface, applying a bit of pressure. This should lift off any stubborn spots without damaging the fabric.
For extra cleaning power, mix a mild detergent with water and use it with the damp cloth. Rinse the cloth frequently to avoid spreading grime.
Final Touches
Once all particles are removed, allow the surface to dry completely before placing it back. This prevents moisture buildup and keeps it fresh for the next time. Regular maintenance will make future clean-ups easier.
Washing the Cat Litter Mat
For a thorough refresh, toss the rug into the washing machine. Use a gentle cycle with cold water to prevent wear. Add a mild detergent–avoid harsh chemicals that can irritate sensitive paws. If it’s safe, a cup of white vinegar can help neutralize odors.
After the wash, air-dry the mat to maintain its shape. If you choose to use a dryer, select a low heat setting and remove the rug promptly to prevent wrinkling.
Inspect the mat for any damage post-wash. If you spot fraying or loose edges, consider replacing it to ensure it stays comfortable for me.
Here’s a quick reference table for washing frequency:
| Condition | Washing Frequency |
|---|---|
| Normal Use | Every 2 weeks |
| Heavy Use | Weekly |
| Odor Issues | After each use |
Following these steps keeps my space clean and cozy, making it a joy to hang out and play.
Dealing with Stubborn Odors
For those lingering smells that just won’t budge, try using baking soda. Sprinkle a generous amount on the surface and let it sit for a few hours or overnight. This helps absorb unwanted scents effectively. Afterward, vacuum the area thoroughly.
If baking soda alone isn’t cutting it, consider vinegar. Mix equal parts of water and white vinegar in a spray bottle. Lightly mist the area, allowing it to air dry. The vinegar scent dissipates quickly while neutralizing odors.
Using Enzymatic Cleaners
Enzymatic cleaners are specifically designed to tackle organic stains and odors. Look for products that break down the proteins causing the smells. Apply according to the instructions, ensuring it penetrates the fibers well. Rinse with water afterward to eliminate any residue.
Regular Maintenance Tips
To prevent odors from becoming an issue, perform routine checks and maintenance. Frequently shake out and vacuum the area, and consider rotating or washing it more often. Keeping a fresh supply of absorbent materials nearby can also help minimize any unpleasant scents.
Drying and Replacing the Mat
After a thorough wash, allow the surface to dry completely before placing it back. Sunlight can help speed up this process, but if it’s cloudy, indoor drying works too. Make sure there’s good airflow around the area to prevent mildew.
If the mat is too worn out or stained beyond recovery, consider replacing it. Look for a durable option that can withstand regular cleaning. Opt for materials that resist odors and are easy to maintain. A good replacement can make a significant difference in your space.
Keep an eye on the condition of the mat. I recommend changing it every six months or sooner if it shows signs of excessive wear. A fresh mat contributes to a cleaner environment for both you and your human.
For more tips on maintaining your living space, check out this link on how deep do you bury underground dog fence.
Maintaining a Clean Cat Litter Mat
Regular upkeep of the surface where I do my business keeps my area tidy and odor-free. I recommend checking it daily for any stray granules. A quick shake outdoors or a gentle tap against a trash can can dislodge most debris.
For deeper maintenance, consider vacuuming the area weekly. This not only removes litter but also helps to catch any hidden particles that might cling to the fibers. A vacuum with a brush attachment works wonders on textured surfaces.
Stains can happen, especially when accidents occur. Address them immediately using a mixture of vinegar and water. Apply it with a cloth to the affected area, then blot dry. This remedy neutralizes odors and discourages repeat offenses.
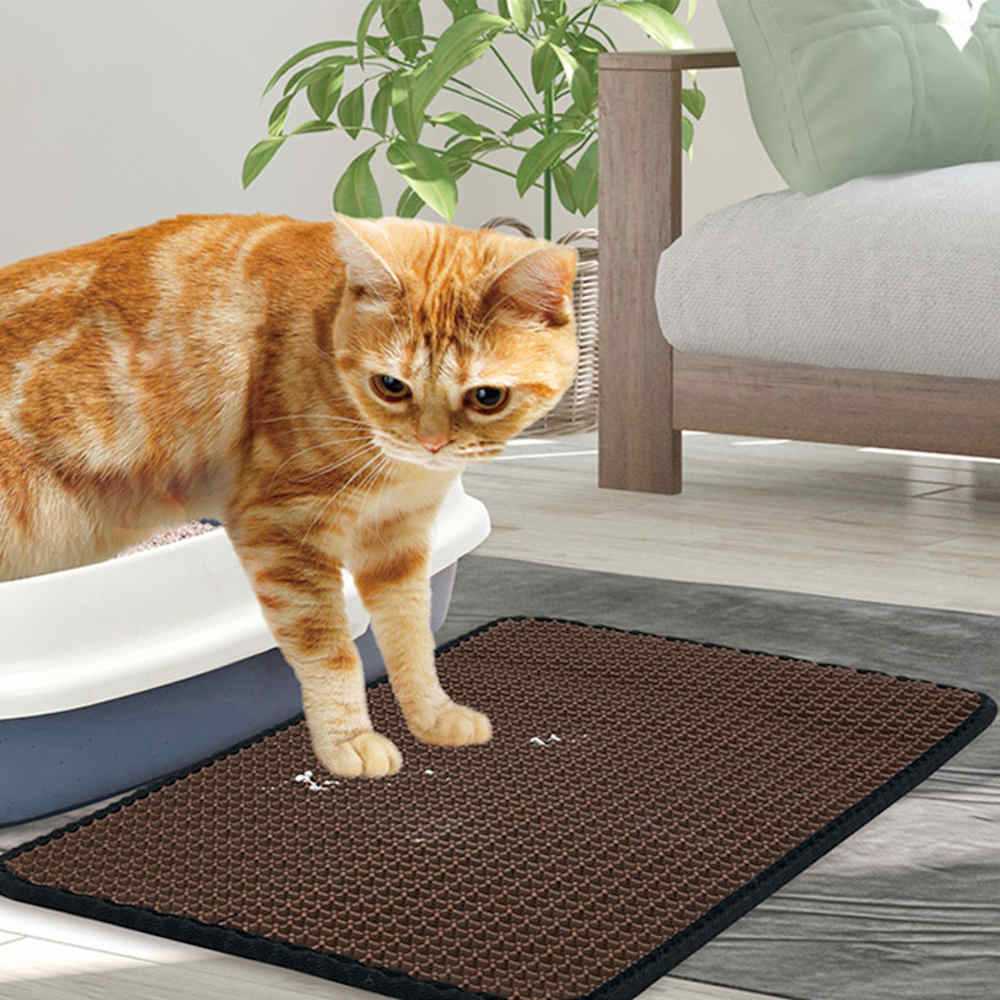
Positioning the mat strategically can also aid in keeping it clean. Placing it near the exit of the box allows for better tracking of any stray materials. Additionally, having a second mat can be beneficial; while one is being cleaned, the other can remain in use.
Lastly, consider the quality of materials used in your mat. Opt for those that are durable and easy to clean, similar to the best couch material for dogs and cats. This ensures longevity and effectiveness in trapping any litter.


