


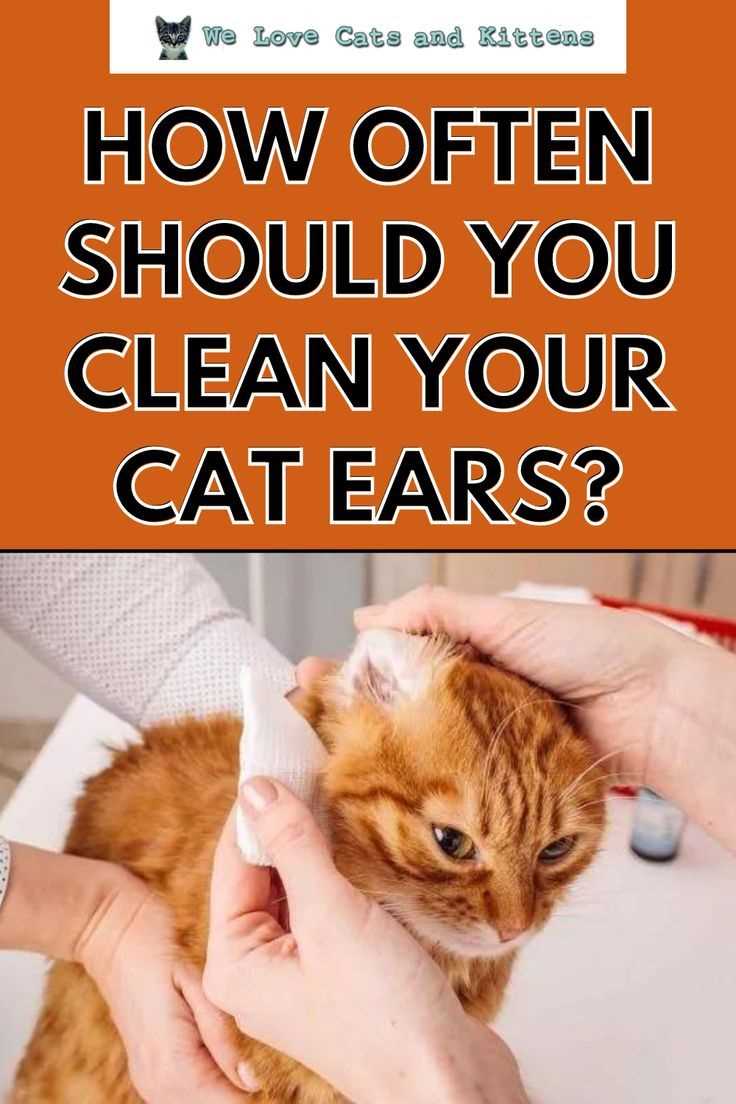
As a Scottish Fold with a keen sense of cleanliness, I recommend examining those little flaps at least once a week. Regular checks help prevent buildup, ensuring my ears stay healthy and free from discomfort.
If my humans notice any unusual waxy deposits, a visit to the vet is necessary. Signals like a bad odor or excessive scratching indicate that a deeper issue may exist, requiring professional attention.
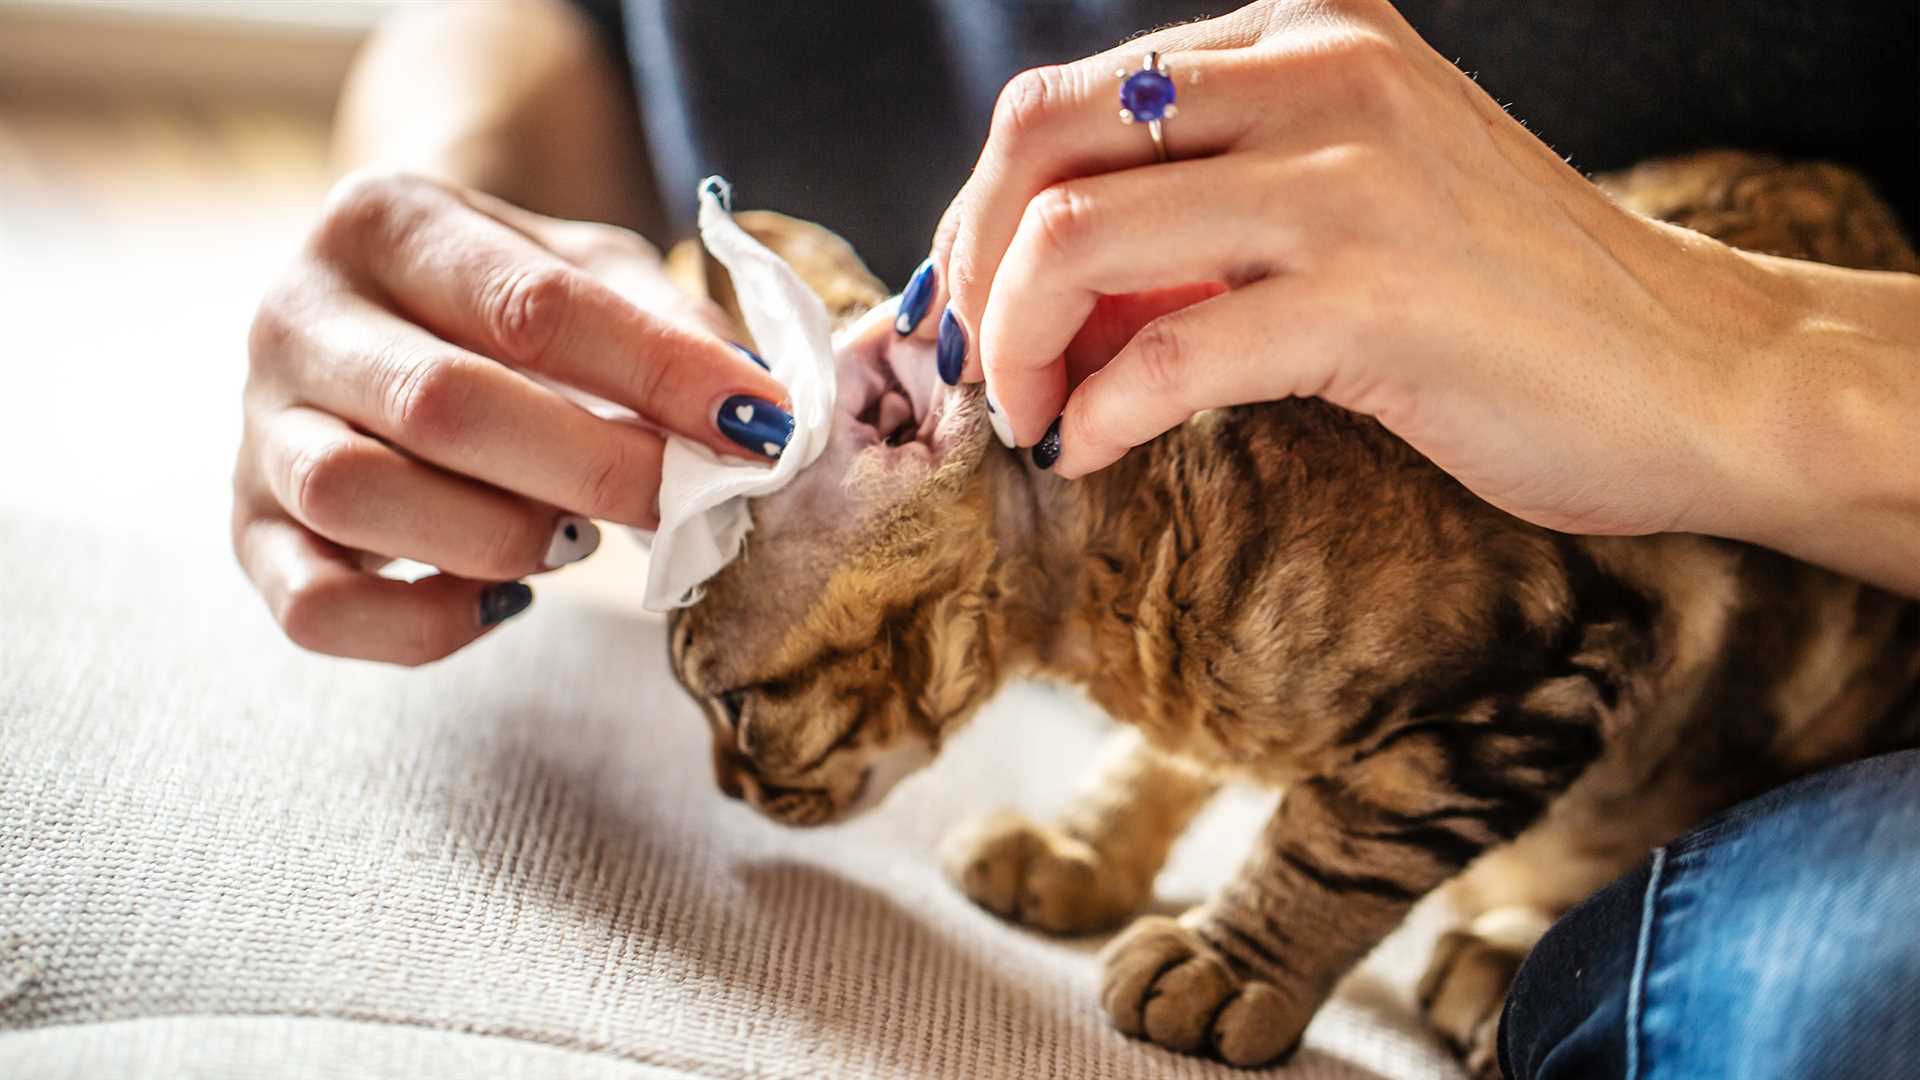
During routine examinations, using a soft cloth or cotton ball dampened with vet-approved solution ensures a gentle and safe cleaning process. Keeping the routine consistent not only promotes hygiene but also strengthens the bond between us.
Understanding the Anatomy of Your Cat’s Ears
The structure of feline auditory organs is quite remarkable. The outer ear, known as the pinna, is designed to capture sound waves effectively. Its triangular shape and ability to rotate help in pinpointing sounds from various directions.
Inner Workings
Inside, the ear canal is relatively long and L-shaped, allowing for efficient sound transmission. This unique design also plays a role in ear health, as it can trap debris and wax. Regular observation is necessary to ensure no buildup occurs that could lead to discomfort or infection.
Importance of Ear Health
Maintaining awareness of these structures is vital for overall well-being. Conditions like ear mites or infections can arise if the ear environment isn’t monitored. For those managing dietary needs, selecting the right canned cat food for diabetic cats can have an impact on overall health, including ear condition.
Understanding this anatomy allows for better care and timely intervention if issues arise.
Signs that a Feline’s Ears Need Attention
Regular observation is key to maintaining ear health. Here are specific indicators that signal a need for attention:
- Discoloration: Noticeable change in color, such as redness or dark brown spots, may indicate irritation or infection.
- Odor: A foul smell emanating from the ear often suggests a buildup of wax or an underlying issue.
- Excessive Wax: A visible accumulation of wax is a clear sign of neglect. Healthy ears should have minimal buildup.
- Scratching: Frequent scratching or rubbing against objects can indicate discomfort or irritation.
- Swelling: Any swelling around the ear area should not be ignored, as it may signal inflammation.
- Head Tilting: If there’s a noticeable tilt of the head or difficulties maintaining balance, an ear issue may be present.
- Behavior Changes: Increased irritability or withdrawal from usual activities may suggest pain or discomfort in the ears.
Monitoring for Infections
Watch for signs like discharge. Yellow, brown, or bloody discharge can indicate an infection that requires veterinary attention. Mites may also cause similar symptoms, so regular checks are vital.
Consulting a Veterinarian
If any of these signs appear, seeking professional advice is crucial. A vet can provide a thorough examination and recommend appropriate actions.
Recommended cleaning frequency for different breeds
For Persian cats, a thorough inspection and maintenance of those fluffy ears every two weeks is recommended. Their long fur can trap dirt and moisture, leading to potential issues.
Siamese and Burmese felines typically have less ear debris, so a monthly checkup is often sufficient. Their short coats reduce the likelihood of build-up.
Ragdolls
Ragdolls, with their semi-long fur, benefit from an ear check every three weeks. This helps prevent wax accumulation without being overzealous.
Scottish Folds
Being a Scottish Fold myself, I can say that a bi-weekly ear assessment works well. Those adorable folded ears can sometimes hide dirt, so regular attention is wise.
Always adjust frequency based on individual needs and any specific health concerns. Regular observations can lead to early detection of potential issues.
Safe methods for cleaning cat ears at home
Using a veterinarian-approved ear cleaning solution is key. Apply a few drops directly into the ear canal. Massage the base of the ear gently to help dislodge debris. Let the kitty shake its head, then wipe away any excess fluid and wax with a soft cotton ball.
Never use cotton swabs, as they can push dirt further into the ear and potentially damage the eardrum. Always ensure the cleaning product is specifically designed for feline use; human products can be harmful.
For regular maintenance, consider using a damp cloth to wipe the outer part of the ear. This helps keep the area free from dust and dirt without the need for solutions.
Here’s a simple table outlining the steps:
| Step | Description |
|---|---|
| 1 | Use a vet-approved ear cleaner. |
| 2 | Apply drops into the ear canal. |
| 3 | Gently massage the base of the ear. |
| 4 | Allow the head shake to remove excess. |
| 5 | Wipe outer ear with a damp cloth. |
Always check for signs of irritation or excessive buildup. If anything seems off, a trip to the vet is a must. Keeping the routine gentle and stress-free ensures a positive experience for both pet and owner.
Products to Avoid When Cleaning Cat Ears
Never use cotton swabs or any pointed objects. These can push debris further into the ear canal, leading to potential injury or infection.
Steer clear of alcohol-based solutions. They can cause irritation and dryness, making your feline friend uncomfortable.
Fragranced or harsh chemical cleaners are also a no-go. Cats are sensitive to strong scents, and these products can lead to allergic reactions or stress.
Household Items to Avoid
Do not use vinegar or hydrogen peroxide. While they may seem like natural alternatives, they can disrupt the pH balance in the ear.
Skip baby wipes or any human cleansing products. They may contain additives that are unsafe for cats.
Commercial Products
Be cautious with products marketed as “all-natural.” Always check the ingredients list, as some may still contain harmful substances.
Lastly, avoid ear drops not specifically formulated for felines. These could contain ingredients that are harmful to cats, potentially leading to adverse reactions.
When to Consult a Veterinarian About Ear Health
If I notice persistent scratching or head shaking, it’s crucial to reach out to my veterinarian. These signs may indicate underlying issues like infections or parasites. Additionally, any unusual discharge, strong odor, or redness can signal a need for professional evaluation. If my ears appear swollen or if I exhibit signs of discomfort, such as sensitivity when touched, a vet visit is necessary.

Should I experience sudden changes in behavior, such as increased irritability or lethargy, these changes warrant prompt attention. Regular check-ups can help maintain ear health, but immediate consultation is vital if symptoms worsen or new symptoms arise.
In case of persistent problems, my vet might recommend diagnostic tests to determine the cause of any issues. Keeping track of any changes in my ears and sharing this information with the veterinarian can aid in accurate diagnosis and treatment. For further reading on related topics, check this link: are champion petrol lawn mower 4 stroke.
FAQ:
How often should I clean my cat’s ears?
The frequency of cleaning your cat’s ears can depend on various factors, such as your cat’s breed, activity level, and any existing health issues. Generally, it’s advisable to check your cat’s ears once a month. If you notice excessive wax buildup, dirt, or odor, you may need to clean them more frequently. Always consult your veterinarian for personalized advice based on your cat’s specific needs.
What signs indicate that my cat’s ears need cleaning?
There are several signs that may suggest your cat’s ears need attention. Look for visible dirt or wax buildup inside the ear canal. If your cat is frequently scratching at its ears or shaking its head, these could be indications of irritation or discomfort. Additionally, an unusual odor or discharge can signal an infection or other issues. If you observe any of these signs, it’s wise to clean the ears and consult a veterinarian if the problem persists.
What is the best way to clean my cat’s ears safely?
To clean your cat’s ears safely, you should use a gentle ear cleaner specifically designed for pets. Begin by preparing your cat in a comfortable position, possibly on your lap or a stable surface. Apply a few drops of the ear cleaner into the ear canal, then gently massage the base of the ear to help loosen debris. Allow your cat to shake its head to expel excess fluid. Finally, use a soft cotton ball or gauze to wipe away any visible dirt from the outer ear. Avoid using cotton swabs inside the ear canal, as they can push debris further in or cause injury. Always be gentle and calm throughout the process to ensure your cat feels safe.


