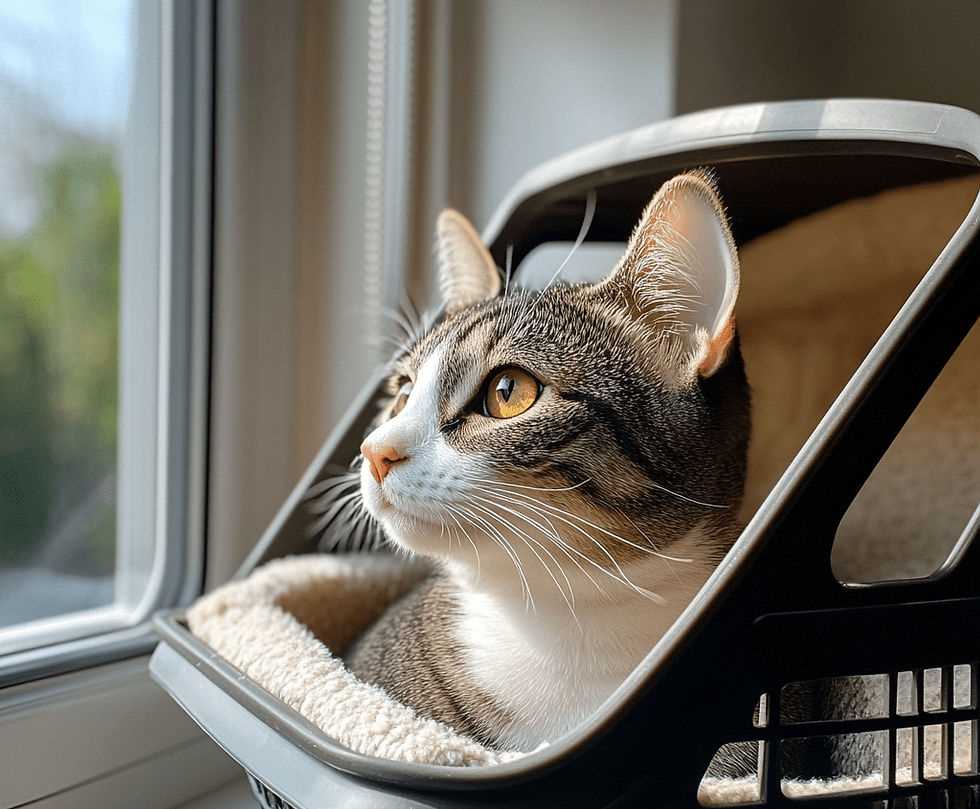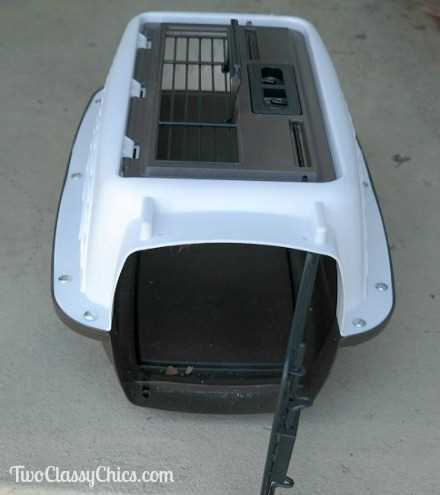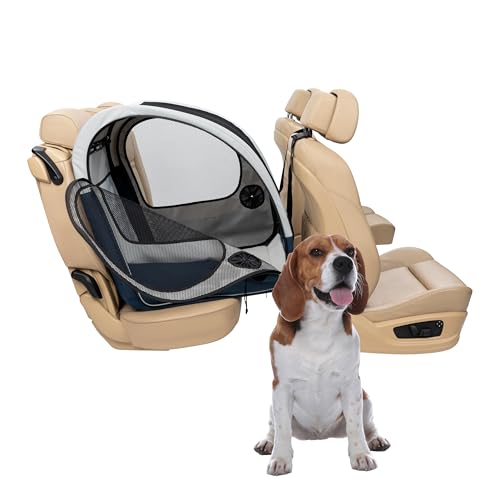


First, gather your supplies: warm water, mild soap, and a soft cloth or sponge. This combination will help tackle any lingering odors or stains. Rinse everything well afterward to avoid any residue that could irritate my sensitive nose.
Next, remove any removable parts, like cushions or dividers. These can usually go in the washing machine, but check the labels for specific instructions. Giving these items a thorough wash keeps my resting area fresh and inviting.
For the main structure, use your soapy cloth to wipe down every surface. Pay attention to corners and crevices where fur and debris like to hide. After scrubbing, rinse thoroughly with clean water to ensure no soap remains.
Finally, allow everything to air dry completely before reassembling. A well-ventilated space works best for this. Once dry, put it all back together, and it’ll be ready for our next adventure!
Cleaning Your Transport Space

First, remove any bedding or accessories. Shake out loose fur and debris. Use a vacuum cleaner with a brush attachment for corners and crevices where dirt hides.
Next, prepare a solution of warm water and mild soap. Wipe down all surfaces with a soft cloth or sponge, ensuring to reach all nooks. Rinse with a damp cloth to remove any soap residue.
Dealing with Stains and Odors

For stubborn stains, a paste made of baking soda and water can be effective. Apply it to the affected area, let it sit for a few minutes, then scrub gently before rinsing. To neutralize odors, spray a mixture of equal parts water and vinegar, then wipe clean.
Final Touches
Once everything is dry, replace bedding and accessories. Ensure everything is secure before your next adventure. Regular upkeep will make each trip more pleasant for both of us!
Preparing Your Cleaning Supplies
I recommend gathering a few key items before tackling the task. You’ll need a sturdy brush to dislodge any stubborn fur and debris stuck in the corners. A gentle, pet-safe disinfectant spray is crucial for eliminating odors and bacteria without harmful residues. Microfiber cloths work wonders for wiping down surfaces, as they trap dirt effectively.
Don’t forget a bucket or a large basin filled with warm water. This will help rinse off any cleaning solutions you use. A pair of gloves can keep your paws clean and protect against harsh chemicals. Lastly, have a scoop or small vacuum handy to collect loose litter or other bits swiftly.
Removing Pet Hair and Debris
To tackle the fur and dirt in my travel space, I recommend using a rubber pet hair remover or a lint roller. These tools effectively lift away hair from the surfaces without much effort. Run the rubber remover along the corners and edges to catch stubborn strands that cling to the material. For a quick touch-up, a lint roller is perfect for gathering loose hair in seconds.
In addition, a vacuum with a brush attachment can reach into tight spots where fur tends to accumulate. Make sure to vacuum all nooks and crannies, including the bottom and any removable parts. This helps maintain a fresh environment for our adventures.
Don’t forget to wipe down surfaces with a damp cloth after removing the bulk of the fur. This will help eliminate any remaining debris and allergens. If you’re dealing with a particularly messy situation, consider investing in the best litter mats for messy cats to keep the area tidy in the future.
Choosing the Right Cleaning Solution
Opt for a solution that’s safe for pets. Look for enzymatic cleaners that break down odors and stains, making them ideal for my travel space. These products target organic messes effectively.
Avoid harsh chemicals like bleach or ammonia, as they can be harmful to us furry companions. Instead, consider vinegar mixed with water as a natural alternative. It neutralizes smells without leaving toxic residues.
For a fresh scent, adding a few drops of pet-safe essential oils can enhance the cleaning experience. Always test any new solution on a small area first to ensure it won’t irritate my sensitive nose.
Lastly, check labels for certifications that confirm the product is pet-friendly. This way, you can be sure that my travel spot stays safe and comfortable after each tidy-up!
Deep Cleaning the Carrier Interior
For a thorough refresh of the inside of my traveling space, remove all bedding and accessories. I recommend using a vacuum with a brush attachment to eliminate any lingering fur or dirt. Make sure to get into the corners and crevices where debris tends to accumulate.
Next, apply a suitable solution to sanitize the surfaces. A mixture of equal parts water and vinegar works wonders, effectively neutralizing odors and bacteria without harsh chemicals. Wipe down all surfaces, including the walls and floor, ensuring you reach every nook.
After scrubbing, rinse with clean water to remove any residue from the cleaning agent. This step is crucial to keep my space safe and comfortable. Allow it to air dry completely before reinserting any items. If you’re curious about the origins of what keeps us strong, check out where does protein production begin.
Finally, replace any bedding with fresh, clean material, and if possible, consider adding something that smells like home to make the environment more inviting. This ensures I feel comfortable and secure on our next adventure together.
Disinfecting and Drying the Carrier
After the interior has been thoroughly scrubbed, it’s time for disinfection. I recommend using a pet-safe disinfectant spray. Ensure the solution has antiviral and antibacterial properties to eliminate any lingering germs.
- Spray the disinfectant generously inside and outside the enclosure.
- Let it sit for the recommended time on the label, usually around 10 minutes, to effectively kill bacteria and viruses.
Once the waiting period is over, wipe down all surfaces with a clean cloth. This will remove any excess disinfectant and help prevent residue buildup.
Drying is just as important. A damp environment can lead to odors and mold.
- Use a dry towel to absorb any remaining moisture.
- If possible, place the unit in a well-ventilated area to air dry completely.
- Avoid direct sunlight, as it can warp plastic materials.
Once everything is dry, inspect the enclosure for any missed spots or lingering smells. A quick sniff test helps ensure it’s ready for the next adventure.
FAQ:
What materials do I need to clean a cat carrier?
To clean a cat carrier, you will need some basic supplies: mild soap or pet-safe cleaner, warm water, a sponge or cloth, and paper towels or a dry cloth for drying. If the carrier has stubborn stains or odors, you might also consider white vinegar or baking soda as additional cleaning agents. Always ensure that any products used are safe for pets.
How often should I clean my cat’s carrier?
The frequency of cleaning a cat carrier depends on how often you use it. If you use the carrier frequently, it’s a good idea to clean it after each trip. For less frequent users, a thorough cleaning every few weeks is recommended. Regular cleaning helps prevent odor buildup and keeps the carrier comfortable for your cat.
Can I use disinfectants to clean the cat carrier?
While disinfectants can be effective in killing germs, it’s crucial to choose a pet-safe product. Many household disinfectants can be harmful to cats if ingested or if they come into contact with their paws. Always read the labels and opt for products specifically designed for pet environments, or simply use warm soapy water followed by a rinse to ensure safety.
What should I do if my cat carrier has a strong odor?
If your cat carrier has a strong odor, start by cleaning it thoroughly with a mixture of warm water and mild soap. For persistent odors, sprinkle baking soda inside the carrier and let it sit for a few hours before vacuuming it out. Additionally, you can wipe down the surfaces with a mixture of equal parts water and white vinegar, which can help neutralize odors without leaving harmful residues.
Is it necessary to remove the bedding and toys from the carrier before cleaning?
Yes, it’s important to remove any bedding, toys, or accessories from the carrier before cleaning. This allows you to reach all the surfaces that need to be cleaned and ensures that these items don’t get wet or damaged. Wash the bedding separately according to the manufacturer’s instructions to maintain hygiene and comfort for your cat.


