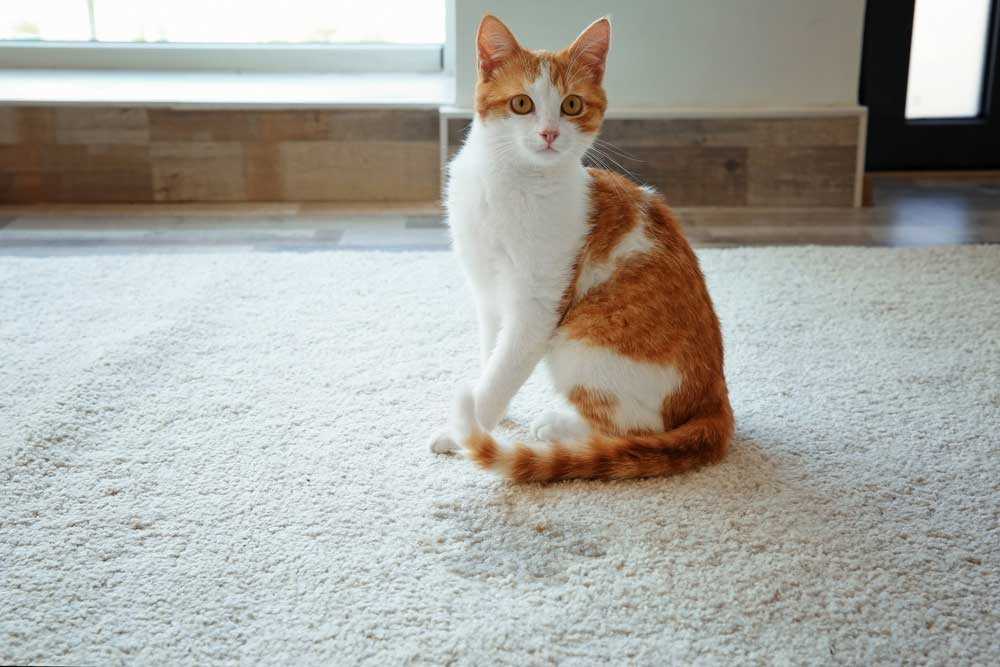


Act quickly with a mixture of white vinegar and water at a 1:1 ratio. This solution neutralizes unpleasant scents and helps break down stains. Blot the area using a clean cloth, absorbing as much liquid as possible without rubbing.
Once the initial liquid is absorbed, sprinkle baking soda over the affected spot. This natural deodorizer will absorb remaining odors as it dries. Allow it to sit for several hours or overnight for maximum effectiveness.
Afterward, vacuum up the baking soda. If any lingering scent persists, repeat the vinegar solution application followed by baking soda. Ensuring thorough dry time will help prevent any residual scents from returning.
Identify the Stain and Odor Source
First step: locate the exact spot of the blemish and smell. Use a black light in a dark room to reveal hidden areas that might not be immediately visible. The glow will help pinpoint the source effectively.
Assessing the Damage
Once identified, evaluate the extent of the staining. Some marks may appear minor but can penetrate deeper layers of the fabric and padding. Consider testing a small, inconspicuous area first to avoid any damage when applying cleaning solutions.
Understanding the Odor
Recognize that the scent can linger long after the visible stain has been treated. It’s crucial to address both the source of the discoloration and the embedded odor. For persistent smells, a specialized enzymatic cleaner may be necessary to break down the compounds responsible for the unpleasant aroma.
For comfort and prevention of future incidents, check out the best cool mat for cats to create a designated area that can help minimize accidents and enhance relaxation.
Gather Necessary Cleaning Supplies
Before tackling the mess, assemble these items:
- White vinegar
- Baking soda
- Dish soap
- Hydrogen peroxide (3%)
- Spray bottle
- Soft cloths or paper towels
- Vacuum cleaner
- Rubber gloves
Mixing Solutions
Combine equal parts vinegar and water in a spray bottle for a natural cleaning solution. Add a small amount of dish soap to enhance its effectiveness. Alternatively, for deeper stains, a mixture of hydrogen peroxide and baking soda can work wonders.
Preparation Steps
Put on rubber gloves to protect paws. Blot the area with paper towels to absorb excess liquid before applying any solutions. This will help in the overall cleaning process.
Apply enzymatic cleaner correctly
First, ensure the affected area is thoroughly soaked with the enzymatic solution. Use enough product to penetrate the fibers and reach the padding underneath. This is crucial for breaking down the odor-causing compounds.
Next, allow the cleaner to sit for the recommended time on the label, typically around 10 to 15 minutes. This duration lets the enzymes work effectively, digesting the organic material.
After the wait, gently blot the area with a clean cloth or paper towel, absorbing the excess moisture. Avoid rubbing, as this can push the stain deeper into the fibers.
Once blotted, rinse the section with cold water to remove any residual cleaner. Blot again to soak up the rinse water. Repeat if necessary until the area feels damp but not wet.
To ensure complete odor elimination, consider using a second application of the enzymatic cleaner after the area has dried. This step is especially helpful if the smell persists.
Lastly, allow the location to air dry completely. A fan can help speed up the drying process, which is essential to prevent any lingering scent. Always remember to check if the product is safe for your flooring before use. For more information on related topics, visit where does protein production begin.
Blot and Rinse the Area Thoroughly
Immediately after soaking up the mess, use a clean, dry cloth or paper towel to blot the affected spot. Press firmly to absorb as much liquid as possible, avoiding rubbing, which can push the stain deeper into the fibers.
Once the majority is blotted up, rinse the area with warm water. Pour a small amount over the spot, ensuring it doesn’t soak through to the floor underneath. This helps to dilute any remaining residues.
Blot again with a clean towel to remove the excess moisture. Repeat this rinsing and blotting process until the area feels damp but not soaked. This step is crucial for minimizing lingering odors and preventing future stains.
| Step | Action |
|---|---|
| 1 | Blot the area with a clean cloth. |
| 2 | Pour warm water over the spot. |
| 3 | Blot again to absorb moisture. |
| 4 | Repeat until the area is damp. |
Ensuring thorough rinsing supports the effectiveness of subsequent treatments and helps maintain a fresh environment.
Prevent Future Incidents with Training Tips

Establishing a designated area for mealtime and playtime can significantly reduce accidents. Keeping my litter box clean and accessible is essential for making sure I use it consistently.
Positive Reinforcement
Rewarding desirable behavior with treats or affection reinforces good habits. Whenever I use the litter box correctly, a little praise or a tasty snack makes me feel appreciated.
Regular Routine
Maintaining a consistent schedule for feeding and bathroom breaks helps me understand when and where I should relieve myself. This predictability encourages better habits over time.


