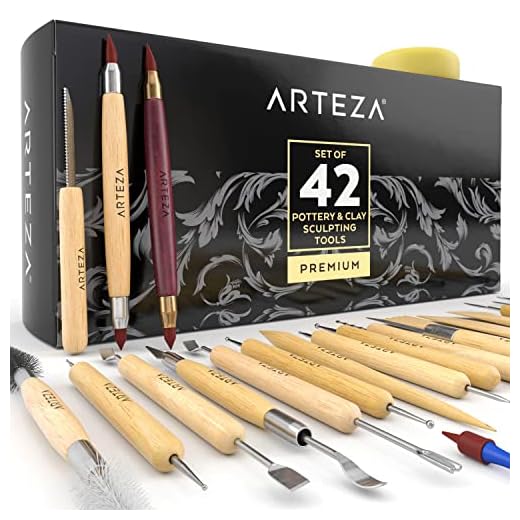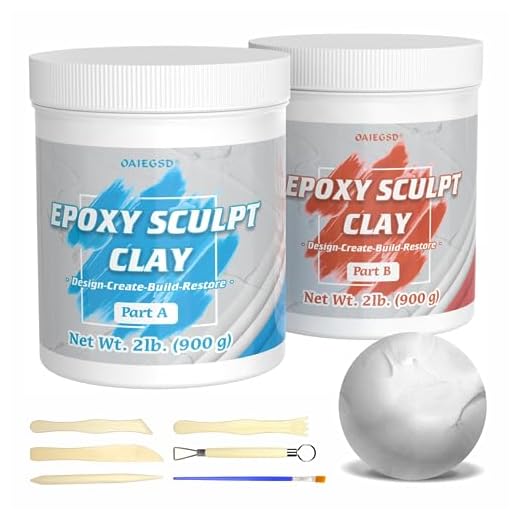


Grab some non-toxic modeling material and a few basic tools like a rolling pin and a sharp knife. Start by forming a round body shape, which will serve as the main structure for your furry friend. Keep it proportional; a slightly larger base will provide stability.
Next, roll out smaller pieces for the head, legs, and tail. Use a ball for the head and shape it into a slightly flattened sphere for realism. For the legs, create four equal-sized cylinders, ensuring they are thick enough to support the body. The tail can be a long, tapered piece, adding a playful touch.
Once the basic shapes are ready, assemble them by gently pressing them together. Use a bit of water or a small amount of adhesive to secure the joints, ensuring everything stays in place while it dries. Add details like ears, eyes, and a nose using small pieces of the material or tools for texture. Personalize it further with patterns or colors to match your own unique style.
After completing the figure, let it dry completely according to the instructions provided with your modeling material. This ensures your creation is sturdy and ready for display. Enjoy the process and let your imagination run wild!
Creating a Feline Figurine
Begin with a ball of your preferred modeling substance, about the size of a golf ball. This will serve as the body. Roll it into an oval shape, ensuring it’s slightly tapered at one end for the head.
Next, take a smaller piece for the head and shape it into a round form. Attach this to the larger oval by gently pressing the two together. Smooth the seam for a seamless look.
For the ears, grab two small bits and mold them into triangular shapes. Position these on top of the head, angling them outward to mimic a cat’s ears.
Craft the eyes using tiny balls of contrasting material. Flatten them slightly and press them into the head. Add smaller dots for pupils to enhance the expression.
Create a nose from a small triangle and place it just below the eyes. For the mouth, use a thin strip and curve it into a smile.
The legs require four small cylinders. Attach them to the body, ensuring they are proportional. For the tail, roll out a longer piece and attach it to the back, giving it a slight curve.
Finally, add details like whiskers using thin strands, and texture the body for fur. Allow your creation to dry completely before displaying it proudly.
Choosing the Right Clay for Your Sculpture
For my feline figure, I recommend selecting polymer or air-dry substances. Polymer options bake in an oven, providing durability and vibrant colors. Air-dry varieties are simpler, requiring no heat and suitable for beginners. Both types can capture fine details, but polymer allows for more intricate designs.
Texture and Finish
Consider the texture of the material. Smooth finishes are great for sleek looks, while textured types can add realism to fur. Experimenting with different brands can reveal unique qualities that suit your artistic vision. Don’t forget to test small pieces first!
Color and Paint
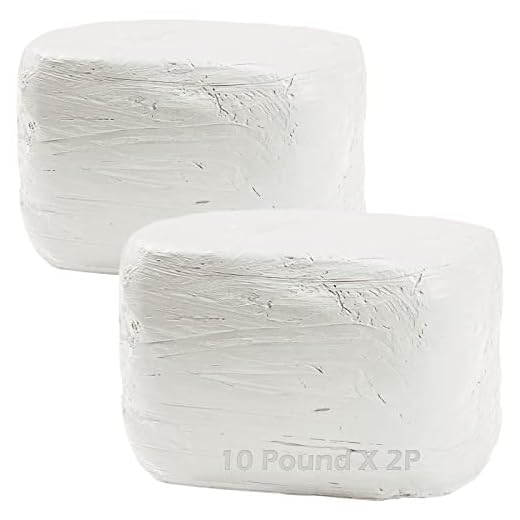
Choose a medium that can be easily painted if you want to customize the appearance. Some clays come in various colors, reducing the need for additional painting. However, for a more personal touch, opt for a white base clay that allows you to create the perfect hues. Always check if the colors are non-toxic, especially if you’re curious about questions like can a raccoon eat a cat.
Step-by-Step Guide to Shaping Your Clay Cat
Begin by rolling a large ball of your chosen material. This will form the body. Ensure it’s smooth and round for a good foundation.
Creating the Head and Features
Take a smaller piece and shape it into a sphere for the head. Attach it to the body gently, pressing lightly to secure the connection. Add tiny balls for the eyes and a small triangle for the nose. Use a tool or your fingers to carve out details like whiskers and a mouth.
Forming the Ears and Tail
For ears, roll two small pieces into cones and attach them to the top of the head. Make sure they stand upright. For the tail, roll a long, thin piece and bend it into your desired shape. Attach it to the back of the body, ensuring it adheres well.
Finally, refine all the features and smooth out any rough spots. Let it dry according to the instructions of the material you selected.
Finishing Techniques to Enhance Your Clay Cat
To achieve a polished look for your feline figure, consider using a smooth finishing technique. Gently rub the surface with a damp sponge or cloth to eliminate fingerprints and uneven spots. This step creates a sleek texture that mimics fur.
Adding details can truly bring your sculpture to life. Use a fine tool to carve whiskers, nose, and paw pads. For a touch of realism, incorporate subtle color variations using pastels or acrylic paints. These can enhance features and add depth.
Sealing your masterpiece is crucial. After drying, apply a clear varnish or glaze to protect and add a glossy finish. This not only preserves the colors but also gives your creation a professional appearance. Make sure to choose a non-toxic option, especially if your art will be around pets.
For a unique touch, embellish the piece with accessories. Small collars or playful hats can make your creation stand out. Be creative, but ensure any added elements are securely attached to prevent them from becoming loose.
Lastly, consider the environment where your sculpture will reside. If you’re curious about how certain scents affect your furry friends, check out this interesting article on do cats like the smell of weed. Understanding their preferences can inspire the perfect display location for your artwork!


