

Begin with a square sheet of paper. Fold it diagonally to form a triangle, ensuring the edges align perfectly. This fold sets the foundation for your adorable paper pet.
Next, take the top point of the triangle and fold it down to meet the bottom edge. This will shape the head of your miniature furry companion. A precise crease will help in defining the features.
For the ears, fold the two top corners down towards the center crease, creating triangles that extend upwards. These will give your creation a charming and playful expression. Adjust the angles to your liking for added personality.
To finish, flip the model over and make a small fold at the bottom to represent the tail. This touch brings your paper creature to life, capturing the essence of a feline friend. Enjoy the process and let your creativity shine!
Selecting the Right Paper for Your Feline Figure
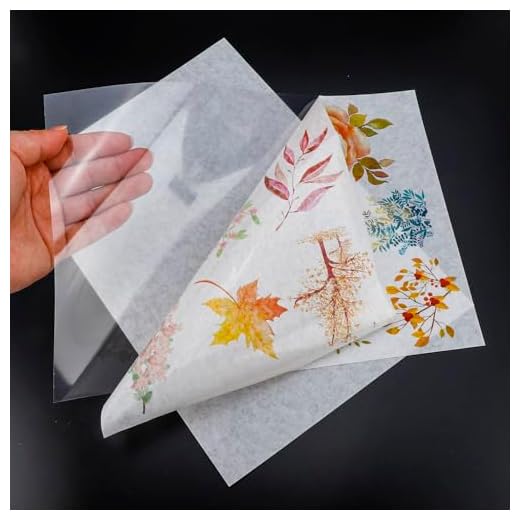
Choose lightweight paper, ideally around 70-80 gsm. This thickness allows for precise folds without tearing.
Look for smooth finishes. Textured paper can complicate the folding process, leading to uneven edges.
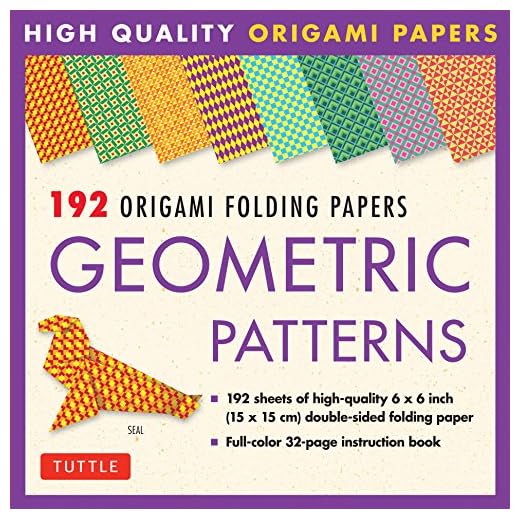
Consider colors and patterns. Solid colors offer a classic look, while patterned paper adds a unique touch to the final piece.
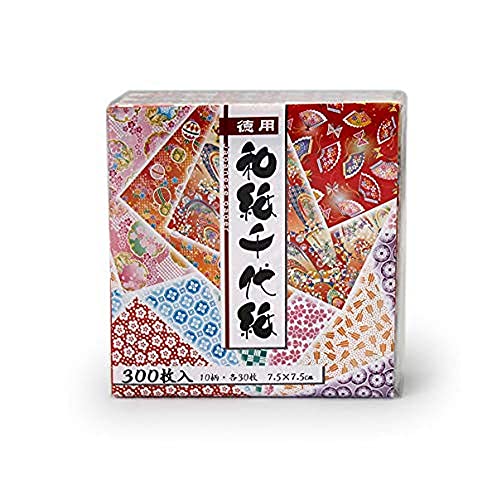
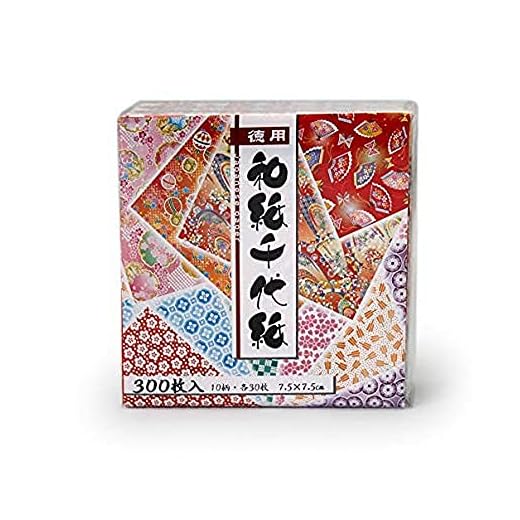
Try origami-specific paper, available in various sizes and colors. It folds easily and holds creases well.
Recyclable paper is a great choice for eco-friendly crafting. It’s often lightweight and comes in many colors.
Experiment with different types:
- Washi paper for its beautiful designs and flexibility.
- Foil paper for shiny, eye-catching results.
- Cardstock for sturdier models, but ensure it’s not too thick.
Always test a small piece before committing to a larger sheet. This way, you can assess how it folds and holds its shape.
Step-by-Step Folding Instructions for a Basic Feline Design
Begin with a square piece of paper, color side down. Fold it diagonally in half to form a triangle, then unfold it. Make a second diagonal fold, resulting in a smaller triangle pointing upwards.
Creating the Ears
Take the top corner of the triangle and fold it down to meet the bottom edge. This forms the ears. Fold the sides of the triangle inward to create a more defined head shape.
Shaping the Face
Next, fold the bottom point of the triangle upwards, slightly covering the previous folds. This will create the chin. For the eyes, fold down the sides of the head slightly to give it a rounded appearance. You can draw or color in the eyes and nose for added personality.
Once your figure is complete, you might want to explore more about caring for your pet. Check out how much to put a cat down near me or learn about how to treat cat vomiting at home for helpful tips.
Tips for Adding Details and Personalizing Your Origami Cat
Use colored markers or pencils to draw facial features. Adding whiskers, eyes, and a nose can bring character to the folded figure. Try experimenting with different expressions to give your creation personality.
Consider using patterned paper instead of plain colors. A floral or polka dot design can enhance the visual appeal. You can also layer multiple sheets for a unique texture.
Attach small accessories made from paper, like a collar or a tiny bow. These elements can add charm and make your folded feline more distinctive.
Experiment with different sizes. Using smaller paper can create a family of tiny figures, while larger sheets can allow for more intricate details.
Fold ears in various styles. Triangular or rounded shapes can change the look significantly. Adjust the angles to create a more playful or regal appearance.
Try different body poses. Adjusting the way you fold the legs can create a sitting, standing, or playful pose. This can add a dynamic quality to your figure.
Incorporate materials like glitter or stickers for added flair. These embellishments can make your work stand out and reflect your unique style.
Lastly, don’t be afraid to let your creativity flow. Each piece can tell a different story and showcase your individuality. The more personal you make it, the more special it becomes!
Video:
Begin with a square sheet of paper. Fold it diagonally to form a triangle, ensuring the edges align perfectly. This fold sets the foundation for your adorable paper pet.
Next, take the top point of the triangle and fold it down to meet the bottom edge. This will shape the head of your miniature furry companion. A precise crease will help in defining the features.
For the ears, fold the two top corners down towards the center crease, creating triangles that extend upwards. These will give your creation a charming and playful expression. Adjust the angles to your liking for added personality.
To finish, flip the model over and make a small fold at the bottom to represent the tail. This touch brings your paper creature to life, capturing the essence of a feline friend. Enjoy the process and let your creativity shine!
Selecting the Right Paper for Your Feline Figure
Choose lightweight paper, ideally around 70-80 gsm. This thickness allows for precise folds without tearing.
Look for smooth finishes. Textured paper can complicate the folding process, leading to uneven edges.
Consider colors and patterns. Solid colors offer a classic look, while patterned paper adds a unique touch to the final piece.
Try origami-specific paper, available in various sizes and colors. It folds easily and holds creases well.
Recyclable paper is a great choice for eco-friendly crafting. It’s often lightweight and comes in many colors.
Experiment with different types:
- Washi paper for its beautiful designs and flexibility.
- Foil paper for shiny, eye-catching results.
- Cardstock for sturdier models, but ensure it’s not too thick.
Always test a small piece before committing to a larger sheet. This way, you can assess how it folds and holds its shape.
Step-by-Step Folding Instructions for a Basic Feline Design
Begin with a square piece of paper, color side down. Fold it diagonally in half to form a triangle, then unfold it. Make a second diagonal fold, resulting in a smaller triangle pointing upwards.
Creating the Ears
Take the top corner of the triangle and fold it down to meet the bottom edge. This forms the ears. Fold the sides of the triangle inward to create a more defined head shape.
Shaping the Face
Next, fold the bottom point of the triangle upwards, slightly covering the previous folds. This will create the chin. For the eyes, fold down the sides of the head slightly to give it a rounded appearance. You can draw or color in the eyes and nose for added personality.
Once your figure is complete, you might want to explore more about caring for your pet. Check out how much to put a cat down near me or learn about how to treat cat vomiting at home for helpful tips.
Tips for Adding Details and Personalizing Your Origami Cat
Use colored markers or pencils to draw facial features. Adding whiskers, eyes, and a nose can bring character to the folded figure. Try experimenting with different expressions to give your creation personality.
Consider using patterned paper instead of plain colors. A floral or polka dot design can enhance the visual appeal. You can also layer multiple sheets for a unique texture.
Attach small accessories made from paper, like a collar or a tiny bow. These elements can add charm and make your folded feline more distinctive.
Experiment with different sizes. Using smaller paper can create a family of tiny figures, while larger sheets can allow for more intricate details.
Fold ears in various styles. Triangular or rounded shapes can change the look significantly. Adjust the angles to create a more playful or regal appearance.
Try different body poses. Adjusting the way you fold the legs can create a sitting, standing, or playful pose. This can add a dynamic quality to your figure.
Incorporate materials like glitter or stickers for added flair. These embellishments can make your work stand out and reflect your unique style.
Lastly, don’t be afraid to let your creativity flow. Each piece can tell a different story and showcase your individuality. The more personal you make it, the more special it becomes!


