


Mix equal parts of white vinegar and water in a spray bottle. Shake it well and lightly mist the affected area. Allow the solution to sit for about 5 to 10 minutes, then gently wipe it off with a soft cloth. This method neutralizes odors effectively without damaging the surface.
For stubborn odors, sprinkle baking soda generously over the spot. Let it sit overnight to absorb the unwanted scent. The next day, vacuum the area thoroughly to remove the baking soda. This technique is particularly useful for deeper penetration of the odor.
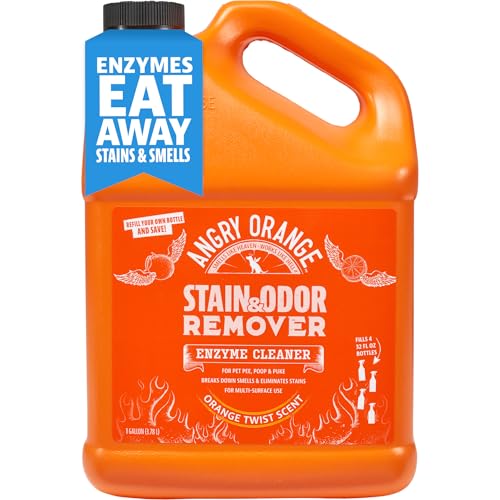
If the issue persists, consider using an enzyme cleaner specifically designed for organic stains. Follow the instructions on the label for application, ensuring that it penetrates the wood grain. This step can be crucial in breaking down the source of the odor.
Lastly, after cleaning, ensure the area is well-ventilated. Open windows or use a fan to promote air circulation, helping to dissipate any remaining odors. Regular maintenance with these methods can keep your wooden surfaces fresh and inviting.
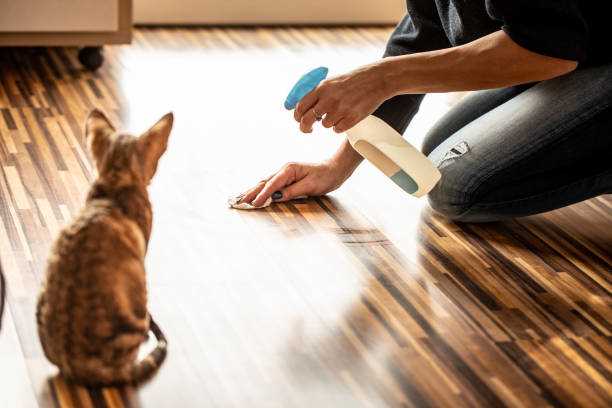
Eliminating Unwanted Odors from Wooden Surfaces
First, tackle the area with a solution of equal parts white vinegar and water. Apply it generously to the affected location and let it sit for about 10 minutes. This will neutralize the unpleasant aroma trapped in the grain.
Next, blot the area using a clean cloth, absorbing as much moisture as possible. Avoid rubbing, as this can spread any residue further into the surface.
For persistent odors, sprinkle baking soda over the damp area. Leave it for several hours or overnight to absorb lingering scents. Vacuum it off afterward.
Consider using an enzyme-based cleaner specifically designed for organic stains. These products break down odor-causing components effectively. Follow the manufacturer’s instructions for optimal results.
If the scent persists, mix a small amount of mild dish soap with warm water and gently clean the area. Rinse with a damp cloth to remove any soap residue, then dry thoroughly.
Lastly, to prevent future incidents, apply a protective sealant or finish to the surface. This not only helps in maintaining appearance but also makes cleaning easier.
Identify the Affected Areas on Furniture
First, locate the spots where I might have left my mark. Check under cushions, around legs, and on surfaces like tabletops. Look for discoloration or dampness, which often indicates the presence of lingering odors.
Use a Black Light
A black light can reveal hidden traces that are hard to spot in regular light. Turn off the lights in the room and scan the area. The affected spots will glow, making it easier to identify areas that require attention.
Smell Test

Trust your nose! Move close to different sections and take a whiff. If you detect an unpleasant scent, that’s likely an area needing treatment. Pay special attention to corners and edges where liquids might have pooled.
Gather Necessary Cleaning Supplies
To tackle the issue effectively, you’ll need a few specific items. Here’s a list of what to gather before starting the cleaning process:
- Enzymatic cleaner: This type of solution breaks down organic matter and eliminates odors.
- White vinegar: A natural deodorizer that can help neutralize unwanted scents.
- Baking soda: Useful for absorbing odors and can be sprinkled directly on affected areas.
- Soft cloths or paper towels: For applying cleaners and wiping surfaces without scratching.
- Spray bottle: To mix and apply solutions easily.
- Rubber gloves: Protect your paws while cleaning.
- Best pressure washer for screen printing: For those tough spots if needed.
Ensure all items are ready before you begin, making the process smoother and more effective.
Prepare an Odor Neutralizing Solution
I recommend mixing equal parts of water and white vinegar in a spray bottle. This combination neutralizes unpleasant scents effectively. If you prefer a more pleasant aroma, add a few drops of liquid dish soap to the mixture, which helps break down residues.
For an enhanced solution, consider incorporating baking soda. After spraying the vinegar and water mixture, sprinkle baking soda over the damp area. Let it sit for at least 15 minutes before vacuuming it up. This will absorb any remaining odors.
Here’s a quick reference table for your neutralizing solution:
| Ingredient | Amount |
|---|---|
| Water | 1 cup |
| White Vinegar | 1 cup |
| Liquid Dish Soap | 2-3 drops (optional) |
| Baking Soda | 1/2 cup (for additional odor absorption) |
Shake the bottle well before each use to ensure the ingredients are mixed thoroughly. Spray the solution generously on the affected areas, allowing it to penetrate the surface. After treatment, wipe with a clean cloth to remove any excess moisture.
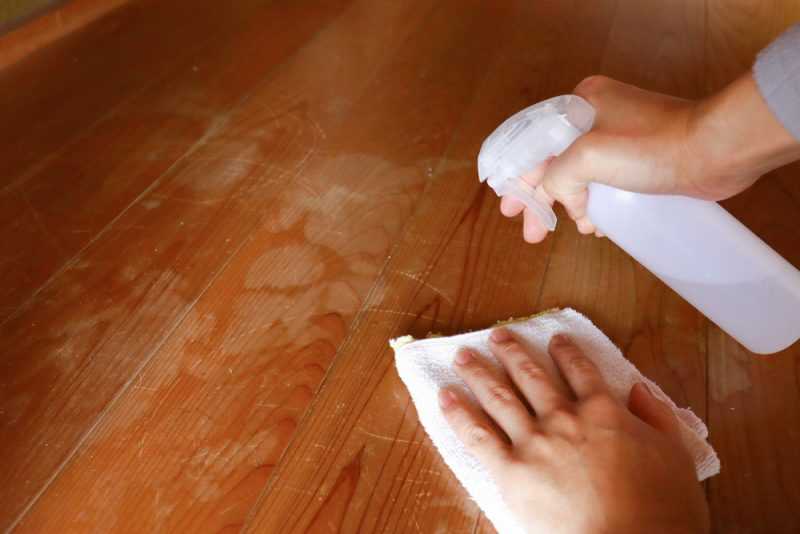
Apply the Solution to the Wood Furniture
Once the neutralizing mixture is ready, it’s time to treat the affected surfaces. Use a clean cloth or sponge to apply the solution directly to the impacted areas. Make sure to soak the cloth slightly, allowing the liquid to penetrate the wood fibers.
Technique for Application
- Gently dab the area instead of rubbing, which may damage the finish.
- Ensure even coverage, focusing on spots that are more concentrated.
- For deeper penetration, let the solution sit for 5-10 minutes before wiping away.
After the application, take a fresh, damp cloth to wipe down the surfaces. This step removes any excess solution while also helping to lift away lingering odors. Pay close attention to corners and crevices, where the scent can linger.
Final Touches
- Air out the area by opening windows or using a fan.
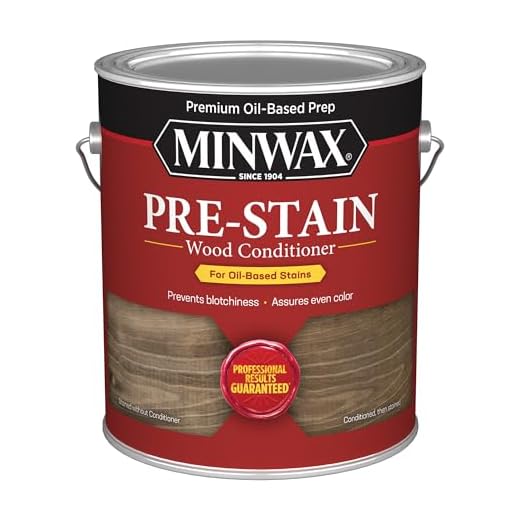
- Consider applying a wood conditioner afterward to restore shine and protect the surface.
Monitor the treated areas over the next few days for any remaining odors. Repeat the application if necessary until the unpleasant scent is fully eliminated.
Allow Time for the Solution to Work
After applying the odor neutralizing mixture, patience is key. Allow the treatment to sit for at least 15 to 30 minutes. This duration lets the solution penetrate the surface and reach the source of the unpleasant scent effectively.
For stubborn areas, consider extending the waiting time to a few hours or even overnight. Keeping the treated spot undisturbed ensures maximum absorption, which is crucial for eliminating lingering odors.
While waiting, avoid placing any items back on the surface. This prevents interference with the solution’s action. If the odor persists after the initial treatment, reapply the mixture and allow it to work again.
During this time, I recommend checking out best wet food for cats with pancreatitis to ensure your health and wellness are also taken care of. After all, a happy kitty is a healthy kitty!
Wipe Down and Dry the Furniture Properly
After applying the neutralizing mixture, it’s crucial to ensure the surface is thoroughly wiped and dried. Use a clean, soft cloth to gently remove any excess solution. This helps prevent lingering moisture, which can lead to further issues.
Drying Techniques
For optimal drying, you can leave the area exposed to air for a while. If possible, place a fan nearby to enhance airflow. Avoid direct sunlight, as this can warp the material or fade the finish. If you have a dehumidifier, running it in the room can also assist in moisture removal.
Final Touches
Once the surface feels dry, inspect it to ensure no residue remains. If any dampness is still present, repeat the drying process. This step is vital for maintaining the integrity of the surface and ensuring a fresh environment.
Prevent Future Accidents and Odors
Creating a designated area for my business can significantly reduce mishaps. Use specific spots with easy-to-clean surfaces, like tiles or designated mats. Ensure they are accessible and appealing to me, encouraging use.
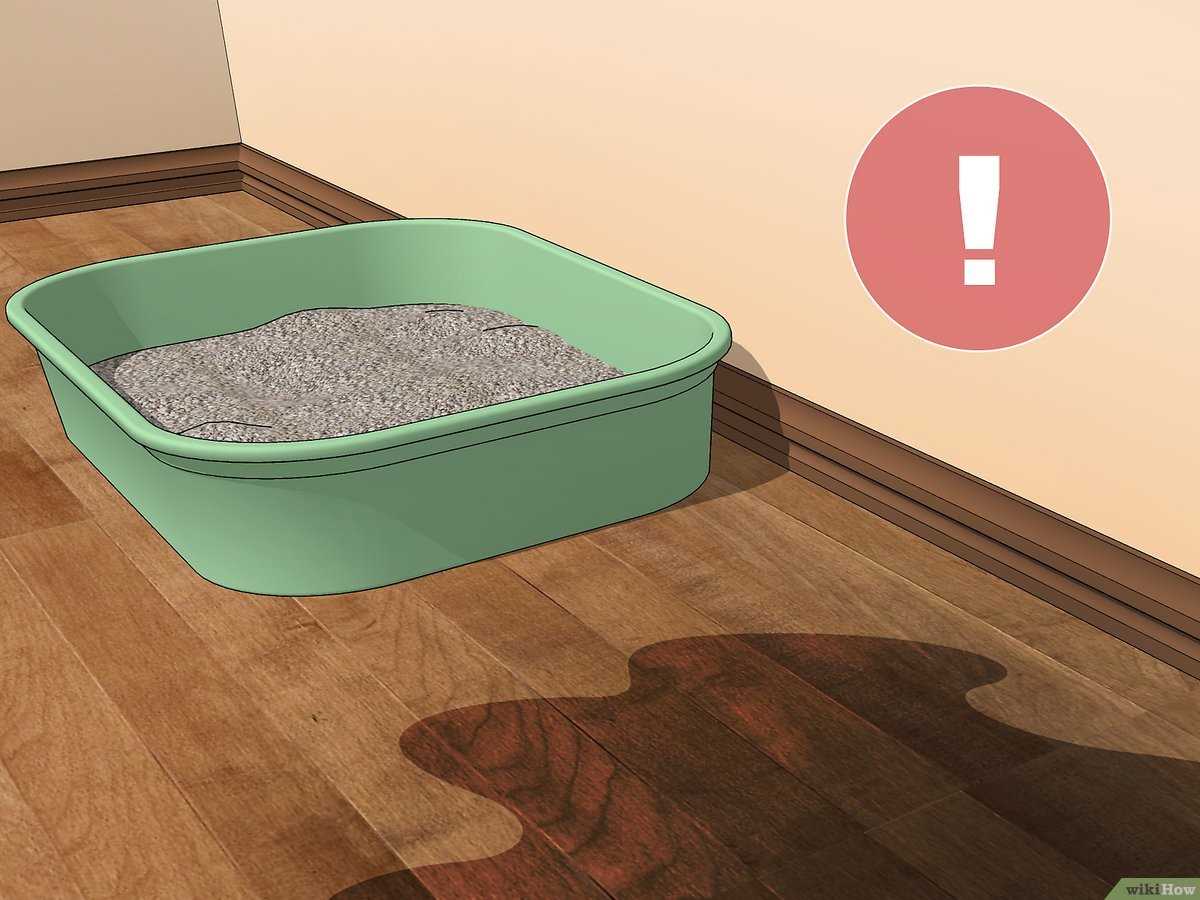
Regularly check my litter box. Keeping it clean and fresh will motivate me to use it instead of finding alternative spots. A clean environment is more inviting for me.
Consider adding attractants to the litter, like herbal blends, to make the box more appealing. This can help divert my attention away from tempting spots around the house.
Address Stress and Anxiety
Environmental factors can influence my behavior. Reduce loud noises or chaotic environments that might make me uneasy. Create a calm atmosphere with soft music or quiet spaces for relaxation.
Engage me with interactive toys and activities. Stimulating playtime can reduce anxiety and redirect my energy positively. A happy kitty is less likely to cause trouble!
Regular Vet Check-ups
Stay on top of my health with routine veterinary visits. Sometimes, underlying medical issues can lead to unusual behavior. Ensuring I’m healthy will help maintain good habits.
Creating a comfortable and safe space for me is crucial. By implementing these strategies, you’ll reduce the risk of future incidents and maintain a harmonious home. Trust me, I appreciate it!


