
For immediate relief, a mixture of white vinegar and water can work wonders. Combine equal parts of both in a spray bottle, apply generously to the affected area, and allow it to sit for around 10 minutes. Wipe away the solution with a clean cloth to neutralize the unwanted scent.
Another effective remedy involves using baking soda. Sprinkle a generous amount directly onto the spot, let it sit overnight, then vacuum the residue the next day. This natural deodorizer will help absorb lingering odors without damaging the surface.
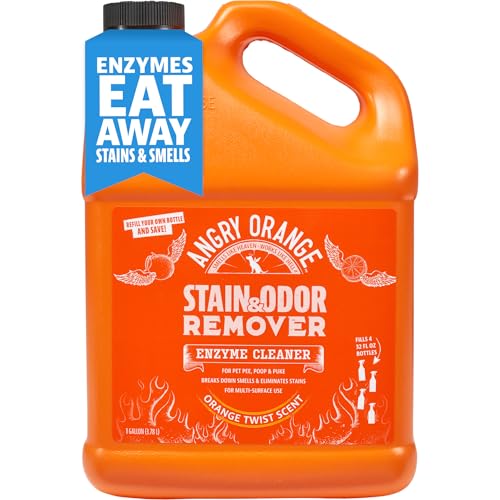
Enzymatic cleaners are also highly recommended. These products break down the odor-causing compounds, providing a deep clean. Follow the manufacturer’s instructions for the best results, ensuring the area remains wet with the cleaner for the recommended duration.
If the problem persists, consider applying a sealant to the wood. This not only protects the surface but also prevents future absorption of unwanted scents. Choose a product specifically designed for wooden surfaces to maintain the finish and integrity of the material.
Identify the Source of the Odor
Locating the exact area where the unpleasant scent originates is crucial. Begin by inspecting the surfaces thoroughly to determine the spots that might have been targeted.
- Check corners and hidden spaces, as these are often overlooked.
- Use a blacklight; urine will fluoresce, making it easier to spot.
- Smell test different sections to pinpoint the most affected areas.
Mark identified locations with a piece of tape or a sticky note for easy reference during cleaning.
Inspect Surrounding Objects
Other items nearby may also absorb the unwanted odor. Examine:
- Carpets and rugs
- Baseboards and furniture
- Textiles and curtains
Addressing all sources increases the chances of complete odor removal.
Consider the Age of the Stain
Older stains may require different techniques because they can seep deeper into the material. Take note of:
- Fresh stains that are easier to clean
- Older stains that may need more intensive treatment
Understanding the stain’s age informs the cleaning strategy and materials needed.
Choose the Right Cleaning Solution
Enzymatic cleaners work wonders for neutralizing odors caused by accidents. These formulas break down organic materials, ensuring no trace is left behind. Look for products specifically labeled for pet stains. They target the compounds responsible for unpleasant fragrances, making them highly effective.
Homemade Alternatives
If commercial options are unavailable, a mixture of vinegar and water can serve as a decent substitute. Combine equal parts in a spray bottle and apply to the affected areas. Vinegar’s natural acidity helps eliminate odors. After application, wipe with a paper towel to remove excess moisture.
Testing Before Application
Always perform a patch test before applying any solution. Choose a hidden section of the surface and apply a small amount of the cleaner. Wait for a few minutes to check for any discoloration or damage. This precaution prevents further issues while ensuring the chosen method is safe.
Apply the Cleaning Method Properly
For an effective cleanup, the first step is to soak up any excess liquid with paper towels or a cloth. Make sure to press down firmly to absorb as much as possible. After that, apply your chosen cleaning solution generously to the affected area. It’s crucial to allow it to sit for the recommended time, which can vary depending on the product used. This allows the cleaner to penetrate and break down the odor-causing substances.
Technique for Application
Use a soft cloth or sponge to gently scrub the area, ensuring the solution interacts well with the surface. Rinse with clean water afterward to remove any residue, then dry the area thoroughly. It’s advisable to ventilate the room during and after the cleaning process to facilitate drying and eliminate lingering odors. If there are stubborn spots, repeating the process may be necessary. Remember, prevention is key; regular cleaning can help avoid future issues. For those who enjoy photography, check out this best budget underwater digital camera for capturing moments of your furry friends!
Neutralize Residual Odors
For lingering scents, white vinegar is a reliable choice. Mix equal parts of vinegar and water in a spray bottle. Apply it directly to the affected area and let it sit for a few minutes before wiping away. This solution not only neutralizes odors but also prevents them from returning.
Baking Soda Treatment
After cleaning, sprinkle baking soda generously over the surface. Allow it to sit for several hours or overnight to absorb any remaining odors. Vacuum it up afterward. This method is excellent for deep penetration into porous surfaces.
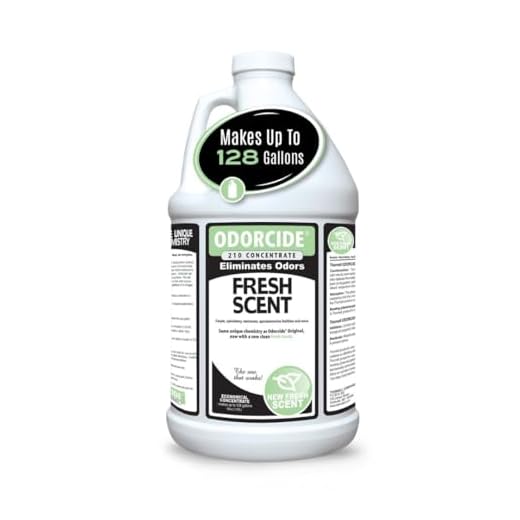
Commercial Odor Neutralizers
Consider using enzyme-based products specifically designed to tackle pet-related odors. These contain natural enzymes that break down odor-causing substances. Ensure to follow the manufacturer’s instructions for optimal results. For those looking for a little something extra, check out the best pill popper for cats, which can assist in keeping your furry friend healthy, reducing future accidents.
Prevent Future Incidents
To keep unpleasant odors from returning, regular maintenance is key. I recommend cleaning any spills or accidents immediately. Use absorbent materials to soak up any liquid, followed by a suitable cleaner to eliminate lingering scents.
Designated Areas for Relief
Establish specific spots for bathroom breaks. Providing a litter box in a quiet, accessible location can reduce the chances of accidents occurring on furniture or floors. Ensure the box is clean and odor-free to encourage use.
Behavioral Monitoring
Pay attention to changes in behavior. If there’s an increase in accidents, it might indicate stress or health issues. Regular veterinary check-ups can help identify underlying problems early. Observing habits will also allow for proactive measures to be taken.