

The quickest route to freshness involves a simple mixture of vinegar and water. Combine equal parts of both in a spray bottle, then generously mist the affected area. Allow it to sit for about 10 minutes before wiping it clean with a cloth. The acidic properties of vinegar neutralize the offending scent effectively.
For stubborn odors, a baking soda treatment works wonders. Sprinkle a layer of baking soda over the spot and let it rest overnight. In the morning, vacuum the area thoroughly. This natural deodorizer absorbs lingering smells and leaves a pleasant freshness behind.
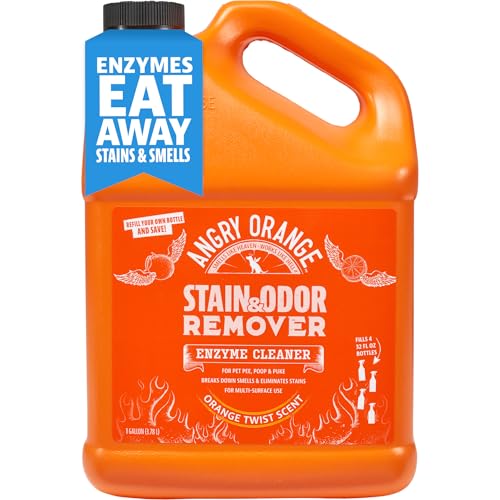
Enzymatic cleaners are also great allies in this battle. These products break down odor-causing compounds at a molecular level. Apply the cleaner directly to the area and follow the product instructions for the best results. This approach ensures that the source of the smell is eliminated, rather than just masked.

Regular cleaning and maintenance can prevent future occurrences. Utilizing pet-safe cleaning supplies and establishing a routine will help keep living spaces inviting and free from unpleasant scents. Remember, a clean environment promotes happiness for both humans and furry friends!
Identify the Surface Affected by Feline Marking
Check for any fabric or upholstery where the odor lingers. Soft surfaces, like couches and curtains, absorb liquids easily, making it crucial to locate all affected areas.
Hard Surfaces
Inspect floors, baseboards, and walls. If the scent is stronger at the base of furniture or near corners, those spots might need special attention. Use a blacklight to reveal hidden traces if necessary.
Items to Examine
Look closely at items like blankets, cushions, or rugs. These can trap odors, so thorough cleaning or replacement may be required. Pay attention to any lingering scents on toys or scratching posts as well.
Gather Necessary Cleaning Supplies
For tackling unpleasant odors, collect these items: baking soda, white vinegar, hydrogen peroxide, dish soap, and an enzymatic cleaner specifically designed for pet messes.
Additional Tools
Include a spray bottle for mixing solutions, a clean cloth or paper towels for blotting, a scrub brush for scrubbing surfaces, and gloves to keep paws clean.
Preparation
Ensure all supplies are accessible before starting the cleanup process. This organized approach simplifies removing the unwanted scents effectively.
Apply Homemade Cleaning Solutions
Mix a solution of equal parts white vinegar and water. This natural deodorizer effectively neutralizes odors. Spray it on the affected area and let it sit for about 10 minutes before blotting with a clean cloth.
Another option involves combining baking soda and water to create a paste. Apply this paste to the stained surface, allowing it to dry completely. Once dry, vacuum the residue to eliminate both the paste and lingering scents.
Use Hydrogen Peroxide for Stubborn Odors
A 3% hydrogen peroxide solution can also help. Dab the affected area with a cloth soaked in this solution. Be cautious and test on a small, inconspicuous area first, as it may bleach some surfaces.
Consider Enzymatic Cleaners
Enzymatic cleaners effectively break down organic compounds. These can be found in pet stores or online. Follow the instructions on the label for optimal results. For additional prevention, explore a reliable deterrent for cats.
Use Commercial Odor Neutralizers
For persistent scents that linger after cleaning, commercial odor neutralizers are key. Products specifically designed for pet odors usually contain enzymes that break down the compounds causing the unpleasant fragrance. Look for those labeled as “enzyme-based” or “bio-enzymatic.” These can effectively target and eliminate the source of the odor rather than simply masking it.
Application Tips
Before applying any commercial product, always test it on a small, inconspicuous area to ensure it won’t damage the surface. Follow the manufacturer’s instructions precisely; some may require leaving the solution on the surface for a certain period to achieve maximum effectiveness. After application, ventilate the area well, as this helps disperse any remaining odors.
Additional Resources
For other related tips, check out this guide on how to layer aquarium substrate, which includes useful insights on addressing various household challenges.
Test for Colorfastness Before Treatment
Before applying any cleaning solution, it’s crucial to check if the fabric or surface retains its color. Dampen a small, inconspicuous area with the cleaning solution you plan to use. This could be a homemade mix or a commercial product.
Wait a few minutes, then blot the area with a white cloth or paper towel. If any dye transfers onto the cloth, it indicates that the color may bleed. In such cases, consider using a different method or product that is safe for the material.
For fabrics, testing a seam or hem is often best, as these spots are less visible. For hard surfaces, choose a corner or edge. Ensuring colorfastness protects your belongings from unintended damage during cleaning.
Implement Deep Cleaning Techniques
For stubborn odors, opt for deep cleaning methods that penetrate surfaces effectively. Steam cleaning is a powerful approach; it sanitizes while eliminating lingering scents. Ensure your steam cleaner is suitable for the material being treated.
Utilize Baking Soda
Baking soda is a natural odor absorber. Follow these steps:
- Sprinkle a generous amount of baking soda over the affected area.
- Let it sit for at least 15 minutes, or overnight for tough odors.
- Vacuum thoroughly to remove the baking soda.
Try Vinegar Rinsing
White vinegar can neutralize unpleasant fragrances. Use it as follows:
- Mix equal parts of water and vinegar in a spray bottle.
- Lightly mist the surface without soaking it.
- Wipe down with a clean cloth after a few minutes for best results.
For carpets or fabric, repeat the process as necessary, ensuring the area is well-ventilated to speed up drying. Combining these techniques can yield a fresher environment, free of unwanted aromas.
Prevent Future Incidents with Behavioral Training
Establish a consistent routine for litter box training. Placing the box in a quiet, accessible area encourages regular use. Ensure it’s clean and the right size for comfort.
Positive reinforcement works wonders. Reward with treats or affection immediately after appropriate bathroom behavior. This builds a connection between good actions and positive outcomes.
Monitor stress triggers. Changes in the environment, new pets, or loud noises can lead to unwanted behaviors. Create a safe space for relaxation with familiar toys and bedding.
If marking occurs, redirect attention to scratching posts or toys. Offering alternatives can reduce the urge to spray.
Consider consulting a veterinarian or behaviorist for persistent issues. They can provide tailored strategies and check for underlying health problems.
Regular playtime is crucial. Engage in interactive games to reduce anxiety and maintain a healthy lifestyle.
Keep a diary of behaviors. Noting patterns helps identify specific triggers, allowing for a more targeted approach to training.
| Training Technique | Description |
|---|---|
| Litter Box Training | Consistent placement and maintenance of a clean litter box. |
| Positive Reinforcement | Using treats or affection to reward desired behaviors. |
| Stress Monitoring | Identifying and mitigating stress-inducing factors. |
| Redirection | Offering alternatives to prevent marking behavior. |
| Professional Help | Consulting experts for tailored advice. |
| Engaging Playtime | Regular interactive sessions to promote well-being. |
| Behavior Diary | Tracking behaviors to identify patterns and triggers. |